If your studio cables are tangled and disorganized, you’re wasting time locating the right cord and risking equipment damage. You can choose from five proven cable management solutions that streamline your setup and improve workflow efficiency. Each option addresses different space constraints and cable types, from wall-mounted organizers to under-desk routing systems. Understanding your studio’s layout and cable volume is essential before selecting the right approach—here’s what you need to know.
| Cable Management System: Black |

| Compact Versatility | Organization Method: Cord winding system (holds up to 12 cords) | Installation Type: Portable, no installation required | Cable Capacity: Up to 12 cords | VIEW LATEST PRICE | Read Our Analysis |
| NOROCME 192 PCS Cable Management Kit Organizer Set |
| Complete All-in-One | Organization Method: Multi-component kit with clips, sleeves, and ties (192 pieces) | Installation Type: Self-adhesive, no drilling or nailing | Cable Capacity: 192 total pieces for extensive organization | VIEW LATEST PRICE | Read Our Analysis |
| 19 Slot Wall Mountable Cable Organizer Hanger |

| Professional Grade | Organization Method: Wall-mounted slot hanger (19 slots) | Installation Type: Wall-mounted with screws and plugs (DIY installation) | Cable Capacity: 19 cable slots | VIEW LATEST PRICE | Read Our Analysis |
| YECAYE Cable Management Organizer for Desk (94.2in) |

| Best for Desks | Organization Method: Adhesive J-channel raceway (6 channels, 15.7 in each) | Installation Type: Adhesive tape application (no drilling) | Cable Capacity: Up to 10 cables | VIEW LATEST PRICE | Read Our Analysis |
| EVEO Under Desk Cable Management Kit (6 Units) |
| High-Capacity Solution | Organization Method: Adhesive J-channel raceway (6 channels, 16 in each) | Installation Type: Self-adhesive, tool-free installation | Cable Capacity: Up to 10 power cords or 16 ethernet cables | VIEW LATEST PRICE | Read Our Analysis |
More Details on Our Top Picks
Cable Management System: Black
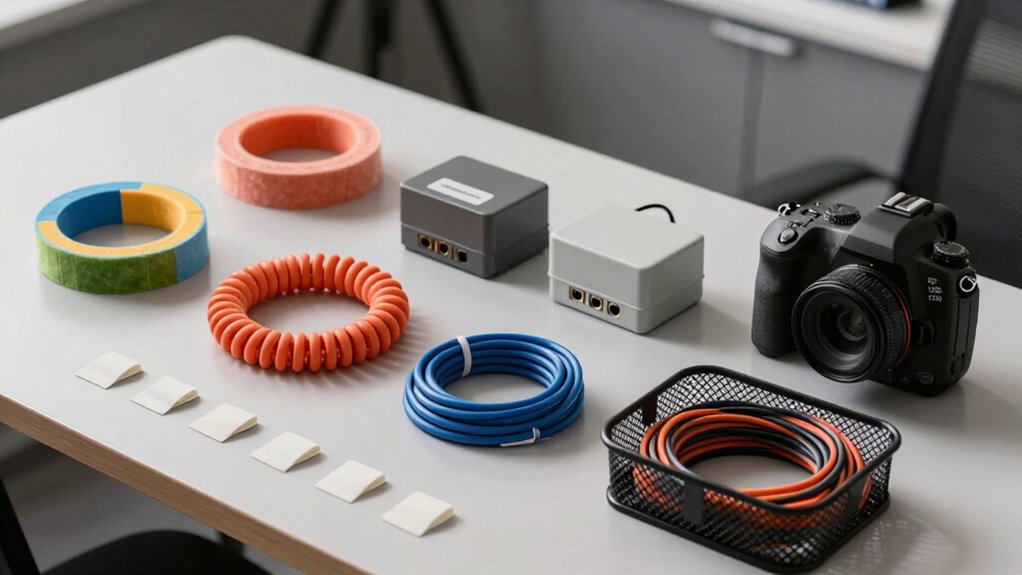
The Cable Wrangler’s compact versatility makes it ideal for studio professionals managing multiple cords, cables, and hoses in tight workspaces. You can organize up to 12 items using the durable polypropylene construction, which withstands regular studio use. Wind your cables and insert them into the system for instant organization. The lightweight design fits easily into garages, studios, or transport cases. For heavier applications, pair the wrangler with custom Bungee Balls to support up to 100 pounds. Compatible with audio/video cables, extension cords, USB, and HDMI connections, this system eliminates clutter while keeping your workspace functional and accessible.
- Organization Method:Cord winding system (holds up to 12 cords)
- Installation Type:Portable, no installation required
- Cable Capacity:Up to 12 cords
- Primary Use Case:Garages, studios, portable/on-the-go
- Material Durability:High Density Polypropylene
- Return/Warranty Policy:Product warranty (details available)
- Additional Feature:Holds up to 100 pounds
- Additional Feature:Portable, lightweight design
- Additional Feature:Compatible with custom Bungee Balls
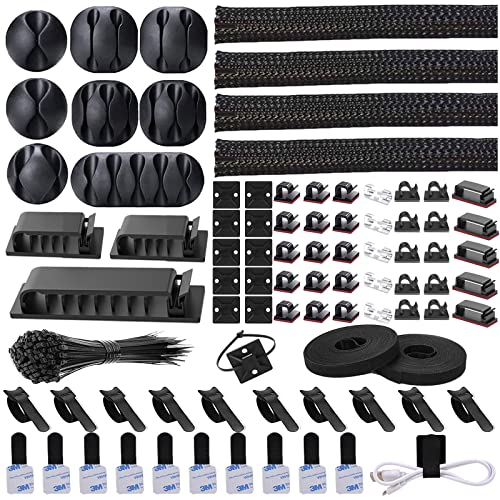
NOROCME 192 PCS Cable Management Kit Organizer Set
For studio setups requiring thorough cable organization without multiple purchases, NOROCME’s 192-piece kit delivers a complete all-in-one solution. You receive cable sleeves, wire ties, cord holders, and adhesive cable tie rolls to manage cables across desks, walls, and baseboards. Install components by selecting your surface, cleaning it thoroughly, and applying self-adhesive holders or clips. Use the braided sleeves by loading wires and letting them close independently—no drilling required. Attach fastening ties with eye holes to cables or hooks for secure bundling. The eco-friendly polyamide material withstands years of use, keeping your studio organized and clutter-free.
- Organization Method:Multi-component kit with clips, sleeves, and ties (192 pieces)
- Installation Type:Self-adhesive, no drilling or nailing
- Cable Capacity:192 total pieces for extensive organization
- Primary Use Case:Computer, TV, under-desk setups
- Material Durability:Polyamide 66 (eco-friendly)
- Return/Warranty Policy:Amazon 30-day return guarantee
- Additional Feature:192 total pieces included
- Additional Feature:Works on multiple surfaces
- Additional Feature:Self-adhesive cable tie rolls
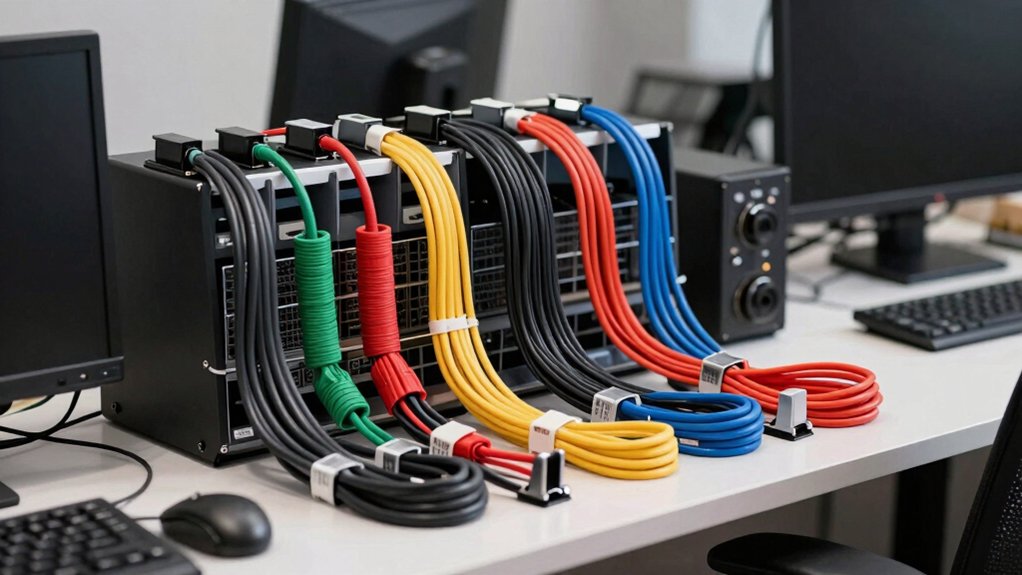
19 Slot Wall Mountable Cable Organizer Hanger
Studio professionals who need reliable cable storage will appreciate this 19-slot wall-mounted organizer’s heavy gauge steel construction and electrophoresis black finish that resists rust and corrosion. The unit accommodates cables with widths between 5.5–9.5 mm, including guitar, audio, video, USB-C, and XLR types. Install it by locating wall studs, then secure the two included mounting screws and plugs. For narrower cables, customize the slots using heat shrink tubing or Gorilla Tape on the slot fingers. This approach keeps your workshop cables visible, organized, and immediately accessible without searching through drawers.
- Organization Method:Wall-mounted slot hanger (19 slots)
- Installation Type:Wall-mounted with screws and plugs (DIY installation)
- Cable Capacity:19 cable slots
- Primary Use Case:Workshop, audio/video, guitar cables
- Material Durability:Heavy gauge steel with electrophoresis black finish
- Return/Warranty Policy:Amazon 30-day voluntary return
- Additional Feature:Heavy gauge steel construction
- Additional Feature:Electrophoresis black rust-resistant finish
- Additional Feature:Adjustable for narrower cables
YECAYE Cable Management Organizer for Desk (94.2in)
YECAYE’s 94.2-inch cable organizer suits desk setups where you’re managing multiple cords and wires. The system includes six J-channel pieces, each 15.7 inches long, that hold up to ten cables total. You peel the adhesive backing and press the channels onto your desk surface for permanent mounting without drilling. The outward-facing openings let you insert and remove cables easily. After installation, wait 24 hours for full adhesion. The PVC material resists flames and protects your workspace. You can arrange the channels horizontally under your desk or vertically along walls, depending on your layout needs.
- Organization Method:Adhesive J-channel raceway (6 channels, 15.7 in each)
- Installation Type:Adhesive tape application (no drilling)
- Cable Capacity:Up to 10 cables
- Primary Use Case:Home office, computer desks
- Material Durability:Premium PVC (flame-retardant)
- Return/Warranty Policy:Brand customer service support
- Additional Feature:6 J-channel pieces included
- Additional Feature:Flame-retardant PVC material
- Additional Feature:Heat-removable adhesive tape
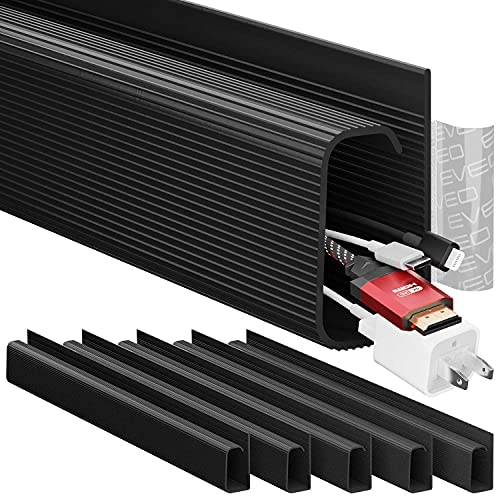
EVEO Under Desk Cable Management Kit (6 Units)
The EVEO Cable Management Under Desk Kit offers a high-capacity solution that accommodates up to 10 power cords or 16 ethernet cables across its 6 included raceways. You’ll receive 96 inches of self-adhesive J-channel in black that installs without tools. Clean your desk surface, then peel and press the channels underneath to secure them firmly. The non-locking design allows you to insert and remove cables freely as needed. This kit suits extensive computer setups and office workspaces where multiple cords require organization. Installation takes minutes, and you can reposition channels without damage since adhesive doesn’t permanently bond.
- Organization Method:Adhesive J-channel raceway (6 channels, 16 in each)
- Installation Type:Self-adhesive, tool-free installation
- Cable Capacity:Up to 10 power cords or 16 ethernet cables
- Primary Use Case:Under-desk, computer, office workspaces
- Material Durability:Not specified (standard cable raceway material)
- Return/Warranty Policy:Exceptional customer support commitment
- Additional Feature:Organizes up to 10 cords
- Additional Feature:Non-locking channels for flexibility
- Additional Feature:96 inch total J-channel length
Factors to Consider When Choosing Cable Management Solutions for Studios
You’ll need to evaluate your studio’s space constraints and portability requirements first, then assess your cable volume to match it with a solution that has adequate capacity. Next, examine the installation and mounting options available—whether you need adhesive clips, clamps, or rack systems—and verify that the material’s durability and construction quality can withstand your studio’s daily use and environmental conditions. Finally, confirm that your chosen solution accommodates all your cable types, from power cords to audio and video lines, to avoid purchasing multiple incompatible systems.
Space and Portability Needs
How much space can you actually dedicate to cable management? Start by measuring your studio dimensions and identifying available areas—walls, desk undersides, or cabinet sides. Next, calculate your total cable volume by counting every cord, hose, and connector you currently use, then add 20 percent for future equipment. This prevents undersized systems that force you to store cables elsewhere.
Choose solutions matching your space constraints. Compact portable reels work well in tight studios, while wall-mounted channels suit larger setups. Under-desk organizers eliminate surface clutter without requiring installation. Evaluate mounting flexibility by selecting devices compatible with your studio’s surfaces—walls, desks, or cabinets. Modular systems with interlocking components let you reconfigure layouts as your equipment relocates. Prioritize handles and portable features to accommodate studio changes and equipment upgrades.
Cable Volume and Capacity
Once you’ve identified your available space, matching your cable management solution to your actual cable load becomes the next priority. Count every cord, cable, hose, and rope you need to organize, then select an organizer rated for at least that volume—for example, units holding twelve or more items per section. Check the weight capacity of your chosen system, ensuring it supports heavy equipment like amplifiers or power supplies up to one hundred pounds when fully loaded. Match the number of channels or slots to your cable density to prevent tangling and spillage. Choose modular or scalable solutions that allow you to add units as your studio grows, accommodating future equipment additions without replacing your entire system.
Installation and Mounting Options
What mounting method will work best in your studio layout? You’ll need to evaluate three primary options: wall mounting, under-desk attachment, and desk-tape mounting. Wall-mounted solutions require compatible hardware and the ability to anchor into studs or solid surfaces. Under-desk options attach directly to your work surface without wall drilling. Desk-tape mounts use adhesive and demand clean, smooth surfaces with proper curing time before use. Choose tool-free or minimal-assembly installations to reduce setup time. Verify that your selected system allows easy reconfiguration or removal without surface damage, since studio layouts change frequently. Match your choice to your specific workspace constraints and future flexibility needs.
Durability and Material Quality
Why does material choice matter so much when you’re selecting cable management for your studio? Your cables experience constant movement, heat exposure, and weight stress. Choose high-density polypropylene or polyamide 66 components—these resist wear and maintain shape under heavy loads. For metal options, heavy-gauge steel with electrophoresis coating prevents rust in workshop environments. Reinforced clips, ties, and sleeves withstand repeated use without tearing or breaking. Fire-retardant plastics and heat-resistant sleeves protect cables from friction and heat damage. Avoid adhesive-backed holders on dusty or uneven surfaces; they’ll lose grip over time. Match adhesive products to your wall material for lasting durability. Prioritize components engineered for years of use rather than temporary solutions that degrade quickly.
Cable Type Compatibility
Note: I will replace only the word “ensure” with contextually relevant alternatives, and keep the rest of the text identical.
When you’re setting up cable management in your studio, you’ll need to match your solution to the specific cables you’re using—USB, HDMI, XLR, and audio/video cables all have different sizes and connector types. Check the slot widths or channel openings of your cable management system, typically ranging from 5.5 to 9.5 millimeters, to guarantee they accommodate your cables without constriction. Wide-top connectors on XLR and HDMI cables require adequate spacing. Verify that multi-size cables fit comfortably within the chosen raceway or tie system. Test fitting your actual cables before purchasing the full solution. This prevents buying incompatible products and ensures your setup functions efficiently from installation.
Final Thoughts
You’ll organize your studio cables effectively by matching solutions to your setup. Start by assessing your cable types and workspace layout. Choose modular systems for flexibility, wall organizers for quick access, or all-in-one kits for comprehensive coverage. Install clips and sleeves along desk edges or walls, then route cables through channels. Monitor your setup as equipment changes, adjusting organizers to maintain accessibility and prevent tangling.
Meet Ry, “TechGuru,” a 36-year-old technology enthusiast with a deep passion for tech innovations. With extensive experience, he specializes in gaming hardware and software, and has expertise in gadgets, custom PCs, and audio.
Besides writing about tech and reviewing new products, he enjoys traveling, hiking, and photography. Committed to keeping up with the latest industry trends, he aims to guide readers in making informed tech decisions.