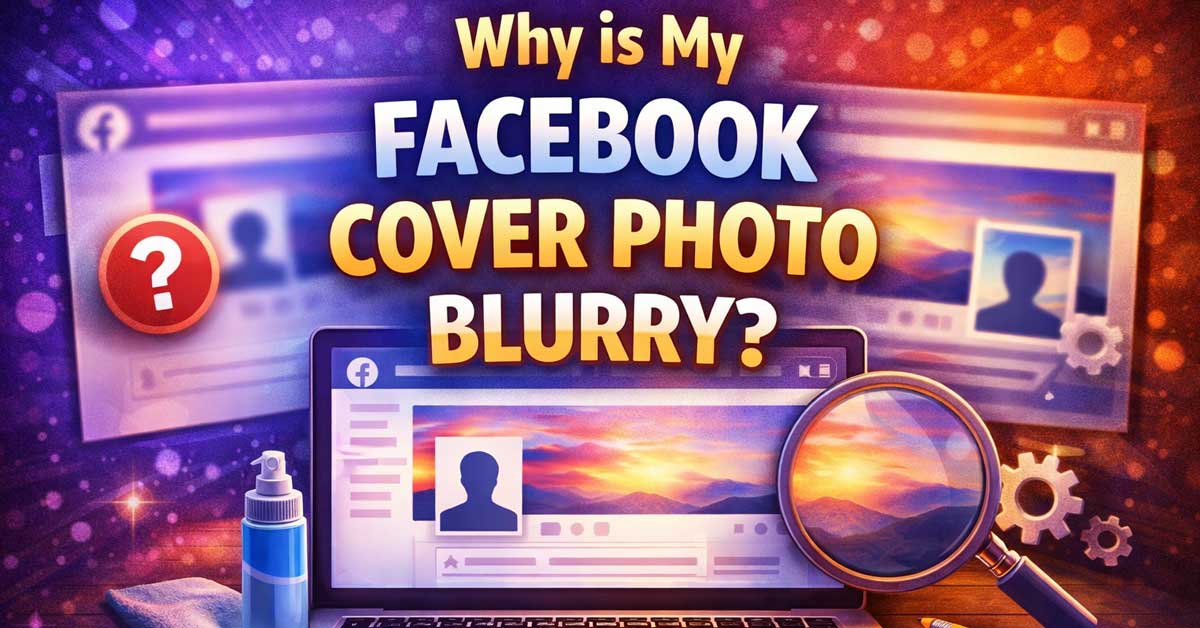
Almost always an image size or compression issue — here’s how to upload one that stays sharp
You upload a cover photo that looks crisp on your computer and it comes out blurry, pixelated, or soft on Facebook. It’s one of the most common Facebook frustrations and it happens for a specific reason. Facebook compresses every image uploaded to its platform, and how much compression gets applied depends heavily on the file size, dimensions, and format of the image you upload. Get those right and the compression becomes nearly invisible. Get them wrong and the result looks noticeably degraded.
Here’s why it happens and how to fix it.
Facebook Compresses Every Uploaded Image
This is the root cause of almost every blurry cover photo complaint. Facebook processes and recompresses images after upload to reduce storage and bandwidth costs. It does this to every image on the platform — profile photos, post images, and cover photos alike.
The compression algorithm Facebook uses is lossy, meaning it discards image data to reduce file size. How much data gets discarded depends on what you give it. A large, properly sized image at a reasonable file size compresses well and looks sharp. A small image, an incorrectly sized image, or an already-compressed image gets compressed again on top of its existing degradation and the result looks blurry.
The fix isn’t to avoid compression — you can’t. The fix is to give Facebook an image that survives its compression process with enough quality remaining to look sharp.

【Custom Design】The Backdrop adopts high-definition printing technology,high quality backdrop, realistic visual effect, vivid details, eye-catching, bright colors, good artistic effect.
【Custom Design】The Backdrop adopts high-definition printing technology,high quality backdrop, realistic visual effect, vivid details, eye-catching, bright colors, good artistic effect.
【Custom Design】The Backdrop adopts high-definition printing technology,high quality backdrop, realistic visual effect, vivid details, eye-catching, bright colors, good artistic effect.
The Image Dimensions Are Wrong
Facebook’s recommended cover photo dimensions are 820 x 312 pixels for desktop and the image also needs to look reasonable at 640 x 360 pixels for mobile. If you upload an image that’s significantly smaller than these dimensions, Facebook stretches it to fit — and stretching a small image always produces a blurry result.
If you upload an image that’s too large, Facebook scales it down — which is less damaging than scaling up but still involves resampling that can soften edges and fine details.
Start with an image that’s at least 820 x 312 pixels, ideally larger. A good working size is 1640 x 624 pixels — exactly double the recommended dimensions — which gives Facebook plenty of detail to work with when it scales and compresses the image. The extra resolution acts as a buffer against compression losses.

Contemporary style; black; smooth wrap finish
Contemporary style; black; smooth wrap finish

Hard Cover: Preserve your special moments with our 8x8 Hardcover PhotoBook, elegantly bound in classic white.
The File Format Matters
PNG files survive Facebook’s compression significantly better than JPEGs for images with text, logos, sharp edges, and areas of flat color. JPEG compression introduces visible artifacts — blocky distortions and color banding — that are especially noticeable in these types of images.
For cover photos with text overlays, graphics, illustrations, or any kind of designed layout, upload as a PNG file. The file size will be larger than a JPEG but Facebook’s compression handles PNG input more cleanly for these image types.
For cover photos that are pure photographs with no text or sharp graphic elements, JPEG is acceptable — but use the highest quality JPEG setting available in whatever software you’re saving from. A low-quality JPEG that Facebook then recompresses produces significantly worse results than a high-quality JPEG or PNG.


52" cushion only - frame not included (fits 46" diameter frame)

The Image Was Already Compressed Before Upload
If you’re uploading a JPEG that was already saved at low quality, or an image that was downloaded from somewhere and recompressed, you’re starting from a degraded baseline that Facebook’s compression makes worse.
Always upload the highest quality version of your image that you have access to. If you’re working from a design tool, export at maximum quality. If you’re using a photo from your phone, use the original file rather than a screenshot or a shared copy that’s been compressed in transit.
Mobile vs Desktop Display Differences
Facebook cover photos display at different dimensions depending on whether the viewer is on desktop or mobile. An image that looks sharp on desktop can appear blurry on mobile, and vice versa, if the dimensions weren’t chosen with both in mind.
On desktop, the cover photo displays at 820 x 312 pixels. On mobile, it crops to 640 x 360 pixels — which is a different aspect ratio. Facebook centers the image and crops the sides on mobile, meaning the left and right edges of your cover photo are cut off for mobile viewers.
If your cover photo looks blurry specifically on mobile, the image may be fine — it’s just being cropped and displayed at a lower resolution than you designed for. Keep important content centered in the image so it survives the mobile crop, and make sure your dimensions are large enough to look sharp at both display sizes.
How You’re Uploading Makes a Difference
Uploading from a mobile device rather than desktop often results in worse image quality because the Facebook mobile app applies its own compression before the image even reaches Facebook’s servers. An image compressed by the app and then compressed again by Facebook’s servers ends up significantly more degraded than the same image uploaded from desktop.
Upload cover photos from a desktop browser rather than the mobile app whenever possible. The desktop upload path gives you more control over what gets submitted and applies less preprocessing to the image.
The Step-by-Step Fix for a Sharp Cover Photo
1. Start with the right dimensions. Create or resize your image to 1640 x 624 pixels — double Facebook’s standard cover photo size.
2. Save in the right format. Use PNG for images with text, graphics, or sharp edges. Use a high-quality JPEG (90% quality or higher) for pure photographs.
3. Keep the file size reasonable but not tiny. Facebook handles files up to a few megabytes without issue. Don’t over-compress the image before uploading trying to reduce file size — let Facebook do its compression from a high-quality source.
4. Upload from desktop. Go to your Facebook profile or page on a desktop browser, click the cover photo area, and upload directly. Avoid uploading through the mobile app.
5. Check both desktop and mobile after uploading. View your profile from both a desktop browser and a mobile device to confirm the image looks sharp on each.
If the Photo Is Blurry Only in the Thumbnail
Facebook generates thumbnail versions of cover photos for use in various places across the platform — notifications, search results, page previews. These thumbnails are generated at small sizes and will inevitably look less sharp than the full-size cover photo.
If the blurriness only appears in small previews and the cover photo itself looks sharp when you view the profile directly, nothing is wrong — the thumbnail compression is expected behavior and isn’t something you can control.
A Quick Checklist
- Use dimensions of at least 820 x 312 pixels — ideally 1640 x 624 for best results
- Upload as PNG for graphics and text-heavy images
- Use high-quality JPEG (90%+) for photographs
- Start from the highest quality source file available — avoid re-uploading previously compressed images
- Upload from a desktop browser rather than the mobile app
- Keep important content centered to survive the mobile crop
- Check the result on both desktop and mobile after uploading
The Bottom Line
A blurry Facebook cover photo is almost always caused by uploading an image that’s too small, in the wrong format, or already compressed — giving Facebook’s compression algorithm too little to work with. Starting with a larger image in PNG format, uploaded from desktop, gives the compression process a high-quality source and the result stays visibly sharp.
The 1640 x 624 pixel PNG uploaded from a desktop browser is the combination that consistently produces the sharpest result within Facebook’s compression constraints.
Facebook will compress your cover photo no matter what — give it the best possible image to start with and the compression becomes invisible.
Meet Ry, “TechGuru,” a 36-year-old technology enthusiast with a deep passion for tech innovations. With extensive experience, he specializes in gaming hardware and software, and has expertise in gadgets, custom PCs, and audio.
Besides writing about tech and reviewing new products, he enjoys traveling, hiking, and photography. Committed to keeping up with the latest industry trends, he aims to guide readers in making informed tech decisions.