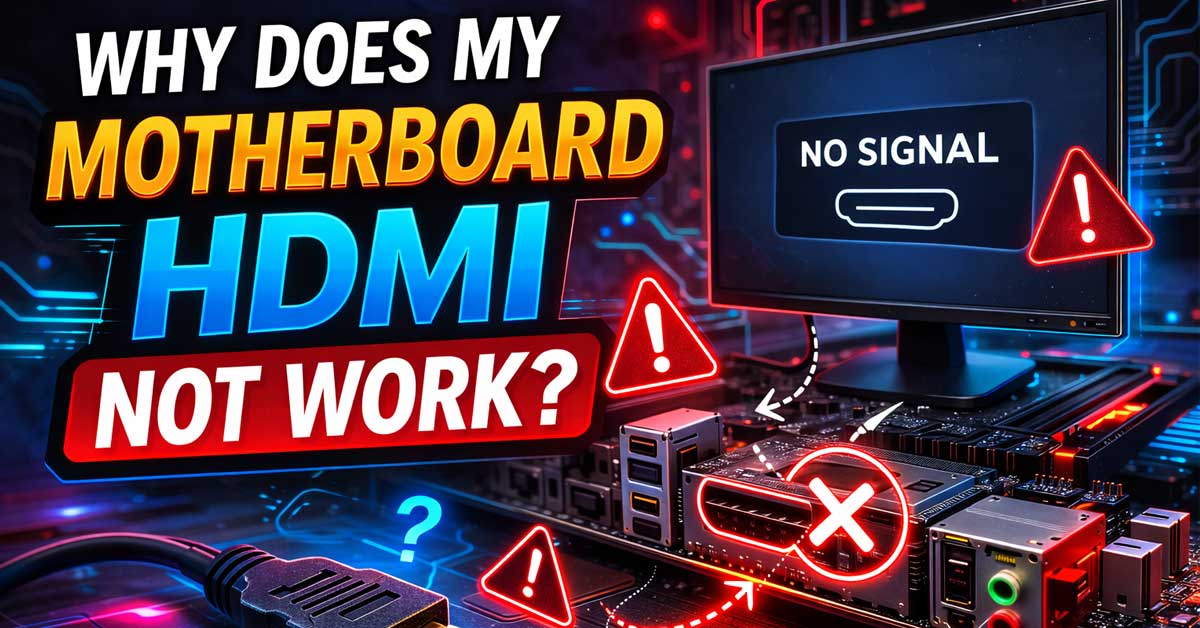
Plugging an HDMI cable into your motherboard and getting no signal on your monitor is one of the most common — and most confusing — PC troubleshooting scenarios. The fix is sometimes as simple as changing a BIOS setting, and sometimes it points to a fundamental misunderstanding of how motherboard video output works. This guide breaks down every known cause and every fix.
Why Motherboard HDMI Is Different From GPU HDMI
Before diving into fixes, the single most important thing to understand about motherboard HDMI is this:
Motherboard HDMI only works if your CPU has integrated graphics.
This is the root cause of confusion for the majority of people who find their motherboard HDMI not working. Here is how it breaks down:
- CPUs with integrated graphics (Intel Core i3/i5/i7/i9 without an F suffix, AMD Ryzen with a G suffix) — can output video through the motherboard’s HDMI port
- CPUs without integrated graphics (Intel Core CPUs with an F suffix like i5-12400F, most standard AMD Ryzen CPUs without a G suffix like Ryzen 5 5600) — cannot output video through the motherboard under any circumstances, regardless of settings
If your CPU does not have integrated graphics, your motherboard HDMI will never work and no amount of troubleshooting will change that. In that case, a dedicated GPU is required for any video output.
| CPU Type | Motherboard HDMI Works? |
|---|---|
| Intel Core i5-12400 (no F) | Yes — has integrated graphics |
| Intel Core i5-12400F | No — F suffix means no iGPU |
| Intel Core i7-13700 (no F) | Yes — has integrated graphics |
| Intel Core i7-13700F | No — no integrated graphics |
| AMD Ryzen 5 5600G | Yes — G suffix means integrated graphics |
| AMD Ryzen 5 5600 (no G) | No — no integrated graphics |
| AMD Ryzen 7 5800X | No — no integrated graphics |
| AMD Ryzen 9 7950X | No — no integrated graphics |
Cause 1: A Dedicated GPU Is Installed
Why It Happens
This is the most common reason motherboard HDMI stops working — and it is by design, not a malfunction. When a dedicated GPU (graphics card) is installed in your system, most motherboards and BIOS configurations automatically disable the CPU’s integrated graphics and route all video output through the GPU. This is done to save power and resources since the GPU is the primary display device.
When this happens, the motherboard’s HDMI port goes completely dark — even if the CPU has integrated graphics — because the system has handed video duties entirely to the GPU.
How to Fix It
If you want to use the motherboard HDMI alongside or instead of your GPU, you need to enable the integrated graphics in the BIOS:
- Restart your PC and enter the BIOS — press Delete, F2, F10, or F12 during startup (the key varies by motherboard manufacturer — watch for the prompt on screen)
- Look for a setting called:
- Primary Display or Primary Graphics Adapter
- Integrated Graphics
- iGPU Multi-Monitor
- Internal Graphics
- Change Primary Display from PCI-E or Auto to CPU Graphics, Integrated, or iGPU
- If available, enable iGPU Multi-Monitor — this allows both the integrated graphics and the dedicated GPU to output video simultaneously
- Save and exit — typically F10
After saving, connect your monitor to the motherboard HDMI and test.
Note: The exact BIOS menu layout varies significantly between motherboard manufacturers (ASUS, MSI, Gigabyte, ASRock). Look for these settings under menus named Advanced, Chipset, System Agent Configuration, or NB Configuration.
Cause 2: Integrated Graphics Is Disabled in BIOS
Why It Happens
Even without a dedicated GPU installed, integrated graphics can be manually disabled in the BIOS — or may default to disabled on certain motherboard configurations. Some enthusiast or server-oriented BIOS setups default the primary display to PCI-E even when no GPU is present, leaving the motherboard HDMI non-functional until changed.
This is also a common issue when buying a used PC where the previous owner had a GPU installed and the BIOS was configured accordingly — then the GPU was removed but the BIOS settings were not reset.
How to Fix It
- Enter the BIOS at startup
- Navigate to Advanced > System Agent Configuration (Intel) or Advanced > Chipset (AMD)
- Find Integrated Graphics or iGPU settings
- Set to Enabled or Always Enable
- Set Primary Display to CPU Graphics or Integrated
- Save and exit
If you cannot get into the BIOS because you have no display output at all, see the section on clearing CMOS below.
Cause 3: Wrong HDMI Port on the Motherboard
Why It Happens
This sounds obvious but is a surprisingly common issue — especially on mid-range and high-end motherboards that have both a dedicated GPU installed and multiple ports on the rear I/O panel. Modern motherboards often have multiple video output ports (HDMI, DisplayPort, USB-C with video) but these ports only work when integrated graphics is active.
Meanwhile, some motherboards have USB ports that look similar to HDMI at a glance, and in a dim environment or when building inside a case, it is easy to plug into the wrong port.
How to Fix It
- Visually confirm the port — The HDMI port on a motherboard is identical in shape to any other HDMI port. Double check you are plugged into the correct one and not a USB 3.0 port or another connector of similar shape
- Check if your motherboard even has an HDMI port — Not all motherboards include video output ports, even if the CPU supports integrated graphics. Check your motherboard’s specifications and manual
- Try other video output ports — If your motherboard has a DisplayPort, DVI, or VGA port in addition to HDMI, try those with an appropriate cable or adapter
Cause 4: Faulty or Incompatible HDMI Cable
Why It Happens
Not all HDMI cables are equal. An old or damaged HDMI cable can fail to carry signal reliably, particularly at higher resolutions. Additionally, HDMI cables have different versions (1.4, 2.0, 2.1) with different bandwidth capabilities — while lower-spec cables generally still work at lower resolutions, damaged or very cheap cables can fail entirely.
How to Fix It
- Try a different HDMI cable — swap it out with one you know works
- Inspect both ends of the cable for bent pins or physical damage
- Try a shorter cable — very long HDMI runs can lose signal quality
- Check the HDMI version requirements — if your monitor requires HDMI 2.0 or 2.1 for its native resolution, an older HDMI 1.4 cable may not work at full specs
- Try a different port on your monitor — most monitors have multiple HDMI inputs
Cause 5: Monitor Input Source Set Incorrectly
Why It Happens
Monitors with multiple inputs — HDMI 1, HDMI 2, DisplayPort, VGA — require you to manually select which input is active. If the monitor is set to receive input from HDMI 2 and your cable is plugged into HDMI 1, or set to DisplayPort when you are connected via HDMI, it will show no signal even though the PC is outputting video correctly.
How to Fix It
- Use the monitor’s physical buttons (usually on the bottom or side of the panel)
- Open the OSD (On-Screen Display) menu
- Navigate to Input, Source, or Input Select
- Select the correct HDMI input that matches where your cable is connected
- Some monitors have an Auto Input or Auto Source setting — enabling this allows the monitor to automatically detect which input is active
Cause 6: Reseat and Check Physical Connections
Why It Happens
HDMI connections that are not fully seated — either at the monitor end or the motherboard end — can cause intermittent or complete signal failure. This is especially common on motherboards inside cases where the rear I/O panel has a cover or shield that can partially obstruct full insertion of the cable.
How to Fix It
- Unplug both ends of the HDMI cable and firmly reseat them — you should feel the connector click or seat snugly
- Check the I/O shield — some PC cases have a rear I/O shield with cutouts for ports. If the shield is misaligned, it can partially block the HDMI port. Open the case and check that the I/O shield is correctly aligned with the motherboard ports
- Check for debris in the port — use compressed air to clear any dust or debris from the HDMI port on the motherboard
Cause 7: Driver Issues
Why It Happens
Integrated graphics requires drivers — just like a dedicated GPU. If the integrated graphics drivers are missing, corrupted, or outdated, Windows may not be able to use the iGPU to output video even if the hardware is correctly configured. This is particularly common after a fresh Windows installation, after a major Windows update, or when the driver package was never installed correctly.
How to Fix It
Update or reinstall Intel integrated graphics drivers:
- Go to intel.com/content/www/us/en/download-center
- Search for your CPU model (e.g., Intel Core i5-12400)
- Download the latest graphics driver
- Install and restart
Or use Intel Driver & Support Assistant — Intel’s automatic driver detection and update tool available on their website.
Update or reinstall AMD integrated graphics drivers:
- Go to amd.com/en/support
- Select your APU model (e.g., Ryzen 5 5600G)
- Download the latest graphics driver
- Install and restart
Or use AMD Auto-Detect and Install — AMD’s automatic driver tool.
Through Windows Device Manager:
- Press Windows key + X and select Device Manager
- Expand Display adapters
- If you see Microsoft Basic Display Adapter instead of your Intel or AMD integrated graphics, the driver is not installed
- Right-click and select Update driver > Search automatically for drivers
- If that fails to find the correct driver, download from Intel or AMD directly
Cause 8: Windows Display Settings Issue
Why It Happens
Even when the hardware and drivers are working correctly, Windows display settings can prevent the motherboard HDMI output from being used. Windows may have the second display disabled, set to an unsupported resolution, or configured in a way that does not extend or mirror to the connected monitor.
How to Fix It
- Press Windows key + P to open the Project panel
- Try each option — PC screen only, Duplicate, Extend, Second screen only — to see if any of them activate the motherboard HDMI output
- Or right-click the desktop and select Display settings
- Click Detect to force Windows to look for connected displays
- If the monitor appears but is disabled, click on it and set it to Extend or Duplicate
- Check the Resolution settings — if set to an unsupported resolution, the monitor may show no signal. Set to the recommended resolution for your monitor
Cause 9: BIOS Needs Update
Why It Happens
Motherboard BIOS updates sometimes include fixes for integrated graphics initialization issues, particularly on newer platforms. On Intel 12th and 13th generation platforms, and AMD Ryzen 6000 and 7000 series platforms, early BIOS versions sometimes had bugs that prevented iGPU output from working correctly — bugs that were resolved in subsequent BIOS updates.
How to Fix It
- Identify your motherboard model — check the label on the motherboard itself or look in System Information (Windows key + R, type
msinfo32) - Visit your motherboard manufacturer’s support page:
- ASUS: asus.com/support
- MSI: msi.com/support
- Gigabyte: gigabyte.com/support
- ASRock: asrock.com/support
- Find your specific motherboard model and download the latest BIOS update
- Follow the manufacturer’s instructions for flashing the BIOS — most modern motherboards support USB-based BIOS flashing through a dedicated button or BIOS utility
Warning: BIOS updates carry a small risk of bricking your motherboard if interrupted. Follow the manufacturer’s instructions carefully and do not interrupt the update process.
Cause 10: CMOS Reset Needed
Why It Happens
The CMOS (Complementary Metal-Oxide Semiconductor) chip on your motherboard stores BIOS settings, including display configuration. If these settings become corrupted — due to a power surge, improper shutdown during a BIOS update, or other causes — the motherboard may boot with incorrect display settings that prevent any video output, including from the HDMI port.
Clearing the CMOS resets all BIOS settings to factory defaults, which often resolves display output issues caused by misconfigured settings.
How to Fix It
Method 1: CMOS Jumper
- Power off your PC completely and unplug it from the wall
- Open the case and locate the CMOS jumper on the motherboard — it is usually labeled JBAT1, CLR_CMOS, or RESET_CMOS in the motherboard manual
- Move the jumper from pins 1-2 to pins 2-3 for 10-15 seconds
- Return the jumper to its original position (pins 1-2)
- Reconnect power and boot
Method 2: Remove the CMOS Battery
- Power off and unplug the PC
- Locate the round silver CMOS battery on the motherboard (looks like a large watch battery)
- Carefully remove it
- Press the power button a few times with the battery out (discharges residual power)
- Wait 5-10 minutes
- Reinsert the battery
- Reconnect power and boot
Method 3: Dedicated CMOS Reset Button Many modern motherboards include a dedicated CMOS reset button on the rear I/O panel or on the motherboard itself — look for a button labeled CLR CMOS or Reset BIOS. Press and hold for 5-10 seconds with the PC powered off but still plugged in.
After clearing CMOS, re-enter the BIOS and reconfigure your settings including display output.
Cause 11: Hardware Damage or Failure
Why It Happens
If none of the above fixes resolve the issue, the motherboard HDMI port itself may be physically damaged or failed. HDMI ports on motherboards can be damaged by:
- Repeatedly plugging and unplugging cables at an angle
- Electrical surges or static discharge
- Physical impact or bending of the connector
- Manufacturing defect
How to Diagnose It
- Test with a different cable you know works — rules out cable failure
- Test your monitor on a different PC — rules out monitor failure
- Test the motherboard HDMI on a different monitor — if it works on another monitor, your original monitor’s HDMI input may be damaged
- Visually inspect the HDMI port with a flashlight — look for bent pins, debris, or physical damage to the port housing
Options If the Port Is Damaged
- Use a different video output port on the motherboard (DisplayPort, DVI, VGA if available)
- Install a dedicated GPU — even a budget GPU adds more video outputs and bypasses the motherboard entirely
- Use a PCIe video capture or output adapter — adds additional display ports via a PCIe slot
- Contact the manufacturer — if the motherboard is under warranty, a damaged port may be covered
Motherboard HDMI With a Dedicated GPU: Can You Use Both?
A common question is whether you can use the motherboard HDMI and GPU HDMI simultaneously — for example to run three monitors, two on the GPU and one on the motherboard.
The answer is: sometimes yes, but it depends on your specific CPU, motherboard, and BIOS.
Requirements for Using Both Simultaneously
- CPU must have integrated graphics (no F suffix for Intel, G suffix for AMD)
- Motherboard must support iGPU multi-monitor output (not all do)
- BIOS must have iGPU Multi-Monitor enabled
- Both the integrated graphics driver and GPU driver must be installed
How to Enable Multi-Monitor With Both iGPU and GPU
- Enter the BIOS
- Set Primary Display to PCI-E (keeps GPU as primary)
- Enable iGPU Multi-Monitor or Integrated Graphics Multi-Monitor
- Save and exit
- In Windows, go to Display Settings and configure the additional monitor
Important limitation: Using integrated graphics alongside a dedicated GPU consumes system RAM for the iGPU’s video memory (since iGPUs do not have dedicated VRAM) and may slightly reduce overall system performance. For most users the impact is negligible, but it is worth being aware of.
Quick Reference: Motherboard HDMI Troubleshooting
| Cause | Quick Fix |
|---|---|
| CPU has no integrated graphics | Use dedicated GPU — no other fix possible |
| Dedicated GPU disabling iGPU | Enable iGPU or change Primary Display in BIOS |
| iGPU disabled in BIOS | Enable Integrated Graphics in BIOS settings |
| Wrong port | Confirm you are using the correct HDMI port |
| Faulty HDMI cable | Try a different cable |
| Monitor wrong input | Select correct input source on monitor OSD |
| Loose connection | Reseat cable firmly at both ends |
| Missing or corrupt drivers | Reinstall Intel or AMD integrated graphics drivers |
| Windows display settings | Press Win+P, try each display mode, use Detect |
| BIOS bug | Update motherboard BIOS to latest version |
| Corrupted BIOS settings | Clear CMOS via jumper or battery removal |
| Physical port damage | Use different port, add GPU, or claim warranty |
Final Thoughts
The vast majority of motherboard HDMI problems come down to one of three things: the CPU does not have integrated graphics and cannot output video through the motherboard under any circumstances, a dedicated GPU has caused the BIOS to disable the integrated graphics output, or an integrated graphics setting needs to be toggled in the BIOS. Checking those three causes first — before anything else — resolves the problem for most users. If the hardware and BIOS are confirmed correct, missing drivers and Windows display settings cover the next tier of issues. Physical damage and CMOS corruption are the last resort explanations, and a CMOS reset costs nothing but five minutes and is always worth trying before concluding the hardware is at fault.
Meet Ry, “TechGuru,” a 36-year-old technology enthusiast with a deep passion for tech innovations. With extensive experience, he specializes in gaming hardware and software, and has expertise in gadgets, custom PCs, and audio.
Besides writing about tech and reviewing new products, he enjoys traveling, hiking, and photography. Committed to keeping up with the latest industry trends, he aims to guide readers in making informed tech decisions.