A short setup process — but it has to be done correctly or it won’t show up
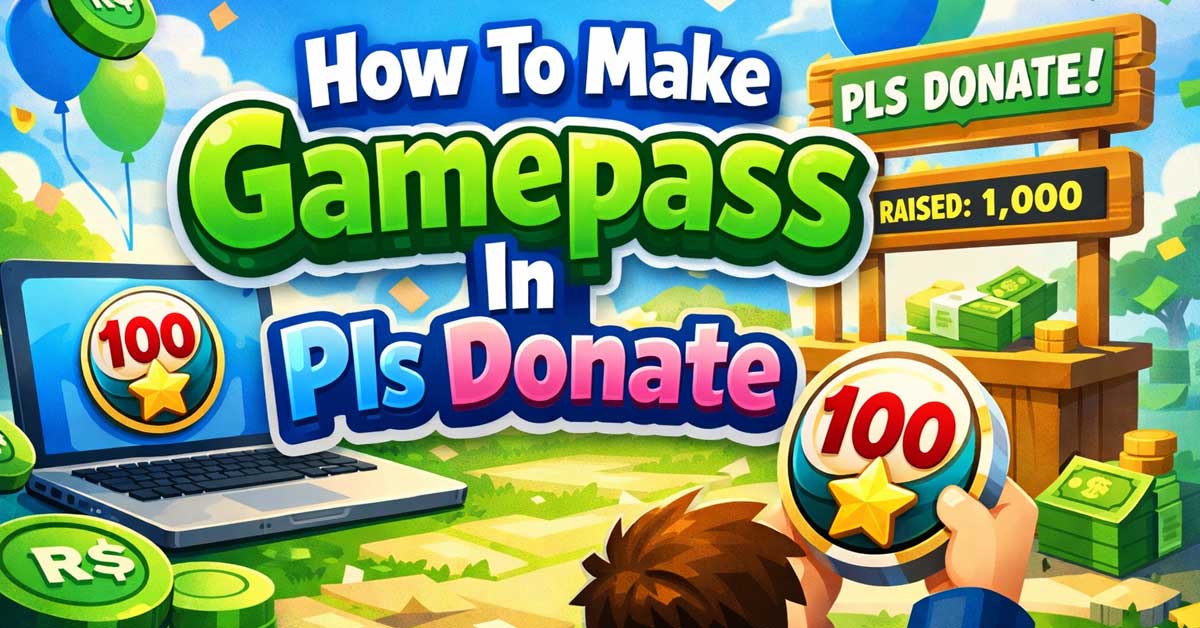
Pls Donate is one of the most popular Roblox games for creators who want to accept donations from other players. The way it works is through Robux gamepasses — you create a gamepass on Roblox, link it to a stand in the game, and other players can purchase it to send you Robux. The setup happens outside the game on the Roblox website or app, not inside Pls Donate itself.
Here’s the full process from start to finish.
What You Need Before Starting
Before creating a gamepass, make sure you have the following:
A Roblox account that is at least 30 days old. Roblox restricts gamepass creation on very new accounts. If your account is brand new, you’ll need to wait before this option becomes available.
A place or game published on Roblox. Gamepasses have to be attached to a Roblox game — they can’t exist on their own. You’ll need to create and publish a basic game first if you haven’t already. It doesn’t need to be a real game — a simple published place is enough.
A Premium membership is NOT required to create a gamepass, but you do need one to actually receive Robux from sales. Without Premium, Roblox won’t pay out the Robux earned from gamepass purchases. This is the step many people miss. If you don’t have Premium, your gamepass will appear and players can buy it, but you won’t receive the Robux.
Step 1: Create Your Gamepass on Roblox
On Desktop:
Go to roblox.com and log into your account. Click on Create in the top navigation bar, or go directly to create.roblox.com. Navigate to Passes in the left sidebar. Click Create a Pass.
You’ll be asked to:
- Select which game the pass belongs to — choose your published place
- Upload an image for the gamepass — this is what players see when browsing. Use a square image, at least 150×150 pixels. It can be simple — many creators just use their username or a custom logo
- Give it a name — keep it clear and readable. Something like “Donate 50 Robux” or your username works fine
- Write a description — optional but helps players understand what they’re buying
Click Create Pass when done. Roblox will review the image before the pass goes live — this usually takes a few minutes but can take up to 24 hours.


Step 2: Set the Price on Your Gamepass
This is the step people most commonly forget — and without it your gamepass won’t work in Pls Donate.
After creating the pass, you need to set it to on sale with a price. Find your newly created gamepass in your passes list. Click the three dots or the settings icon next to it. Select Configure.
On the configuration page:
- Toggle Item for Sale to on
- Set your price in Robux — the minimum is 1 Robux, but most players create passes in round numbers like 25, 50, 100, 200, or 500 Robux
- Click Save
The gamepass must be set to on sale before it will appear in Pls Donate. A pass that exists but isn’t for sale won’t show up on your stand.
Step 3: Set Up Your Stand in Pls Donate
Now that your gamepass exists and is priced, open Roblox and launch Pls Donate.
When you first join, you’ll be assigned a stand automatically. Walk up to your stand and interact with it. You’ll see a menu that allows you to link your gamepasses to the stand’s display boards.
Select a board slot and choose the gamepass you just created from the list. It should appear in your available passes if it was created correctly and set to on sale. If it doesn’t appear, the most common reasons are:
- The pass isn’t set to on sale yet
- The Roblox image review is still pending
- The pass was created on a different account than the one you’re playing on
Once linked, your gamepass will display on your stand with its name and price. Other players walking through the game can click it, purchase it directly, and the Robux goes to you — minus Roblox’s marketplace fee.
Understanding the Robux Cut
Roblox takes a 30% marketplace fee on all gamepass sales. This means if you price a pass at 100 Robux, you receive 70 Robux.
This fee applies regardless of what price you set. Factor it into your pricing if you have a specific amount you want to receive — divide your target amount by 0.7 to find the price to set. For example, if you want to net 100 Robux, set the price at approximately 143 Robux.
Tips for Getting More Donations
Use a clear, appealing gamepass image. Players scroll past dozens of stands — a recognizable image or a clean design stands out more than a blank or blurry one.
Create multiple gamepasses at different price points. Many successful Pls Donate players offer several tiers — a small pass at 25 or 50 Robux, a medium one at 100 or 200, and a larger one for generous donors. This gives players options and increases the chance someone finds a price they’re comfortable with.
Customize your stand. Pls Donate allows stand customization — a well-decorated stand with a sign and some personality attracts more attention than a plain default setup.
Be present and interact. Players are more likely to donate to someone who’s actively in the game, talking in chat, and engaging with others than someone who joined, set up a stand, and went idle.
Common Problems and Fixes
Gamepass doesn’t appear in the stand menu: Make sure the pass is set to on sale and priced. Also check that the Roblox moderation review has completed — refresh after a few minutes if it was just created.
Players can buy the pass but you’re not receiving Robux: You need Roblox Premium to receive gamepass earnings. Without it, the sales register but the payout doesn’t happen. Subscribe to Premium through your Roblox account settings.
The gamepass image got rejected: Roblox moderation can reject images that violate community guidelines. Use a simple, clean image — your username in bold text on a colored background is a reliable option that clears moderation quickly.
You can’t find the Passes option in Creator Hub: Make sure you’re logged into the correct account and that you have a published game to attach the pass to. The Passes section only appears once a published place exists on your account.
Quick Setup Checklist
- Roblox account is at least 30 days old
- A place is published on your account
- Gamepass created at create.roblox.com under Passes
- Image uploaded and moderation cleared
- Pass set to on sale with a price
- Roblox Premium active on your account to receive payouts
- Gamepass linked to your stand inside Pls Donate
The Bottom Line
Creating a gamepass in Pls Donate is a two-part process — you build the pass on the Roblox website first, then link it to your stand inside the game. The part most people stumble on is forgetting to set the pass to on sale, or not realizing that Premium is required to actually receive the Robux from donations.
Get those two things right and the setup is straightforward. Once your stand is live with a linked gamepass, anyone in the game can donate with a few clicks.
The gamepass gets made on Roblox, not in the game — set it to on sale or it won’t show up.
![Roblox Action Collection - 15th Anniversary Roblox Icons Gold Collector's Set [Includes Exclusive Virtual Item]](https://m.media-amazon.com/images/I/41ezvPxXBFS._SL500_.jpg)
Join four famous characters from the world of Roblox and create your own imaginative adventures
![Roblox Celebrity Collection - Neverland Lagoon: Crown Collector + Royale High School: Enchantress Two Figure Bundle [Includes 2 Exclusive Virtual Items]](https://m.media-amazon.com/images/I/417FQ0SkVwL._SL500_.jpg)
Experience an all-new adventure with legendary characters from the world of Roblox
Meet Ry, “TechGuru,” a 36-year-old technology enthusiast with a deep passion for tech innovations. With extensive experience, he specializes in gaming hardware and software, and has expertise in gadgets, custom PCs, and audio.
Besides writing about tech and reviewing new products, he enjoys traveling, hiking, and photography. Committed to keeping up with the latest industry trends, he aims to guide readers in making informed tech decisions.