When it comes to troubleshooting electrical circuits and devices, a digital multimeter (DMM) is one of the most well-rounded and indispensable tools in your arsenal.
Whether you’re a seasoned electrician, a DIY enthusiast, or just starting your journey in electronics, mastering the proper use of a digital multimeter can save you time, money, and frustration.
Today, we’ll walk you through the essential steps, tips, and best practices to ensure you use your multimeter with confidence and precision, making complex diagnostics simpler and more efficient.
We’ll also explore our favorite digital multimeter that provides a perfect balance of cost, performance, high-end features, and reliability: the Kaiweets KM602 Smart Digital Multimeter. Let’s get right into it.
Key Takeaways
- Always inspect test leads for damage and verify proper terminal connections before taking any measurements.
- Select the appropriate function and range setting, starting with the highest range if unsure of expected values.
- Keep hands behind probe guards and use one hand when measuring voltage to prevent electrical shock.
- Turn off power and disconnect components before measuring resistance or performing continuity tests.
- Use the correct measurement mode for your testing needs: V~ for AC voltage, V- for DC, Ω for resistance.
Understanding Multimeter Safety Basics
Safety comes first when working with any electrical testing equipment. Before using a digital multimeter, like the ones from Kaiweets, you’ll need to understand essential safety practices to protect yourself from electrical hazards.
Always inspect your test leads for damaged insulation or exposed metal, and replace them immediately if you spot any wear. Don’t exceed your multimeter’s voltage rating, and guarantee it’s properly rated for your intended measurements.
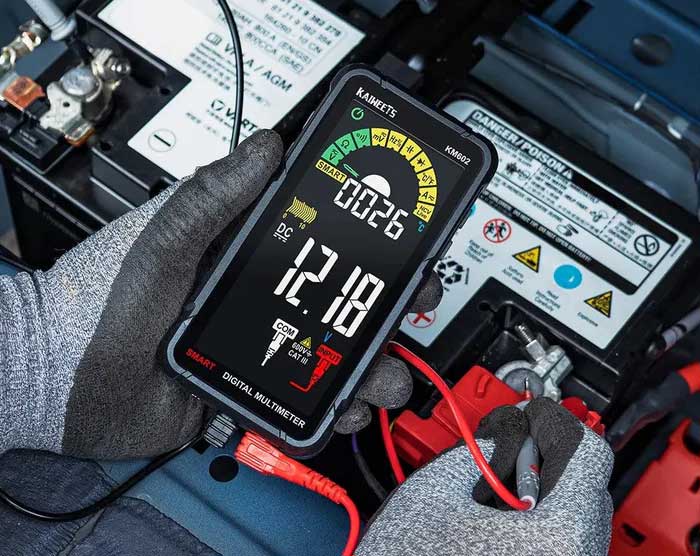
When taking measurements, keep your fingers behind the probe’s finger guards and use only one hand when possible. You’ll want to connect the black (COM) lead first and remove it last. Before measuring current, verify your multimeter’s fuse is intact and rated appropriately.
Never test resistance or continuity on live circuits – always disconnect power first and discharge any capacitors.
Choose the correct measurement function and range before connecting your probes. If you’re unsure about the voltage level, start with the highest range setting. Don’t use your multimeter in wet conditions or when there’s condensation present.
Remember to turn off power sources before connecting or disconnecting test leads, and never attempt measurements that exceed your multimeter’s specifications.
Setting Up Your Digital Multimeter
With safety precautions in mind, let’s focus on preparing your digital multimeter for accurate measurements. Start by inspecting your test leads for any damage, cracks, or exposed wiring. If you spot any issues, replace the leads immediately before proceeding with any testing.
Next, insert the black lead into the COM (common) terminal and the red lead into the appropriate terminal based on your measurement needs. For voltage and resistance testing, connect the red lead to the V/Ω terminal. If you’ll be measuring current, use the mA terminal for measurements up to 400mA or the 10A terminal for higher currents.
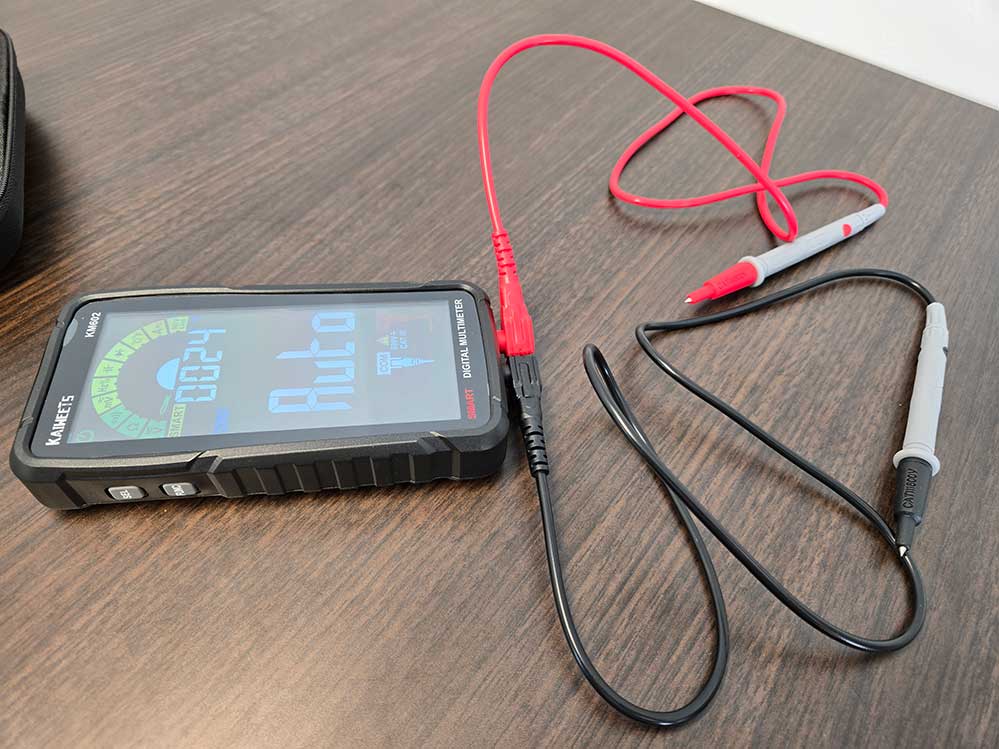
Set your multimeter’s rotary switch to the correct function and range for your intended measurement. If you’re unsure about the expected measurement value, start with the highest range setting to protect your meter.
Don’t forget to check your meter’s battery level – a low battery can affect reading accuracy. Finally, verify your meter’s functionality by performing a quick continuity test: touch the probe tips together and listen for the audible beep that confirms your meter is working properly.
Measuring Voltage Step by Step
Before taking any voltage measurements, you’ll need to determine whether you’re measuring AC or DC voltage, as this affects how you’ll set up and use your digital multimeter.
For AC voltage (like wall outlets), turn the selector dial to V~ or VAC. For DC voltage (like batteries), select V- or VDC.
Insert the black probe into the COM terminal and the red probe into the V terminal. If you’re unsure of the voltage range, start with the highest setting to protect your meter. You can always adjust down for more precise readings.

When measuring AC voltage, keep your hands behind the probe guards and touch the probes to the correct points in your circuit. For wall outlets, insert the black probe into the neutral slot and the red probe into the hot slot.
For DC measurements, touch the black probe to the negative terminal and the red probe to the positive terminal.
Watch the display for a stable reading. If you see “OL” (overload), switch to a higher range. If your reading is very small, decrease the range for better accuracy.
Always remove the red probe first when you’re done testing.
Testing Resistance and Continuity
Testing resistance and continuity requires two distinct but related processes that every multimeter user should master.
To measure resistance, first turn off power to the component you’re testing and disconnect it from the circuit. Set your multimeter’s rotary switch to the resistance (Ω) function, then connect the black lead to COM and the red lead to the VΩ terminal.
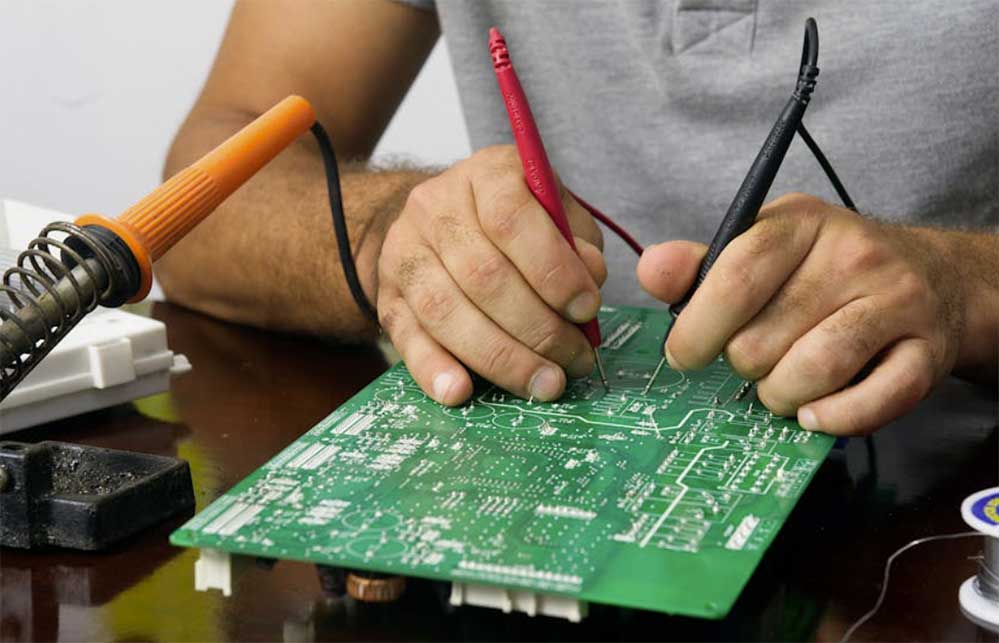
For accurate resistance readings, touch the probes to both ends of your component. If you’re testing a resistor, the color bands don’t matter – just connect to either end. Your display will show the resistance in ohms. If you see “OL” (overload), switch to a higher range.
To test continuity, switch your meter to the continuity mode (usually marked with a sound wave symbol). Touch the probes to the ends of your circuit or component. You’ll hear a beep if there’s continuity, meaning current can flow through. No beep indicates an open circuit or break.
This function’s perfect for checking fuses, switches, and wire breaks. Remember, always zero your meter first by touching the probes together to verify accurate readings.
Common Troubleshooting Scenarios
Most multimeter users encounter several recurring troubleshooting scenarios in their work. You’ll frequently need to test batteries, check wall outlets, verify fuses, and diagnose faulty appliances.
When testing batteries, set your multimeter to DC voltage and select a range above the battery’s rating. Place the black probe on the negative terminal and red probe on the positive terminal to get an accurate reading.

For wall outlet testing, switch to AC voltage mode and select the appropriate range (typically 200V or higher). Insert the black probe in the neutral slot and the red probe in the hot slot. You should see a reading between 110-120V in North America.
To check fuses, set your meter to continuity or resistance mode, touch the probes to both ends of the fuse, and verify if there’s continuity.
When troubleshooting appliances, you’ll often need to check for continuity in power cords, switches, and heating elements. Remember to always disconnect power before testing components.
If you’re measuring current draw, you’ll need to connect your meter in series with the circuit, ensuring you don’t exceed the meter’s current rating.
My Recommendation: Kaiweets KM602 Smart Digital Multimeter
The Kaiweets KM602 Smart Digital Multimeter stands out as an excellent choice for both beginners and experienced users. With its smart default mode, you’ll appreciate how it automatically detects and measures voltage, resistance, and continuity without manual range selection. The built-in 1200 mAh rechargeable battery eliminates the hassle of battery replacements.
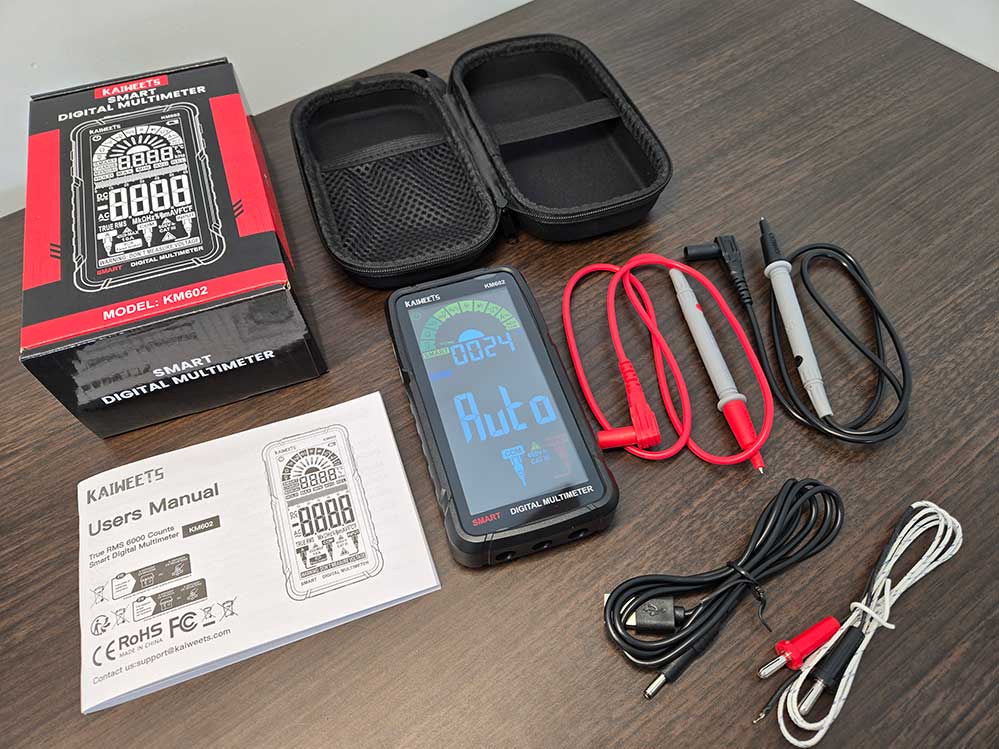
You’ll find impressive measurement capabilities, including DC voltage ranges from 600.0mV to 600.0V and AC voltage ranges with similar spans, both offering high accuracy. The resistance measurement extends up to 60.00MΩ, while the temperature range spans from -20℃ to 1000℃. The device even measures frequencies up to 10.00MHz.
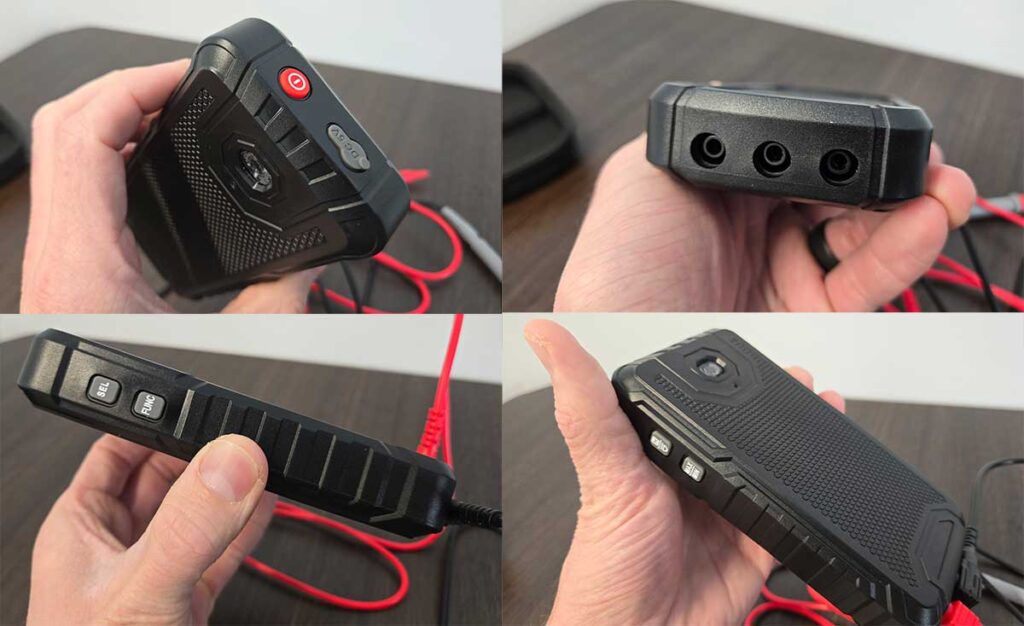
Safety features include dual fuses, overvoltage protection, and an anti-high voltage circuit. The soft silicone case protects against drops, while an auto-shutdown feature preserves battery life after 15 minutes of inactivity.
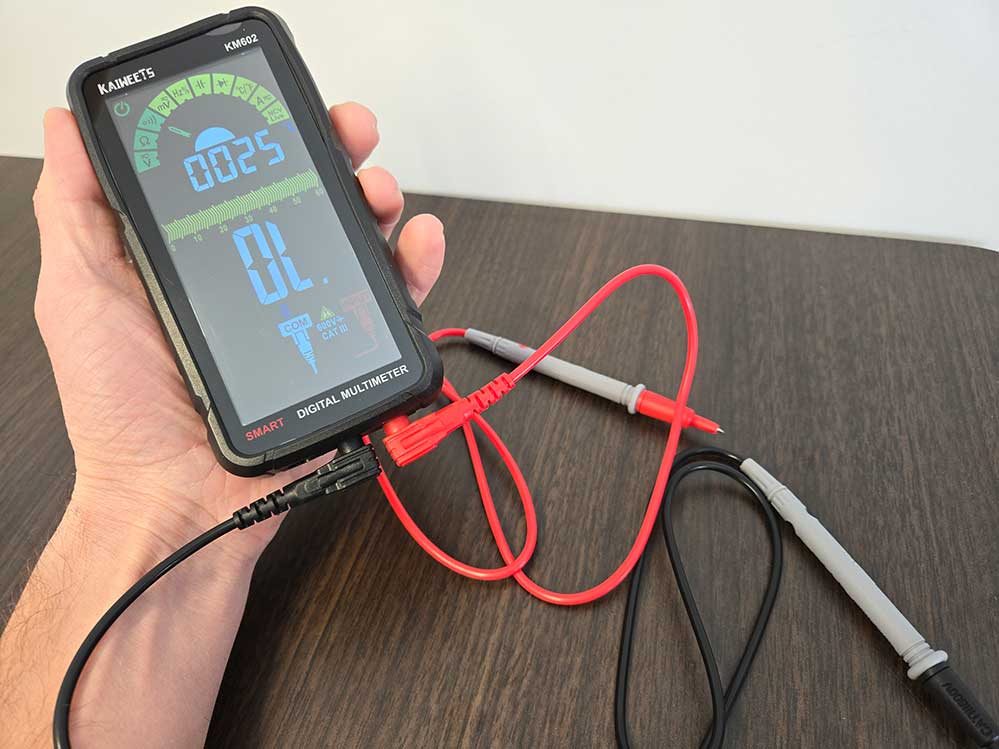
At $54.99, you’ll get a thorough tool backed by a 3-year warranty and 30-day return policy. Use code “NerdTechy” for a 15% discount. Whether you’re working on automotive, industrial, or household electrical diagnostics, this multimeter delivers professional-grade performance.
Final Thoughts
You’ll find that mastering your digital multimeter isn’t as intimidating as it first appears. With proper safety practices and the right techniques, you can confidently diagnose electrical issues in your home or workshop.
Remember to always verify your meter’s settings before testing, keep your hands behind the probe guards, and start with higher voltage ranges.
For reliable results, consider investing in the Kaiweets KM602 Smart Digital Multimeter. Use code “NerdTechy” for a 15% discount.
Meet Ry, “TechGuru,” a 36-year-old technology enthusiast with a deep passion for tech innovations. With extensive experience, he specializes in gaming hardware and software, and has expertise in gadgets, custom PCs, and audio.
Besides writing about tech and reviewing new products, he enjoys traveling, hiking, and photography. Committed to keeping up with the latest industry trends, he aims to guide readers in making informed tech decisions.

