When streaming took the gaming industry by storm, it was dominated primarily by PC gamers. This isn’t because it was the more popular platform, but due mostly to technical limitations.
On a PC, it’s trivial to set up screen capture software to record your session. Video is typically high quality, enjoyable, and doesn’t add any lag.
If you want to stream directly from your console, there are a few more challenges to face. Yes, there are plenty of capture cards on the market. The problem is that many of them add a delay. If you’re good enough that people want to watch you play, unnecessary lag is a huge issue.
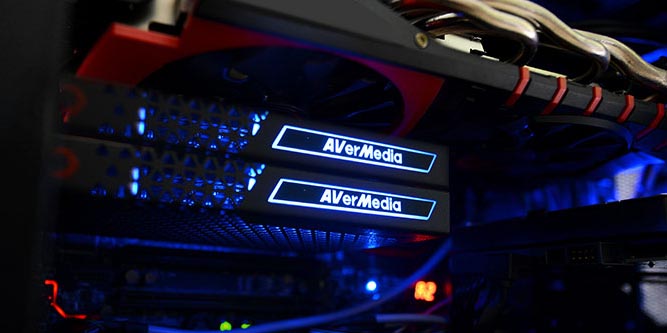
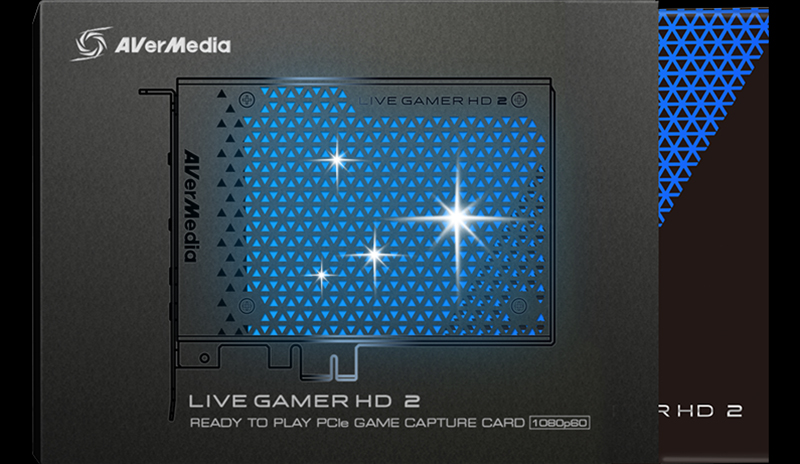
The Live Gamer HD2 is a capture card with a unique twist. The output is completely passive. The video travels back out to your TV or monitor in real time, ensuring that there is zero lag. The first version of this card was popular among streamers, and well received. With the latest version, they’ve added a few features that might come in handy for streamers. Is it worth the money? We went hands-on to find out what this card can really do.
Overview
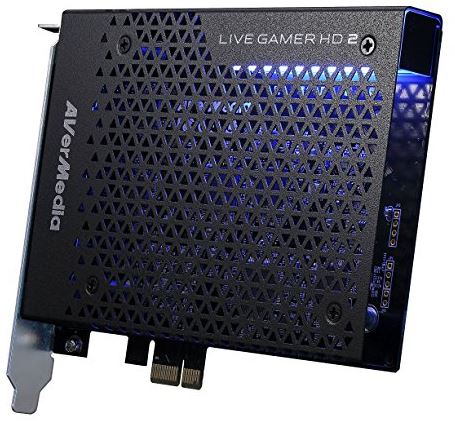
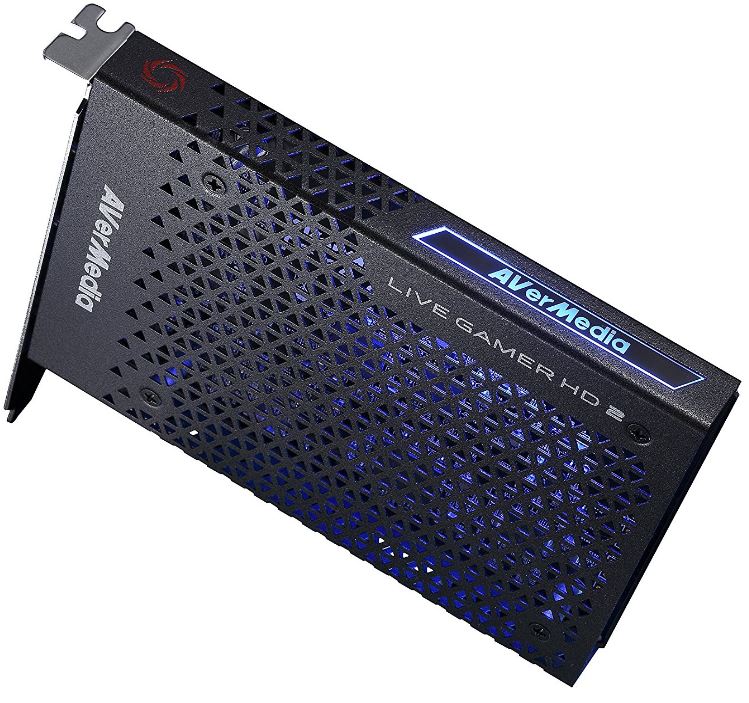
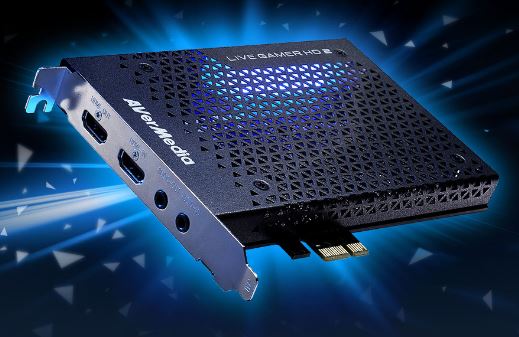
The Live Gamer HD2 is a PCIe card that can be installed into any 1x slot in your computer. Although the board is reasonably compact, it comes in a pretty stylish aluminum enclosure that will look right at home in your high-end desktop. It supports 1080p video at 60 frames per second, which is more than adequate for even high quality streams. Video is captured through their own proprietary software, designed specifically for streamers.
Setup Procedure
One of the first things you notice about AVerMedia is the amount of care they take to create a positive unboxing experience. Between the stylish design, the high-quality box, and the unique way that it opens, you definitely feel as if you’ve bought something luxurious.

Inside, you’ll find three things. The card itself comes out first, followed by an HDMI cable and a quick start guide. The first thing to do is shut your computer off, and install the card in an available PCIe slot. There are usually plenty of 1X slots available, but if you need to this card is actually compatible with any PCIe slot. Even x4 or x16 will work.
Booting up the computer, we were happy to learn that this card is fully plug and play compatible. The one exception to this is Windows 7. Fortunately, the next step would be to install Recenter, AverMedia’s custom built recording studio. This application automatically installs the drivers for windows 7, if necessary.
Finally, the last step is to connect your console. The output from your system goes into the leftmost port on the card, while the rightmost port connects to your TV.
Video Quality
Once we had our card up and running, the first thing we checked out was the video feed. Impressively, the output looks just as good as it did on the TV. The main upgrade from previous generations is the ability to record video at 60 frames per second. This makes for a much smoother output, and allows you to use the highest streaming quality possible.
Another advantage to the card is support for automatic scaling. Many consoles have to revert to 720p during graphically intense gaming sessions, so having this automatically scaled up will keep your stream clear and consistent. By correcting these two issues, this card gives you the ability to create near-perfect representations of your actual game. This is a huge improvement over the older analog cards, and we’re glad to see this technology come to fruition.
That being said, nearly lossless video requires some pretty hefty compression, and this tacks on a whole new set of hurdles.

Compression
The one disadvantage to high quality video is file size. If you’re trying to upload uncompressed to the internet, your connection will quickly start to lag. Generally, you’ll want to compress the video into a format that is nice and lightweight. Not only will this keep your internet connection active, but anyone who watches your stream will be appreciative.
The Live Gamer HD 2 has two forms of compression in place: hardware, and software. The hardware compression uses MJPEG. Although this is not a common format, it is high quality and very easy for CPUs to work with. This means that when your desktop PC is crunching away on the software compression, you’ll get better performance than when working with an uncompressed stream.
There is one unique alternative to software compression. If you have an Nvidia graphics card, you can actually offload all of the compression there. This means that while your GPU handles all the hard work, you’re using zero CPU. If you have this option, it means that you can disable MJPEG and convert directly from the uncompressed stream.
In the streaming software, you’ll have the ability to change more advanced compression settings. H.264 is the compression that is set by default, and this is what most streamers will want to use. You’re given an incredible amount of control over these options. Beginners can simply select low, medium, or high quality from the drop-down menu. Others will want to play around with the specifics.
The most important setting is bitrate. You can choose anything from 1Mbps up to 100 Mbps. Our recommendation would be to choose 60 Mbps if you have a fast-enough internet connection, with 10 Mbps being the lowest acceptable setting.
You can also choose resolution, refresh rate (FPS), Audio bitrate, and keyframe frequency. For most users, we’d recommend leaving these on default settings.
Software
In our eyes, Recentral is one of the biggest advantages to this platform. Recentral 3, the latest edition, provides several key updates over the previous. This is evident from the moment you open it up. In the center of the screen, you’ve got a real-time video feed. This is a great way to see how your current settings work.
You can adjust your picture with the Brightness, Contrast, Hue, and Saturation options. You can adjust the volume of your game, and mix in audio from a microphone if you like. Once you like the way it looks, there are two options. You can start recording directly to your hard drive, or you can click on the “social network accounts” option. This allows you to link up directly to the streaming service of your choosing, control your stream right from the software itself.
There are some scene settings available, which allow you to use certain visual effects or overlay a logo. We’re happy to see this come to the platform, however it still isn’t quite as advanced as other options.
If you are attached to 3rd party streaming software, the Live Gamer HD2 does have the capability to act as a standard streaming card. You should see the interface in your list of available sources twice. The one prefixed with “streamengine” is the uncompressed feed, while the self-titled option gives you access to the MJPEG feed.
Disadvantages
The one tradeoff for 60 FPS is demand. This card requires a pretty powerful PC to run. Officially, you need at least an I5-3330 or higher and 4GB of ram. We would highly recommend a minimum of a 3rd generation i7 and up, or a 4th generation i5 and up. Lower CPUs will still get you buy on lower quality settings, but that defeats the purpose of this card.
Final Verdict
The main advantage of the Avermedia Live Gamer HD2 is the ability to record in 60 FPS. If you’re trying to make a name for yourself in the world of streaming, this can be a huge asset. Viewers with the latest monitors are going to want to enjoy high quality streams that help them get into the game, and this is currently one of the best options on the market.
Even if you’re new, the easy to use software comes bundled can be learned in a few hours. As far as the essentials are concerned, this is a package deal that gives you everything you need to get started.
If you really want to set yourself apart from other streamers, there is one thing we’d recommend adding to any setup. The Elgato Stream Deck is a push button interface that lets you trigger any command or script you’ve got set up. From filters to video effects, this is the one piece of hardware that can be combined with your capture card to create something that your viewers will be glued to.
Meet Ry, “TechGuru,” a 36-year-old technology enthusiast with a deep passion for tech innovations. With extensive experience, he specializes in gaming hardware and software, and has expertise in gadgets, custom PCs, and audio.
Besides writing about tech and reviewing new products, he enjoys traveling, hiking, and photography. Committed to keeping up with the latest industry trends, he aims to guide readers in making informed tech decisions.