These days, many people have switched entirely to streaming. But there’s still a place in this world for DVDs. Maybe you have a favorite movie that isn’t on any streaming service. Maybe you like to have a way to watch movies without any internet connection. Or maybe you have some old home videos saved on a DVD. Whatever the reason, you might want to watch a DVD on your laptop.
Unfortunately, that’s not always easy. Newer Apple laptops don’t have DVD drives. And even if your Windows laptop has one, Windows has no native DVD support. But on most laptops, there’s some way to play DVDs. Here’s how to do it.

Playing a DVD on Your Windows Laptop
The first thing you need is a DVD drive. Most modern laptops don’t have one, which means you’ll need an external drive. While you’re at it, you may as well make that drive a good Blu-ray reader/writer. That way it will be future-proof, and you’ll be able to watch Blu-ray discs along with your DVDs.
The other thing you’ll need is software that’s capable of DVD playback. If you’re still running Windows 7, you can do this with Windows Media Player. All you have to do is insert the disc into the drive. Open Windows Media Player, and select the disc in the Player Library. It should automatically start playing. You can also select individual chapters or menus on some DVDs.
That said, newer – and older – versions of Windows don’t support DVD playback. And even Windows 7 won’t support Blu-ray playback. This means you’ll need to find some good software. Here are some good options.
VLC Media Player
VLC Media Player is a powerful media player developed by VideoLAN. It’s 100% free, although you can donate if you want to support the development. The software installs in just a few minutes. When it’s done, launch VLC by clicking the traffic cone icon on your desktop. Put in your disc, and it should play automatically. If it doesn’t, click “Media,” then “Open Disc,” then “DVD,” and click Play.
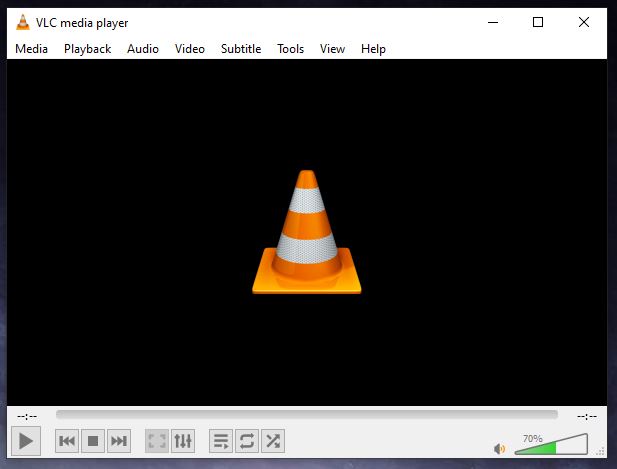
We should point out that VLC Media Player does not currently have the ability to play Blu-ray discs. If you want to watch a Blu-ray disc, you’ll need install a third-party add-on called MakeMKV. This add-on works very well, but it’s worth noting that it’s still in beta. It’s also shareware, so you’ll have to pay for a license to continue using it after 30 days.
Leawo Blu-ray Player
Leawo Blu-ray Player is another powerful software, and it plays Blu-ray discs right out of the box. You don’t have to install any extra software or widgets. Just put in your Blu-ray disc, and the software will detect it. Click the little disc icon, and it will launch the main menu. From there, you can perform all the controls you’d find on any Blu-ray player. You can navigate the menus, skip scenes, and play and pause the video.
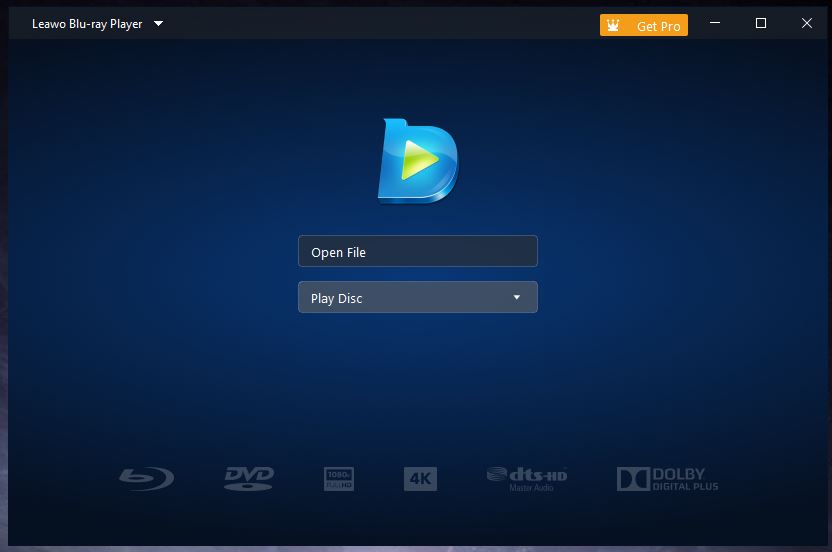
On some Blu-rays, you’ll get stuck in a loop when the menu first loads. If that happens, open “Player settings” in the menu, and click “DVD/Blu-ray.” Turn on the toggle that says “Skip Blu-ray disc menu.” This will fix your menu issues.
Leawo Blu-ray Player is free to download, and none of the features are paywalled. However, you’ll see a popup ad whenever you pause your video. If this annoys you, you can pay for the full version. It’s a bit pricey, but the ads aren’t intrusive, so the free version will be fine for most people.
Windows DVD Player
Windows offers their own DVD player app in the Microsoft Store. We really hate to recommend this, because Microsoft is charging for something that was free in Windows 7. Not only that, but the free software actually works better. As of July, 2022, the Windows DVD Player App has a customer rating of three stars.
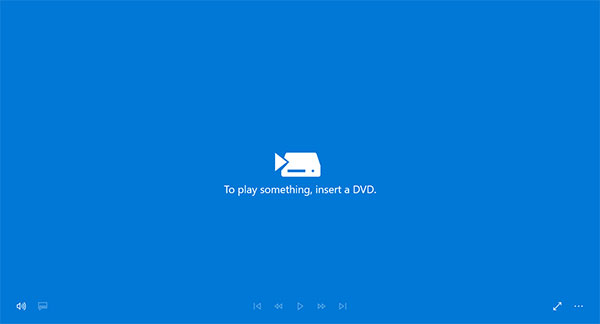
This is partially due to the deceptive nature of the marketing. The app supposedly has a 7-day free trial, but the trial doesn’t even do anything. All it does is check whether the player is compatible with your computer’s DVD player. Needless to say, we weren’t about to put down any money for this turkey. It doesn’t even support Blu-ray discs.
That said, there’s one scenario where you might have no better choice. If your laptop is company-owned, you may only be allowed to install Windows-licensed software. In that case, the Windows DVD Player App wouldn’t violate any company policies.
Troubleshooting Windows DVD Playback Issues
If you’ve got a drive and software and you’re still having issues, there might be something wrong with your drive. Here are a couple of ways to troubleshoot DVD playback issues.
First, press and hold the Windows key and hit X. This will open a menu, where you can select “Device Manager.” Within the Device Manager, click “DVD/CD-ROM drives.” You should see your DVD player in the list. If it has a red “X” next to it, there’s an issue with your drivers. Reinstall them and reboot your computer, and your drive should work fine.
If your drive doesn’t appear in the list, it’s not listed in your computer’s registry. In that case, you’ll have to add it. Note that the following steps can damage your computer. We strongly recommend that you back up your registry before moving forward. This goes for any time you mess around in your registry.
Open your start menu and type “cmd” into the search bar. Right click the Command Prompt icon and click “Run as Administrator.” Within the command prompt, copy and paste the following command:
“reg.exe add “HKLMSystemCurrentControlSetServicesatapiController0” /f /v EnumDevice1 /t REG_DWORD /d 0x00000001”
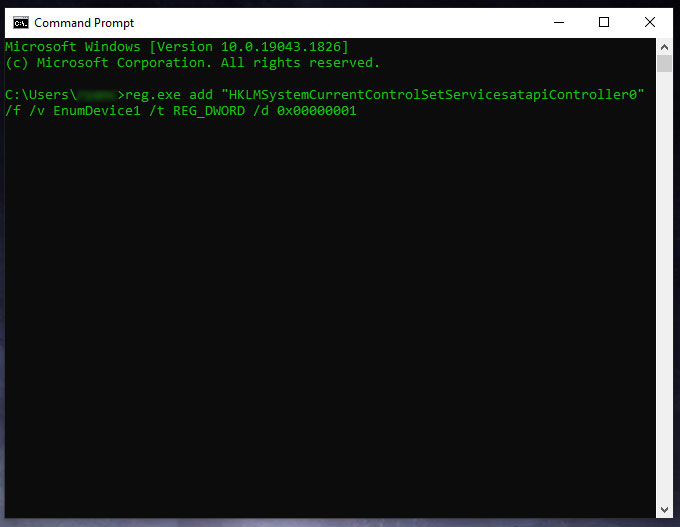
Hit Enter and reboot the computer. Then go back to your Device Manager and look for your DVD drive. If it still doesn’t show up, there’s an issue with your hardware. Either the drive is defective, or one of the cable connections is faulty.
Playing a DVD on Your MacBook
Playing DVDs on a MacBook is a bit of a mixed bag. Today’s MacBook’s don’t have any DVD drives. The last MacBook with a drive was the MacBook Pro non-Retina, which was discontinued in 2016. So if you’ve got a newer MacBook, you won’t have a drive to play with. That said, there’s a solution. Skip ahead to the next section to learn more.
If your MacBook does have a DVD drive, playing your disc is as simple as popping it in. It will start spinning, and after a couple of seconds, your Mac will recognize that there’s a DVD present. At that point, the DVD player app will automatically launch and start playing your disc. You can also open the app manually at any time.

Apple’s DVD player software has a simple interface. You navigate the DVD menu with your mouse, by clicking on various options. Controls such as Rewind and Fast-Forward are located on a bar at the bottom of the screen. The bar disappears after a few seconds, but will reappear if you move your mouse. Move your mouse to the top of the screen, and another bar will appear with a list of chapters. You can navigate horizontally back and forth to quickly skip scenes. Incidentally, this is also the way you’d play a DVD on any desktop-sized Apple computer. There’s no need for any third-party software.
SuperDrive
Apple sells their own external DVD drive, called the SuperDrive. It’s an ultra-slim device that slips easily into a laptop bag alongside your MacBook. It connects via a short USB cable, and it’s compatible with any MacBook Air, MacBook Pro, Mac Mini, or iMac. It’s also surprisingly affordable for an Apple product.
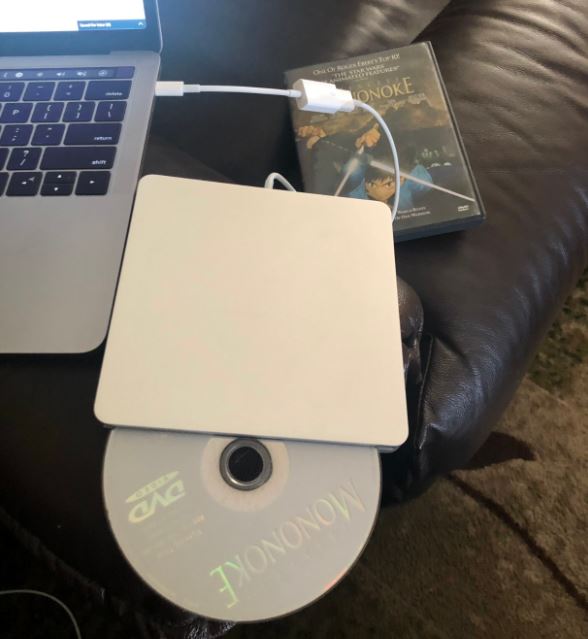
Once it’s connected, it works just like any DVD drive. Apple’s DVD player will automatically detect when a disc is installed, and you can start watching your movie. Best of all, you don’t have to carry it around with you when you’re not using it.
Final Thoughts
As you can see, there’s always a way to play a DVD on your laptop. All you need is a DVD drive, DVD playing software, and a few minutes of setup time. With so many options out there, you can easily turn your laptop into a portable DVD player. Alternatively, you could just buy a portable DVD/Blu-ray player to begin with. That way, you can watch movies without draining your laptop battery.
Meet Ry, “TechGuru,” a 36-year-old technology enthusiast with a deep passion for tech innovations. With extensive experience, he specializes in gaming hardware and software, and has expertise in gadgets, custom PCs, and audio.
Besides writing about tech and reviewing new products, he enjoys traveling, hiking, and photography. Committed to keeping up with the latest industry trends, he aims to guide readers in making informed tech decisions.

