Liquid cooling has always been considered the gold-standard of CPU cooling. The performance goes well beyond what’s possible with air, and superior technologies such as phase-change are limiting both in price and accessibility. That being said, liquid cooling isn’t always beginner-safe either. With a custom water loop, one bad connection could drench your brand new motherboard in water. Additionally, differences in loop size and radiator location result in performance variances that not all users are willing to tolerate. If you’re an expert with money to burn, custom water cooling solutions might be the way to go. But for most consumers, all-in-one solutions are a much better option.
With an all-in-one cooler, the water loops is designed and manufactured in the factory. There is no chance of leakage, making installation simple. Unlike a kit, pre-made systems are all identical. This means that the results you read about online can be replicated in your own home.
NZXT has already made a name for themselves in the PC enthusiast marketplace, and their Kraken X42 CPU cooler is ready to take on established brands. Is this the cooler that’s going to make your dream overclock possible? We went hands-on to find out.
First Look
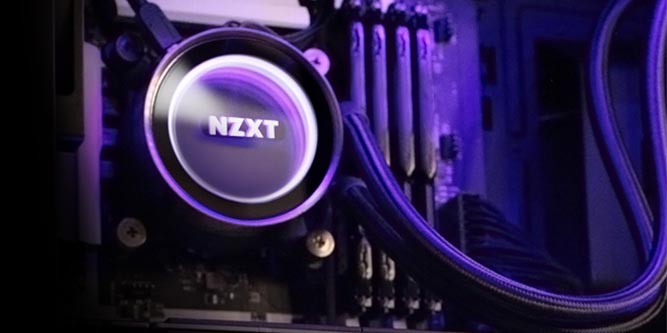
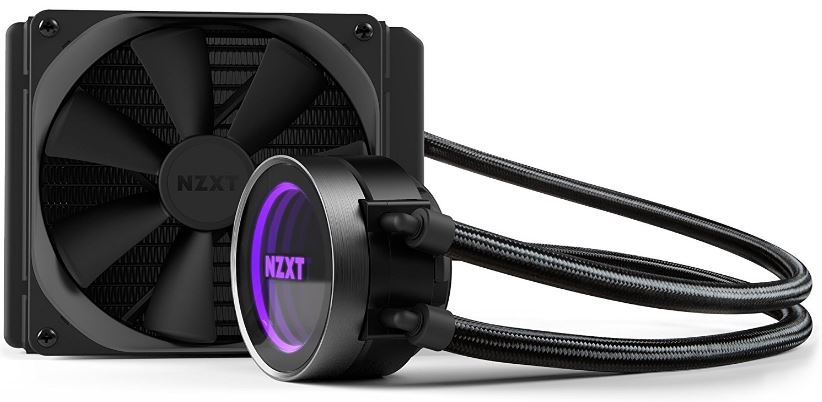
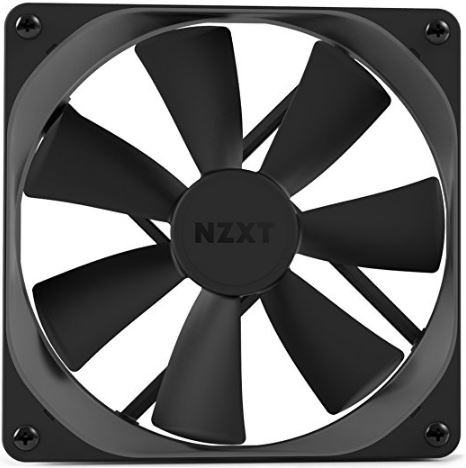
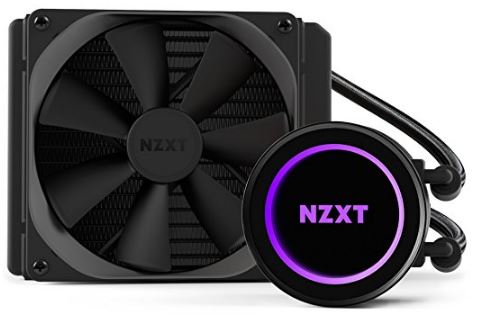
NZXT is calling the X42 the “next generation of AIO coolers.” While the form factor is the same to comparable models, several upgrades have been put in place that allow it to outperform all previous models. The fans can better control airflow, and a pump adjust circulation speed to control the flow of the water. The X42 uses the standard remote-mount radiator, and has a mount that is compatible with all popular CPU sockets on the market. With a 140mm copper and aluminum radiator, this definitely looks like a water cooling system that can keep up with the best of them. Thanks to some fancy RGB LED lighting, there is no doubt that it looks the part. But to find out how it really performs, we’ll have to put it to the test.
Installation
The X42 comes in a large cardboard box with all of the specifications on it. Inside, you’ll find the head unit and several plastic tubes. Below all of this is the manual, giving you a visual representation of how it should look when assembled.
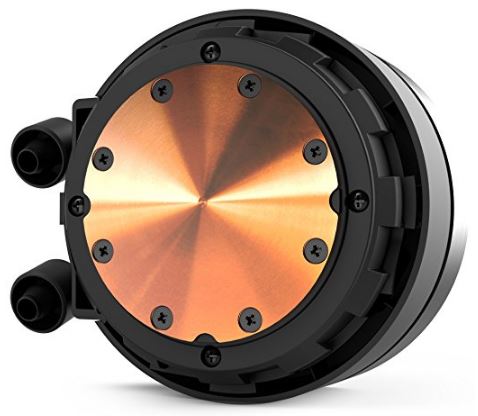
The first thing you’ll want to do is install the mounting bracket. You have to remove your motherboard to do this. The threaded ends stick through the bottom and come out the top. You can then remove the head unit and separate it from the plastic cap that protects the copper heatsink. The back plate mounts to the bottom of this heatsink, which can then be screwed directly onto the motherboard. Thermal paste is already installed, so there is no need to add more.
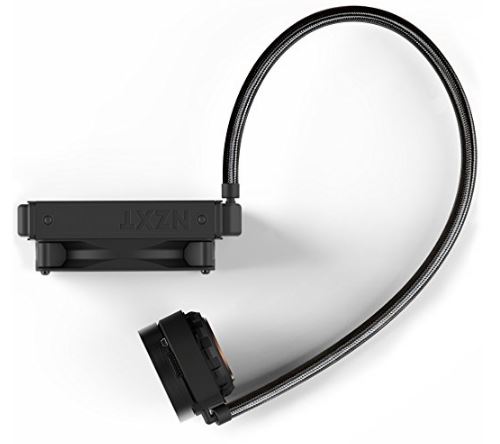
Next you’ll want to mount the radiator. It’s pretty large, so you’re going to have to have a case with a dedicated spot for it. It only takes four included screws to get it mounted. Before you screw it in place, pay careful attention to the tube orientation. There are swivel fittings on both the head unit and the radiator, so you have some flexibility with how they’re mounted.
Finally, you just need to connect the cooler to a USB port and provide the four-pin fan lead from your motherboard. At this time, you can install the NZXT CAM software. Sometimes, manufacturer software is simply a fancy front end for a system that operates independently. But this is not the case here. Everything is software controlled, so the performance would be disappointing if you didn’t have the software installed.
Software & Monitoring
We’ve always used self-operational coolers, so setting up a software suit wasn’t something we were accustomed too. As you’ll quickly realize, NZXT has an advanced monitoring system that tracks a number of variables in your system, using them to better operate the cooler. The CAM software can run on autopilot, or you can configure specific aspects of it. Regardless of which you choose, you’ll have to spend a little time in the app.
The first thing you see is a login screen. You can login through Facebook or Google, or you can make an existing account. At the bottom there is a “continue as guest” button. You don’t lose anything by using guest mode, so this can work fine. After this stage, CAM will do a quick scan of your system to find out what hardware you have. CPU, RAM, graphics cards, and motherboard are all identified. You’re then brought to the dashboard. This tells you the temperature and fan speed of your CPU and GPU, memory utilization, Hard drive space, and system load. You can tab over to the “advanced” section to see core-specific data, or you can head to the tuning section and start playing around with the coolers settings.
Tuning involves two aspects of the cooler performance: fan speed and pump speed. You’re given a curve which shows the relationship between temperature and speed. The hotter your system is, the faster your fan works. By default, the cooler is in “silent” mode. Clicking edit fans allows you to chose from one of several pre-made curves, or you can create your own. We decided to compare “performance mode” and “silent mode.” Silent mode only turns on the fans when absolutely necessary, sacrificing cooling performance for lower sound levels. Meanwhile, performance mode keeps everything running as cool as possible, regardless of how loud it is.
Overall, this software provides you with both an interface to control the cooler and an information panel to get a bird’s eye view of your system performance. Sure, some of the data (such as RAM utilization and GPU fan speed) don’t have anything to do with how the cooler is operational. But keeping all of this in one place makes it easy to tweak your system.
Cooling & Noise
The variable speed pump adds a ton of flexibility to the cooler. However, it does make it harder to control.
Consider how a liquid cooler works. Water travels to the CPU and removes heat. The hot water is then sent to the radiator, where the heat can be moved into the air. The water then recirculates. To get the best performance, the water should cool down as much as possible before it returns to the CPU. If you’re flowing warm water, it won’t be able to pull heat away from the CPU as efficiently.
This creates a bit of a conflict. A faster water flow means that more heat can be removed from the CPU. But this may not give the water enough time to cool down. We enabled PWM control and tested two different response curves to see how well the cooler did, and what the difference between them would be.
Our test system has an i7-7700K processor. We’ve got it running on a mild overclock, which allows us to really push this cooler to its limit. Under load, the stock fan sits at 84 degrees Celsius. Pretty toasty! In silent mode, the X42 only pushed these temps down to 80.5 degrees. A definite improvement, but not what we’d expect form water cooling. Once we enabled performance mode, we were able to drop the temperature to 69 degrees.
It’s pretty clear that if you want to see any real results from this cooler you’ll want to be in performance mode. Just how much noise are you going to have to put up with? Our SPL meter told us that the cooler was producing 25 dB in performance mode. Surprisingly, silent mode only drops this to 23 dB. That being said, Silent mode does become truly silent when the temperature is down, so we can see this mode being useful for times when you’re just browsing the web, and there is no real strain on your computer.
Disadvantages
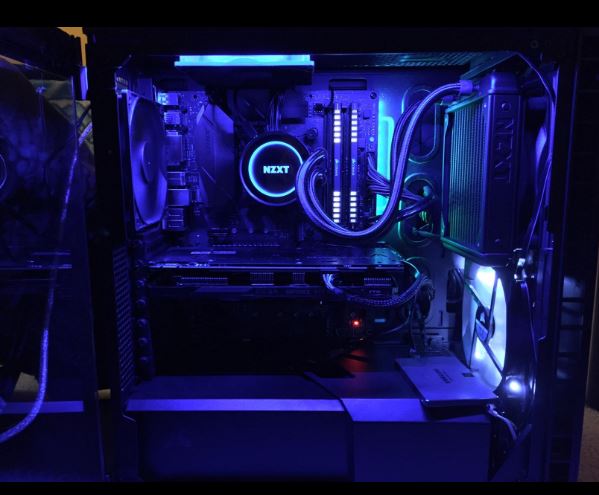
The water feed for the head unit sticks out into where the RAM is normally mounted on your motherboard. You’ve got 35mm of clearance between the tube and the bottom of your motherboard. If you have a large heat spreader on your ram, you likely won’t be able to mount it. There is no way to change it, and if the cooler doesn’t sit firmly against your CPU the performance would be abysmal. It’s important that you check the height of your ram if you’re unsure.
Final Verdict
When it comes to AIO liquid coolers, there are three main things you’re looking for. You want them to be efficient, you want them to be quiet, and you want them to be affordable. Generally, you’re only going to get two of these traits. Something quiet and efficient isn’t going to be cheap. Something cheap and quiet isn’t going to be efficient. In addition, something cheap and efficient isn’t going to be quiet.
The NZXT X42 is a bit of an exception. Under load, it’s highly efficient. When you’re CPU is running cool, it’s dead silent. The performance wasn’t game changing, but it keeps up with the best of them. Having the ability to quickly tune your cooler to whatever settings suit you is a huge advantage. For this reason, we’d recommend this cooler to anyone who uses their computer for a variety of purposes. If you’ve got it overclocked as far as it will go and you spend your time exclusively playing games, you won’t see much value here. But if you want a way to turn down your fancy cooling system while you chat on Facebook or browse the internet, this is the cooler you want.
Meet Ry, “TechGuru,” a 36-year-old technology enthusiast with a deep passion for tech innovations. With extensive experience, he specializes in gaming hardware and software, and has expertise in gadgets, custom PCs, and audio.
Besides writing about tech and reviewing new products, he enjoys traveling, hiking, and photography. Committed to keeping up with the latest industry trends, he aims to guide readers in making informed tech decisions.

