Almost as long as people have been around, we’ve come up with ways of preserving our food. Some of the oldest methods involved storing foods in boxes of salt, or submerging them in jars of honey. People in early civilizations also figured out that food lasts longer in a cold environment. After all, we’ve been keeping vegetables in root cellars for millennia. Then, in 1804, French confectioner Nicolas Appert invented canning. This revolutionized food storage, allowing meats and vegetables to be shipped throughout the world. The 20th century brought us home refrigerators and freezers, so we can store everything safely.
But what if you want your foods to last longer in the freezer? In that case, a vacuum food sealer is an excellent choice. A vacuum sealer will enclose your meat, veggies, or other foods in a snug plastic pouch. With no air inside, your food will remain fresh longer. You’ll also reduce the risk of freezer burn, so your meats will stay nice and tender. Of course, not just any vacuum food sealer will do. You need one that’s going to work for the kinds of food you want to store. You need it to be big enough to accommodate your largest foods, and powerful enough for easy operation.
We’re about to review the OMOTE Vacuum Food Sealer. OMOTE is a relatively new manufacturer, specializing in smaller consumer electronics. We recently reviewed the OMOTE Cordless Leaf Blower, and it worked well for the size and price. So it made sense to check out their vacuum sealer, and see how it compares to the competition. We’ll start by talking about food sealers in general, and what you can reasonably expect. Next, we’ll talk about the OMOTE sealer’s physical design, construction, and accessories. Then, we’ll discuss how it’s used, and the results you can expect to get. After that, we’ll summarize what we’ve learned, and hand over our verdict. Let’s begin!
Vacuum Food Sealer Basics
Before we get to the OMOTE Vacuum Sealer in particular, let’s talk about the basics. What should you be looking for in a food sealer? First and foremost, consider what you’re using it for. If it’s for leftovers, individual cuts, or other small jobs, a small consumer model might be just fine. On the other hand, if you’re going hunting or sealing a garden’s worth of produce, that might not be enough. You might want to splurge on a commercial-grade food sealer that can run non-stop. Then, you can easily package a freezer’s worth of food for your sous vide cooker.
Another thing to consider is what kind of accessories you get. Many food sealers don’t come with any bags, so you end up having to buy those separately. Some sealers also come with attachments for sealing bottles, jars, and cans. If you want to vacuum seal more than just a bag, look for a sealer with those types of accessories.
Of course, the physical design is also a concern. You need to consider how you’re going to store your vacuum sealer. If you don’t have enough space, you’ll have to look for a smaller sealer. Along the same lines, look at whether it can be stored vertically or on its side. Check out the control scheme, too. Is there only one sealing mode? Two? More? Is there an option for manual control? These things can make a difference, depending on what you’re trying to seal.
What Foods Can be Vacuum Sealed?
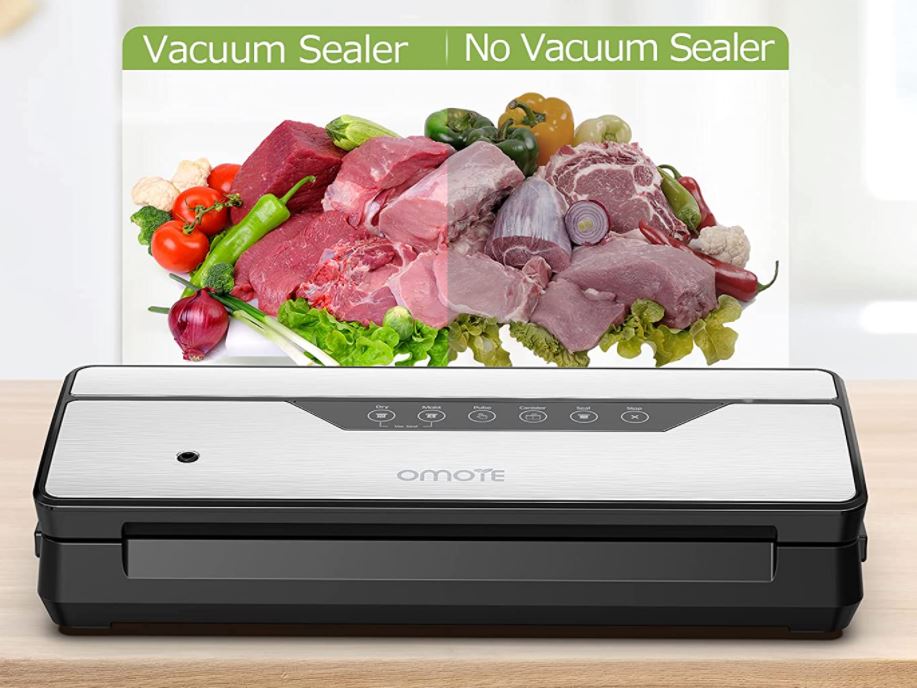
The last thing you want to think about is what types of foods you want to preserve. Not all storage methods are suitable for all foods, and vacuum sealing is no exception. Fortunately, the majority of foods can be vacuum sealed easily, without any issues. Meats, firm fruits, dry goods, and most vegetables can all be sealed as-is. As long as the food will fit in the bag, go ahead and seal them.
That said, there are some exceptions. Certain vegetables need to be blanched before they get sealed. These vegetables include turnips, as well as fructiferous veggies like broccoli, cabbage, cauliflower, and Brussels sprouts. The reason for this is that certain vegetables contain enzymes that will produce off-flavors over time. Blanching will break down these enzymes and keep them from ruining your veggies. To blanch a vegetable, submerge it in boiling water for a few minutes. The exact amount of time depends on the vegetable. Then, immediately immerse it in ice water so it returns to room temperature, and you’re ready to seal.
There are also some foods that can’t be sealed at all. Soft and or unpasteurized cheeses like Ricotta and blue cheese cannot be safely vacuum sealed. The same is true for garlic and mushrooms. The reason is that these foods can contain anaerobic bacteria. Since they can live without oxygen, they can grow inside a vacuum pouch.
As an added note, make sure to seal all foods when they’re at room temperature or cooler. Warm foods can harbor more bacteria, which will reduce your storage life. If you’re sealing food after cooking, put it in the fridge for a few hours first. This will bring it to a cool enough temperature for safe vacuum sealing.
Overall Design
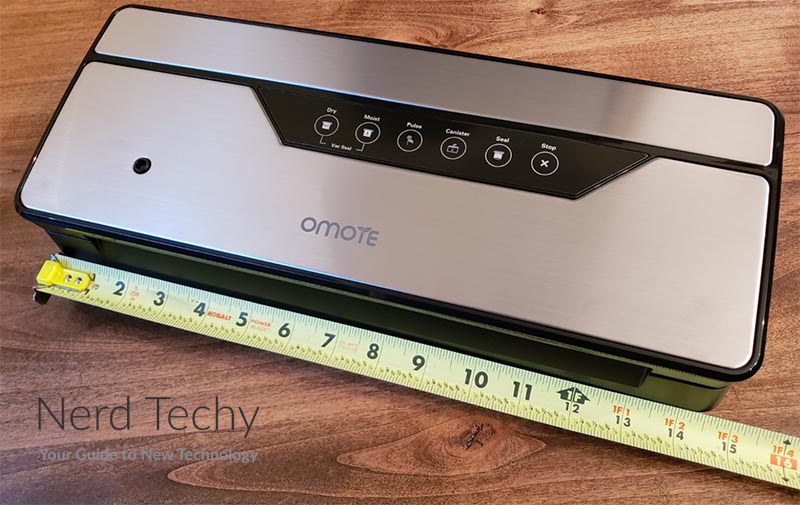
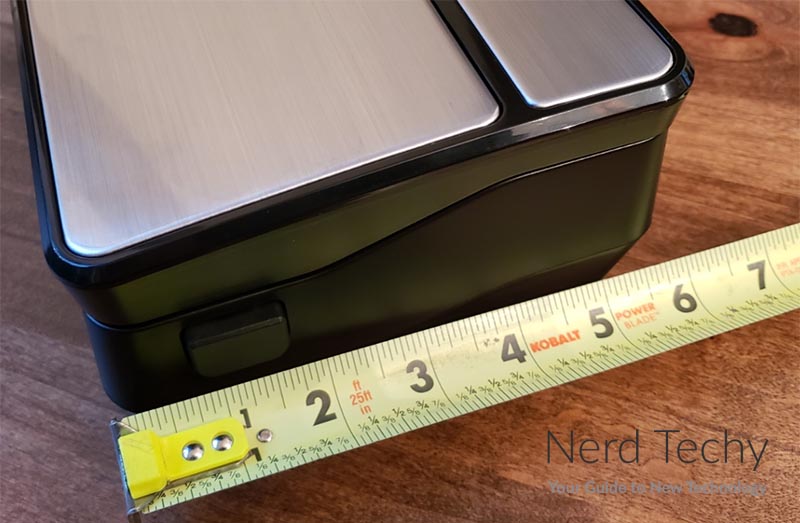
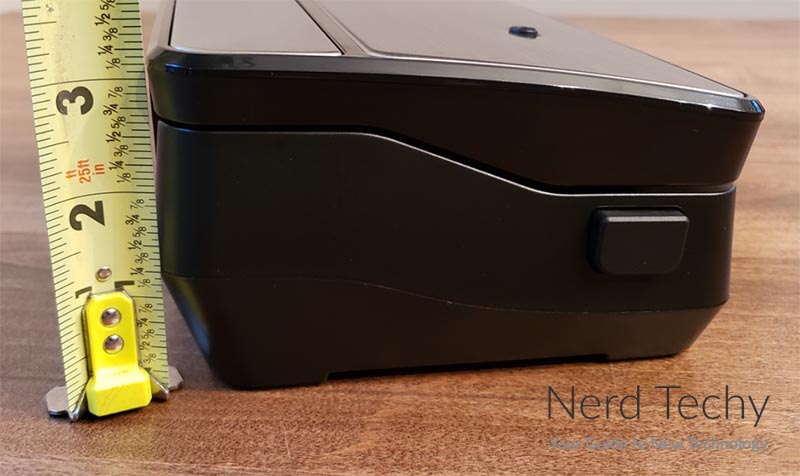
The OMOTE Vacuum Food Sealer is big and rectangular, with a black ABS plastic housing and a chromed plastic lid. It’s easy to wipe down and keep clean, with a total size of 16.61 inches wide, 7.8 deep, and 4.65 thick. This makes it easy to store away, although it cannot be stood on end due to the buttons on the sides. Even so, you can put it on its back or on its face, and it will sit against the side of the cabinet.
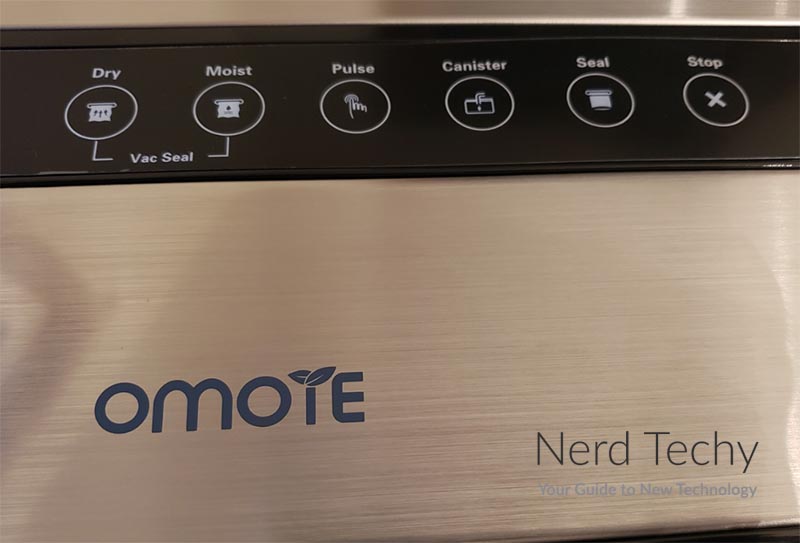
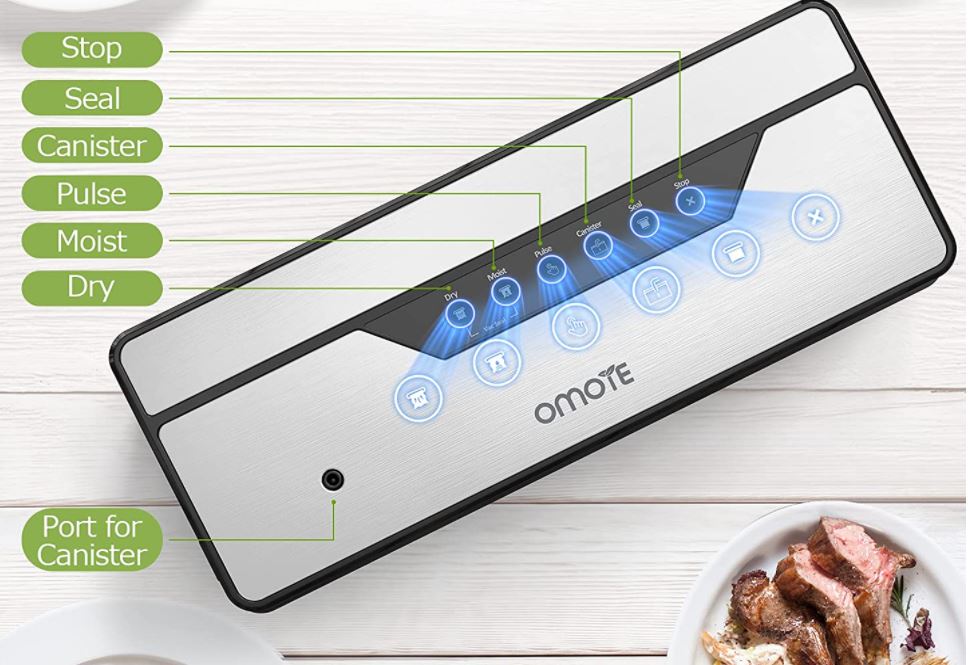
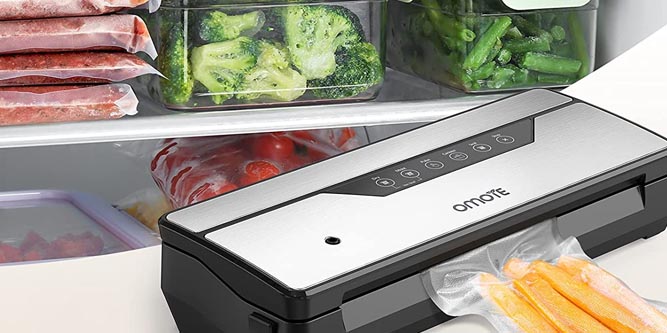
On the top of the housing, you’ll find all the controls. These have a soft touch design, and are easy to use with wet or greasy hands. The first two buttons operate the two automated vacuum modes: dry and moist. The third operates the manual vacuuming function, and the fourth operates the bottling vacuum function. The fifth is a sealing option for two-ended pouches or ones that have been manually vacuumed. The last button is a stop button, which ends whatever the sealer was doing.
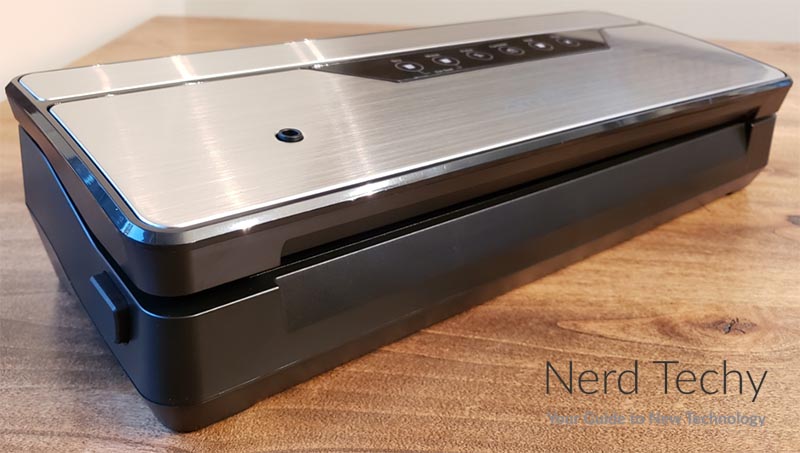
Also on the top of the housing is a small hole, where you can attach a hose for sealing bottles. This is used in tandem with the included accessory hose and the wine cork. You put the cork in the top of an open bottle, run the sealer, and unhook the hose. Your beverage then remains safe from oxidization. This cork will also work as a plug for many popular aftermarket canning and jarring lids.
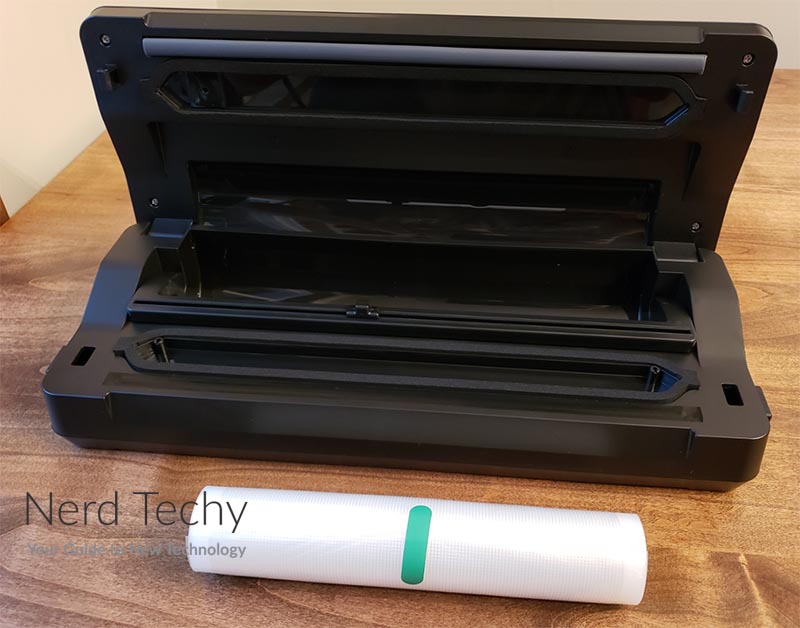
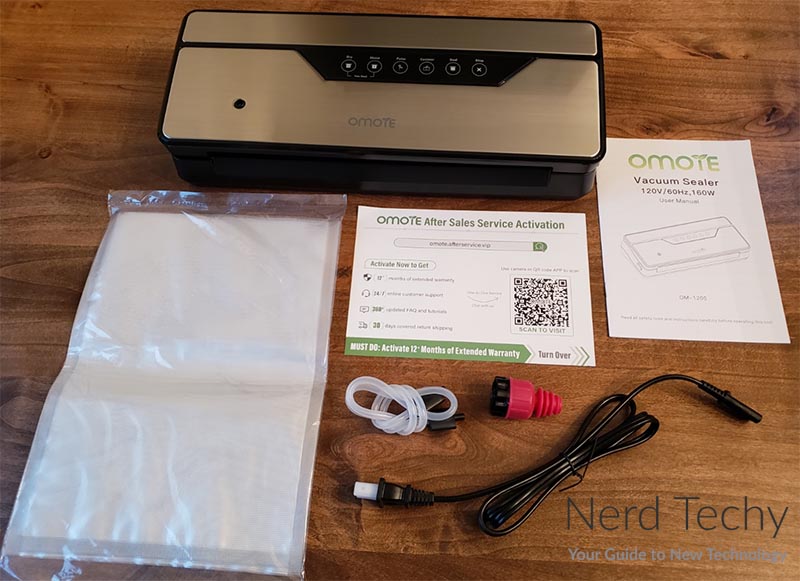
The power supply input is located on the back left corner, and a removable cord is included. On the sides of the housing, you’ll find the two release buttons we briefly mentioned. Press these to access the inner storage compartment. Inside, you’ll have a roll holder, with storage for a 16-foot (5-meter) sealing roll. This isn’t big enough for the world’s largest rolls, but it’s fine for most home users.
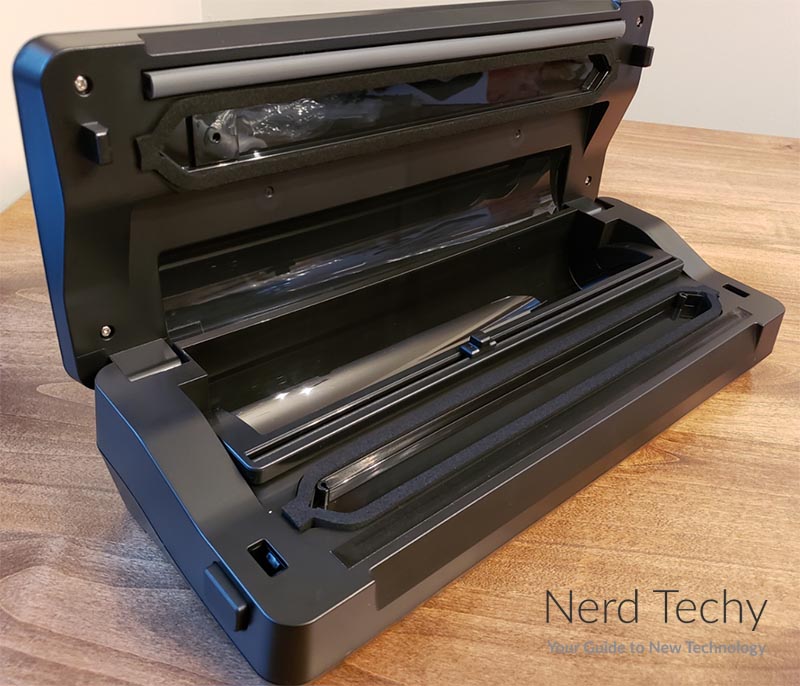
In fact, there’s a five-meter roll included in the package. This is basically a long sleeve that’s open at both ends, and it’s used to create custom pouches. First, you pull the front of the roll under the cutting mechanism. Pull out whatever length you need, leaving about two inches extra for sealing. Then, slide the black cutting mechanism from left to right. This will create a clean cut for the end of your pouch. Now, close the lid, insert either end of your sleeve, and press the seal button. This will seal one end, creating a pouch that’s ready for use.
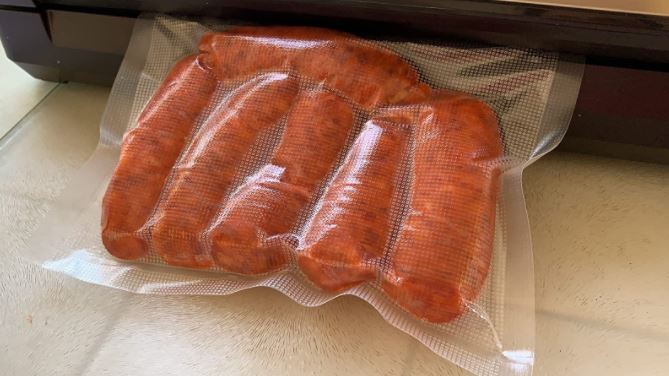
Of course, you can also use a premade bag, up to a maximum width of 11.8 inches. The only caveat is that these need to be proper vacuum sealing bags, with a textured finish. That “texture” is actually thousands of tiny air valves, which let air leave the bag but not enter it. There are five bags included in the kit, and an endless number of aftermarket options available.
Everyday Operation
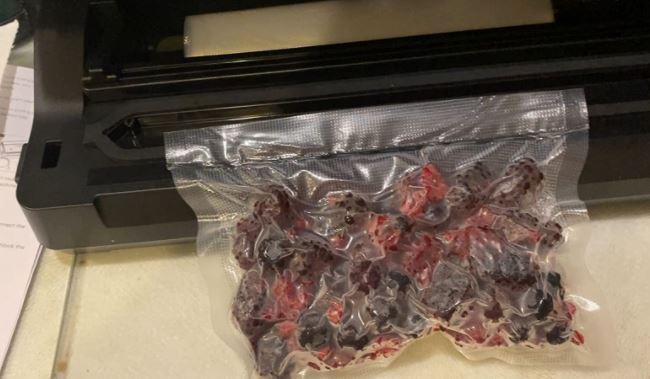
Using the OMOTE Vacuum Food Sealer is simple and straightforward. First, prepare all your bags and pouches, and have your food ready to go. Open the lid, then fill one of your bags. Make sure to leave some space at the top so the sealer can fully close the opening. Put the open end of the bag in the vacuum sealer opening, and pull the sides so it lays flat. Press down on the lid until it clicks, then choose your sealing mode. The sealing process will begin, and an indicator light will turn on. When the light goes off, you can open up the machine and take out your food. Repeat the process for as many bags as necessary.
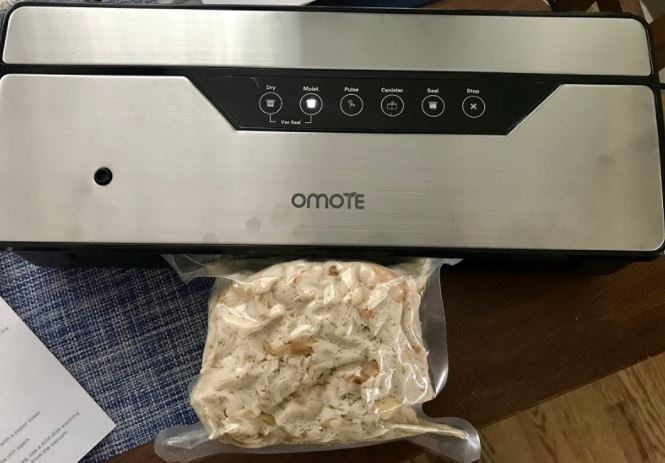
The dry and moist food modes are self-explanatory. The dry food mode is for dry good like popcorn, dried beans, and nuts. In this mode, the vacuum will pull as hard as possible, to extract all air. The moist food mode is a bit less aggressive. It won’t squish fruits and veggies, and it won’t suck beef juice out of the pouch. Keep in mind that this means “moist,” not “wet.” You should still get your food as dry as possible before sealing it up.
The third option is to use the “pulse” button to manually vacuum out your bag. This is a better choice for delicate foods, like dried fruits, chips, and crackers. When you release the pulse button, the vacuum immediately stops sucking. This way, you remove some air, but you don’t squeeze the bag flat and crush your foods. When you’re happy with the amount of vacuuming, just press the “seal” button to close the pouch.
Final Verdict
The OMOTE Vacuum Food Sealer is a great way to keep your meat and veggies fresh for longer. It’s a basic consumer model, so it can only do 5-10 pouches at a time before it has to cool off. But for most home use purposes, it’s going to be powerful enough for your needs. It’s also easy to use, with plenty of sealing modes. And with all of the accessories, you get enough versatility for sealing just about anything.
Meet Ry, “TechGuru,” a 36-year-old technology enthusiast with a deep passion for tech innovations. With extensive experience, he specializes in gaming hardware and software, and has expertise in gadgets, custom PCs, and audio.
Besides writing about tech and reviewing new products, he enjoys traveling, hiking, and photography. Committed to keeping up with the latest industry trends, he aims to guide readers in making informed tech decisions.

Is the plastic used for sealing SAFE if my food is cooled down before sealing?
The plastic is food safe, commercial grade and BPA free. You can seal it without worry.