
Quick Answer:
Google Maps may recalibrate your route based on factors like real-time traffic conditions, GPS signal accuracy, or outdated app data. You can regain control by calibrating your device’s compass, enabling Google Location Accuracy, or even using options to “Avoid Highways” and “Avoid Tolls.”
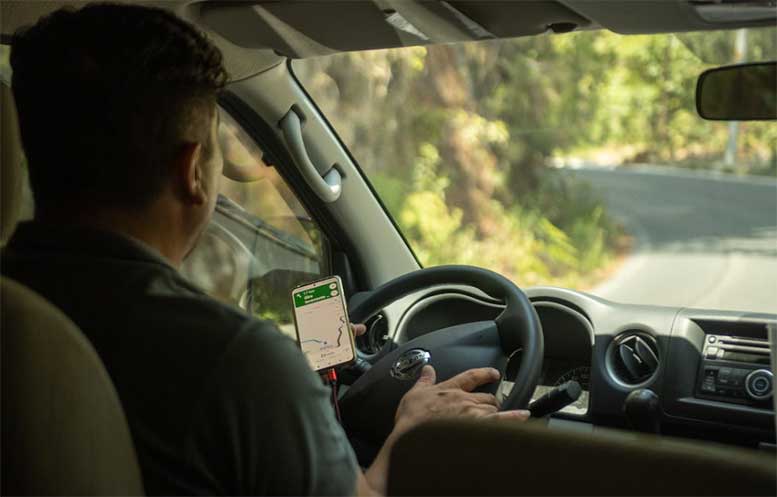
You’re out on the open road, enjoying a seamless journey with Google Maps leading the way. You’ve got your playlist on, and all is right with the world. But suddenly, Google Maps decides to recalibrate your route. It’s happened to us all, but why?
That’s what we’re examining here today. We’re getting to the bottom of why Google Maps behaves this way and how you can regain control.
The Significance of Compass Calibration
To better understand Google Maps’ penchant for route recalibration, we need to discuss the critical role of compass calibration. Whether you’re an Android or iPhone user, compass calibration is not to be neglected.
For Android: Why Is Calibration Necessary?
Google Maps relies heavily on the magnetometer in your Android device to figure out which direction you’re headed. When this sensor’s data isn’t accurate, Google Maps could reroute you unexpectedly, leading to detours that might be less than welcome.
OK, that’s great and all, but how do we fix it? Follow these quick and easy recalibration steps:
- First, we need to access Calibration. Start by launching the Google Maps app. Tap on the blue dot that symbolizes your current location. This action will prompt a menu where you should select the Calibrate option.
- Once you’ve done that, the screen will guide you to hold your phone and move it in a figure-eight pattern.
You might not nail it the first time. The sensor could require a few rounds of this figure-eight movement for optimal calibration. Don’t hesitate to repeat the process until your phone confirms that the compass accuracy has been improved.
For iPhone: The Apple Way
iPhone users have it relatively easy when it comes to compass calibration. Thanks to Apple’s integrated systems, a couple of quick steps will suffice to enhance your navigation experience.
- First, you need to enter the privacy settings. So go to the Settings app and navigate your way to the Privacy option.
- Within the Privacy tab, you’ll find Location Services. Upon entering this menu, scroll to find System Services.
- Here’s where you toggle the Compass Calibration option to “on.”
With your device’s directional sensing now likely more accurate, Google Maps should think twice before sending you on an unsolicited scenic route.
Level Up with Google Location Accuracy (Android Only)
Android users, there’s another feature in your arsenal to keep Google Maps from tossing you around: Google Location Accuracy.
This feature enhances the baseline location data that your phone provides by drawing on a wider net of resources, including nearby WiFi networks and cell towers.

【Changeable UI Car Stereo Radio】you can download the APP from Google Play and customize your own UI Themes.It is troublesome to removal the original car stereo radio of some car models. It is recommended to find a video on YouTube to learn first

【Applicable Models】 7 inch Touchscreen Double Din Car Stereo Radio Upgrade Compatible with Toyota Matrix 2003 2004 Pontiac Vibe 2003-2008

🚗【Plug & Play Car Stereo】This car radio for Toyota Tacoma 2005-2015 supports factory steering wheel controls. Necessary cables supplied, easy to install and no cables to cut. Please note that if your vehicle's factory-installed reversing camera displays on the rearview mirror, this product CANNOT transmit the video feed to its screen.
Why Google Location Accuracy Is a Game-Changer
By enabling Google Location Accuracy, you’re essentially giving Google Maps additional data points to work with.
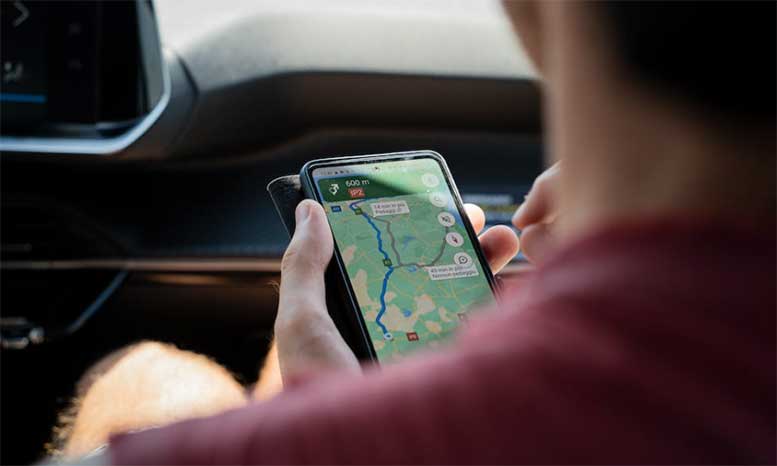
The result? More accurate location tracking and, by extension, more reliable routing. This can be especially beneficial in urban areas where GPS signals may struggle to penetrate buildings or in rural settings where GPS might be spotty.
Steps to Enable Google Location Accuracy
Let’s move on to activating this feature so that you can enjoy your desired routes without interruption. Follow the steps below to begin:
- Open your Android device’s settings menu and scroll until you see the “Location” option. Give that a tap.
- Once you’re in the “Location” settings, you’ll find an option for “Location Services”. Go ahead and tap that, as well.
- Within “Location Services,” you’ll spot “Google Location Accuracy.” It’s the moment of truth. Toggle the switch next to “Improve Location Accuracy” to “on.”
Just to make sure we’re covering all our bases, keep in mind that enabling this feature might slightly increase your phone’s data usage and battery consumption.
However, most users find the trade-off worth it for the boost in location accuracy and overall Google Maps reliability.

Precision Matters: Enable Precise Location
Alright, if you’ve been following along, you’re well on your way to making Google Maps your most reliable travel companion.
But we’re not quite done. Let’s dial in on another feature that can make a significant difference: precise location. Whether you’re an Android aficionado or an iPhone enthusiast, this one’s for you.

package height : 27.9 cm

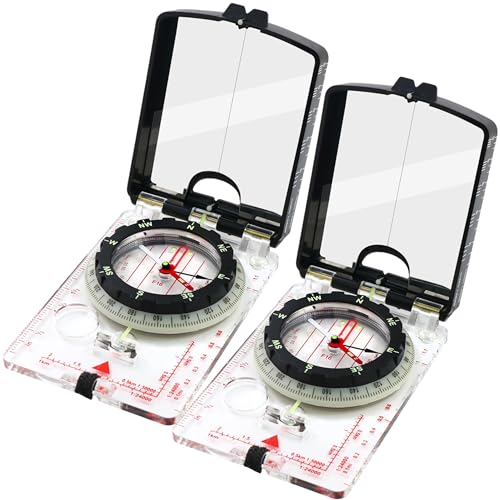
PROFESSIONAL DESIGN: Military-grade lensatic compass with flip-up sighting mirror and high-precision directional dial for accurate navigation in any environment
The Intricacies of Precise Location
When you enable the precise location feature on your smartphone, you’re essentially fine-tuning the GPS accuracy to a T.
It’s like switching from a broad brush to a fine-tip pen for your location data. The more granular data allows Google Maps to pinpoint your location with greater accuracy, reducing the likelihood of those dreaded unexpected reroutes.
How to Enable Precise Location on Android
Android users, you’re up first. If your device is running Android 12 or higher, follow these steps:
- Long-Press the App Icon: Locate your Google Maps app and give it a long press until a menu pops up.
- Select Info Icon: In the menu, you’ll find an “info” icon that resembles a small letter “i”. Go ahead and tap on that.
- Navigate to Permissions: Once you’re in the App Info section, scroll down until you see “Permissions.” Tap it to proceed.
- Flip the Precise Location Switch: Here’s the finishing touch. You’ll find an option for “Use Precise Location.” Simply toggle the switch next to it to “on.”
iPhone users, you’re not left behind. If your phone runs on iOS 14 or above, here’s what you need to do:
- Open Settings: The gateway to most tweaks on your iPhone. Scroll down until you find Google Maps and tap it.
- Find Location Settings: Inside Google Maps settings, there’s a “Location” option. That’s your next tap.
- Toggle Precise Location: Finally, you’ll see an option labeled “Precise Location.” Toggle the switch next to it to “on.”
A note of caution: Enabling Precise Location can consume a bit more battery. Yet, for most, the minor uptick in power usage is a small price to pay for avoiding unnecessary detours or, worse, ending up at the wrong destination.
Don’t Overlook Cache Clearance (Android Exclusive)
So far, we’ve looked over the top reasons and fixes for why Google Maps keeps changing your route. But there’s one more culprit that might be at play if you’re an Android user, and that’s the app’s cache.
Cache data is basically the app’s short-term memory, allowing for snappier performance. But it can also cause erratic route changes, so it’s important that you know how to clear it out.
- Long-Press the Google Maps App: Giving the Google Maps icon a long press brings up its App Info menu.
- Go to Storage: Navigate your way to the “Storage” option within the App Info menu.
- Tap Clear Cache: This is where you hit “Clear Cache” to give the app a fresh start.
Sometimes, you want to escape the ever-changing landscape of real-time traffic updates. And you can do this by using Google Maps’ offline features. To go offline, follow these steps:
- Search Your Destination: Launch Google Maps and search for the city or neighborhood you’re interested in.
- More Options: A card for your location should appear. Swipe up on it and tap the three-dot menu icon.
- Download the Map: Choose “Download offline map” and follow the cues to complete the download.
What are you supposed to do if you’re still getting rerouted? If you’ve done everything above and you’re still having trouble, consider these extra tips:
- Internet Connection: Ensure you’ve got a robust internet connection. Spotty service can lead to spotty navigation.
- Battery and Data Saver Modes: They may be good for longevity, but these modes aren’t your friends when it comes to navigation. Consider disabling them.
- Application Updates: Running an old version? Update the app to tap into bug fixes and performance improvements.
If you’re still having issues after having tried the tips above, there are a couple more things we can try. Check out the last-ditch options below.
Avoid Highways
- Get into Google Maps and start finding your way to your destination.
- Tap on “Options” or “Routes,” which you’ll usually find as a button with multiple route symbols.
- In the “Avoid” section, choose “Avoid Highways.” This keeps you on those cozy backroads.
Skip the Toll Booth
- Same steps as above, but this time in the “Avoid” section, choose “Avoid Tolls.” Google Maps will do its best to keep you toll-free, like a radio station that’s all hits, no fees.
Remember, these options don’t have ultimate power. Google Maps might still adjust things based on real-time traffic conditions.
Pull the Rerouting Plug
Still not satisfied? You can always go rogue by turning off the automatic rerouting feature altogether.
- Start Your Navigation: Commence your journey in Google Maps. If you see a preview button instead of a start button, take note.
- Find “Upcoming”: It’s a small card with an arrow, usually at the bottom-left of your screen. Tap it.
- Enter Settings: Spot that gear icon? That’s “Settings.” Give it a tap.
- Disable Auto-Reroute: Flip the “Automatic reroute” switch to “off.”
Word of caution: While this offers more control, you’ll also miss out on real-time route updates for traffic jams or road closures. So be sure to use this option with care.
Final Thoughts
Route recalibration doesn’t have to be the Bermuda Triangle of your travel plans. Knowing its ins and outs can make you the true captain of your navigation experience. So utilize the tips above to help Google Maps provide the best experience possible while you’re on the open road.

FOR APPLE & ANDROID | ZERO MONTHLY FEES, TOTAL PEACE OF MIND - Finally, one tracker for all your devices. Say goodbye to expensive subscriptions and hidden costs. Our device leverages the power of BOTH the Apple Find My network AND Google's Find My Device network. This means whether you have an iPhone, iPad, Samsung, or Pixel, you get powerful, reliable tracking using the native, trusted app already built into your phone—absolutely no third-party app downloads required.

[Seamless Adaptation to Android Ecosystem]: This wireless tag, specially designed for Google Find My Device, can achieve stable wireless interconnection with Android phones. It deeply integrates into Google's positioning ecosystem, enabling easy device positioning and searching operations, thus providing Android users with a convenient tracking experience.

[1.91'' HD screen and Ultimate CPU Upgrade] A smoother operating experience! Combining 3D V-Cache technology, it enhances performance through optimized caching, providing ultra-low latency and extremely fast response. This smart watch is specifically designed for seamless multitasking and content creation. Designed for the future of AI computing, it has the powerful performance and connectivity required to handle complex AI applications. A 1.91-inch low-power high-definition screen, a 1.8mm glass integrated capacitive touchscreen, uses precision full lamination technology to prevent sweat and fingerprints.
Meet Ry, “TechGuru,” a 36-year-old technology enthusiast with a deep passion for tech innovations. With extensive experience, he specializes in gaming hardware and software, and has expertise in gadgets, custom PCs, and audio.
Besides writing about tech and reviewing new products, he enjoys traveling, hiking, and photography. Committed to keeping up with the latest industry trends, he aims to guide readers in making informed tech decisions.