-
Overall Design - 9/10
9/10
-
Engraving Quality - 8.5/10
8.5/10
-
Ease of Use - 7.5/10
7.5/10
-
Speed and Efficiency - 9/10
9/10
Summary
In the realm of compact laser engravers, the LaserPecker 3 undoubtedly stands out. It boasts an innovative and well-engineered design, and its unique features, such as the versatile electric roller, make it an exciting tool for both hobbyists and businesses. The setup process may require some time and attention, but once completed, it offers an impressive, user-friendly experience.
Pros
- High precision and speed
- Versatile material compatibility
- User-friendly app interface
- Portable and well-designed
Cons
- Complex initial setup
- Some engraving limitations
In an ever-evolving tech landscape, laser engravers have carved a unique niche. Their precision, speed, and versatility have unlocked new opportunities for hobbyists, entrepreneurs, and industries alike.
Today’s cutting-edge offerings perform at the highest level and are capable of producing imagery that previous iterations only dreamed of. In this deep-dive review, we’re exploring the LaserPecker 3, an innovative development that promises to leave you impressed. Here’s our experience with it.
Unboxing the LaserPecker 3
Upon receiving the LP3, the first thing that strikes you is its packaging. Open it, and you’re greeted by a compact storage case that neatly houses the laser and all its accessories. It’s clear from the get-go that LaserPecker values both aesthetics and practicality. The case is made of high-quality materials and appears robust and well-designed.
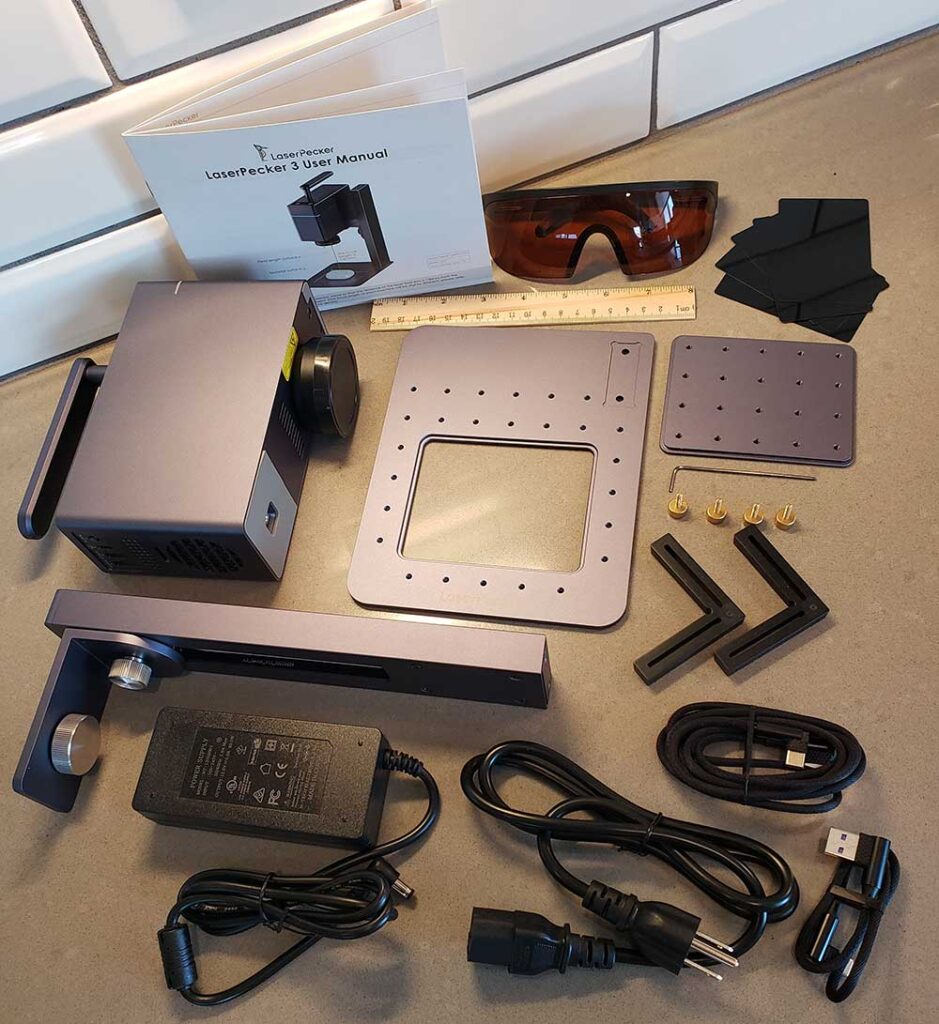
The handle design simplifies transportation, a nod to its portability and practical use in various environments. The case is also touted to be reusable and recyclable, providing an eco-friendly touch. Inside, the components are securely arranged, ensuring safe transit and easy unboxing. These components include the LaserPecker 3, an electric stand, the electric roller, laser safety glasses, an adapter with US standard, two Type-C cables, five aluminum business cards for test engravings, and a wooden ruler.
First Impressions
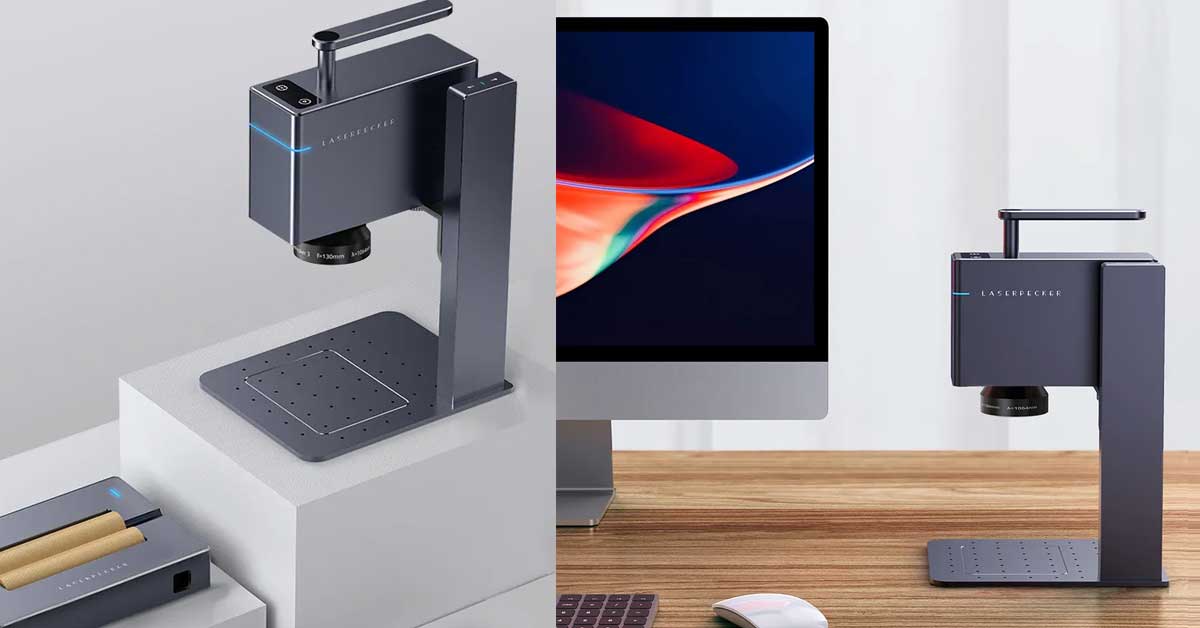
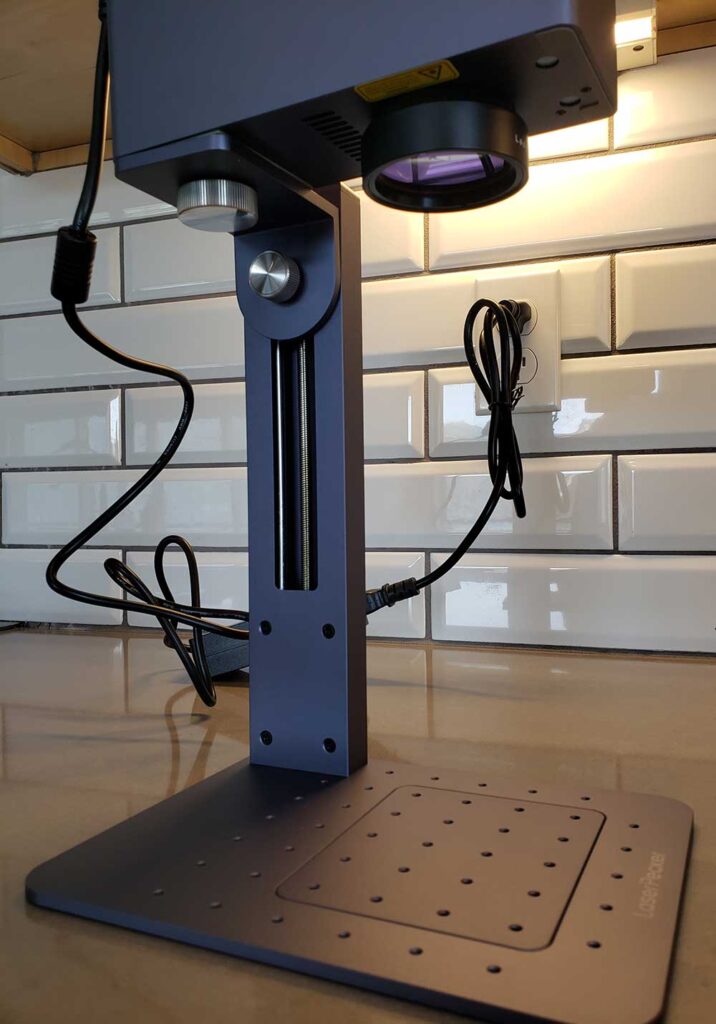
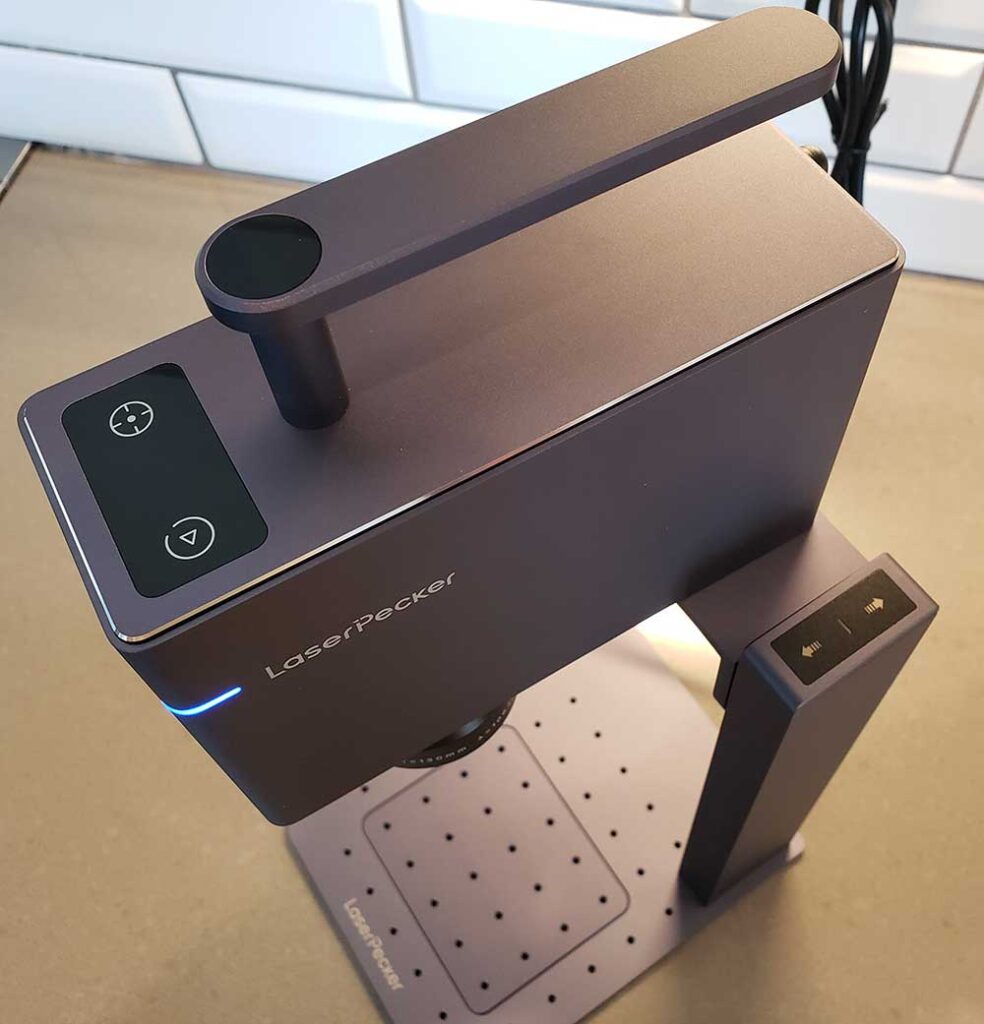
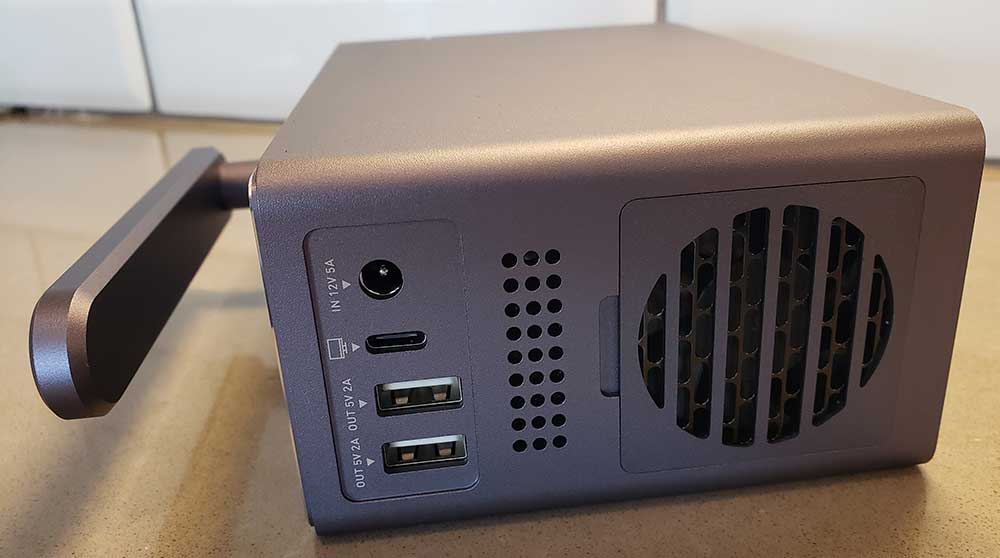
Initial impressions of the unit itself are overwhelmingly positive. It’s compact, measuring 6.39 x 2.3 x 4.80 inches, and relatively lightweight at 3.52 pounds. Despite its small footprint, it has a strong, durable build quality that immediately inspires confidence and assures reliability. The first notable feature is the 1064nm Pulsed Infrared Laser, which is distinctly different from the previous LP2’s 450nm diode laser. This fiber laser is specially designed for engraving on metal and plastic materials, eliminating the need for any preprocessing.
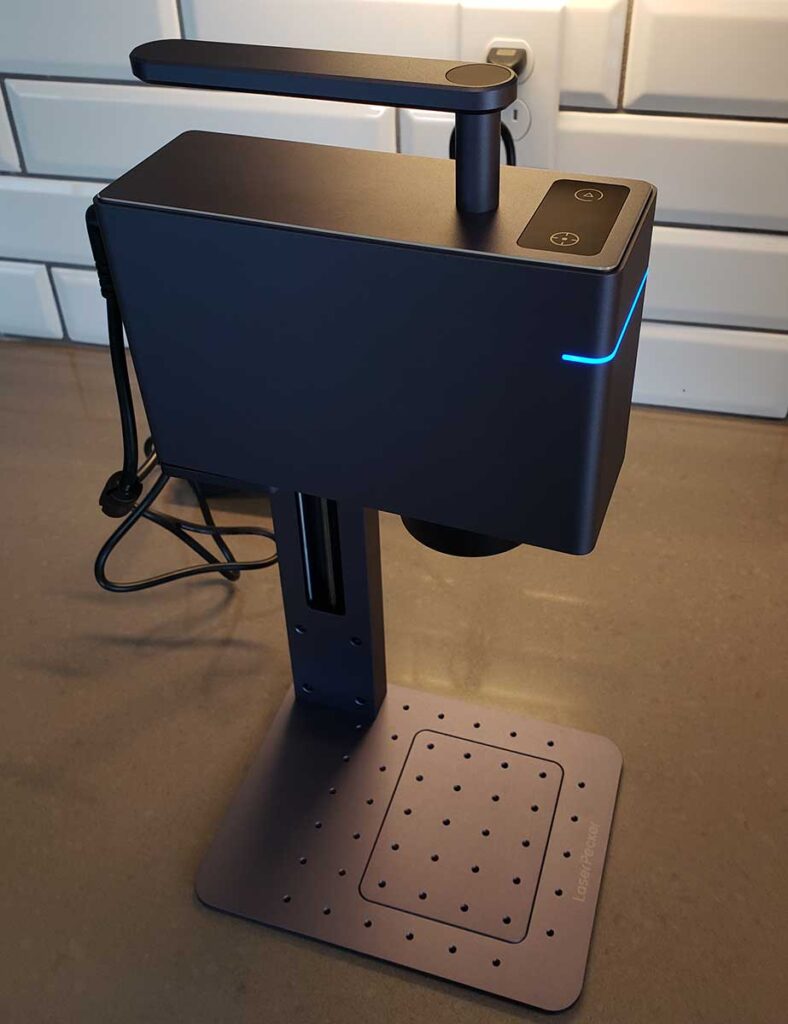
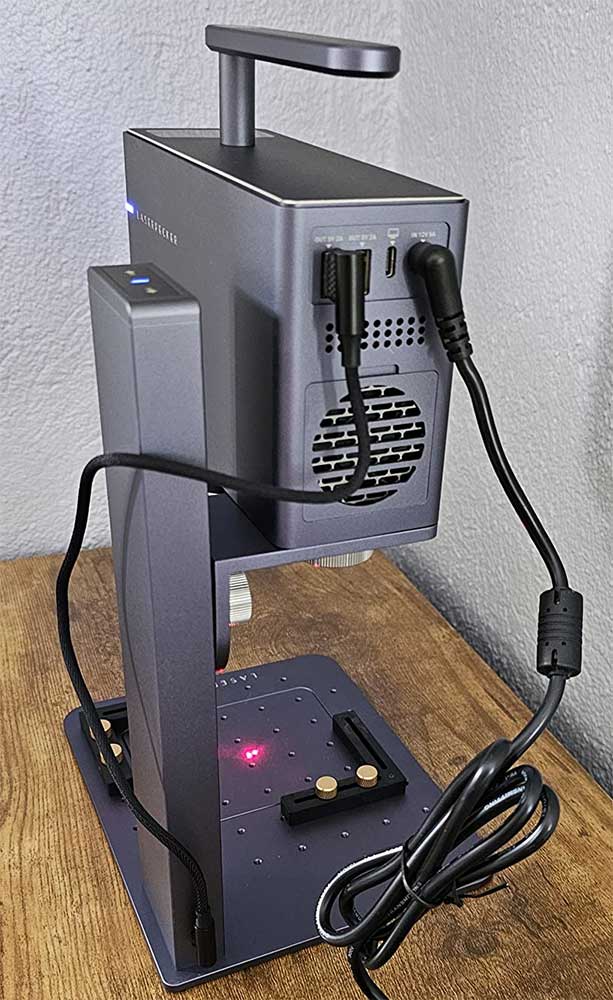
The electric stand feels sturdy and well-balanced, and it’s evident that it’s meant to support the LP3 during engraving operations. The versatile electric roller, designed for 360° rotary engraving on cylindrical surfaces, comes across as an innovative feature, expanding the range of possible engraving projects. On the software side, it’s clear that this model aims for versatility and user-friendliness. It is compatible with Android, iOS, Windows, and MacOS operating systems and offers high-speed Bluetooth 5.0 for quick, reliable connections.
So far, the LaserPecker 3 gives a strong first impression of being a compact, well-engineered, and versatile tool, promising high-speed, high-accuracy laser engraving. It’s clear from the unboxing and initial inspection that it’s a premium device aimed at users who value precision, speed, and convenience. Now, let’s talk about the setup process and what you can expect.
Getting Set Up
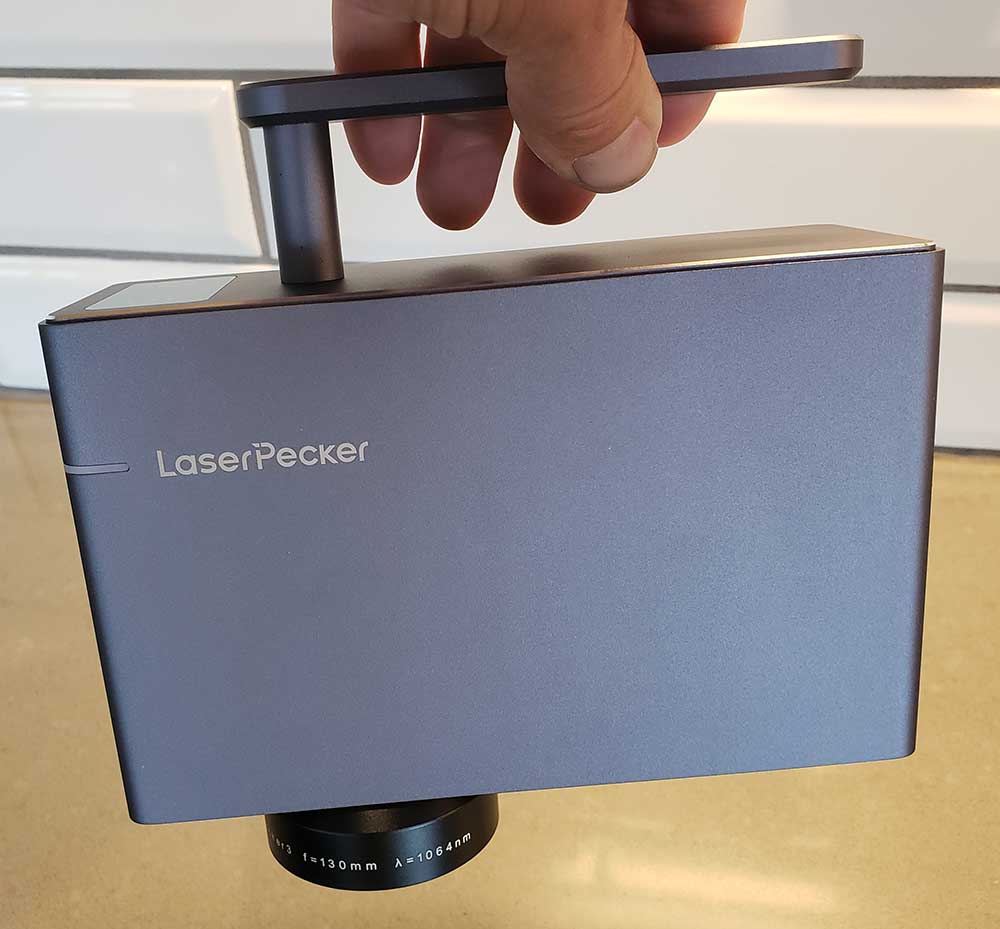
Setting up the laser for use involves a few critical steps, among which is setting the correct focal distance for the laser engraver. The process might be slightly technical for a beginner, but it’s not overly complicated. More importantly, it’s crucial for obtaining optimal engraving results. The first thing you need to understand is why the focal length is crucial and how it varies.
Early LP3 units have a focal length of 115 mm, while units delivered after November 2022 have a focal length of 130 mm. The variation is mentioned in the user manual, the laser lens, or visible through the App. But just in case you overlook it, we wanted you to hear it from us, too.
Remember, the focus is adjusted manually and can vary by 1mm to 2mm, and the correct focal distance is vital for optimal engraving. Incorrect focal length can affect the resulting quality and leave you with less-than-stellar output. We can confirm that this is true, and we can’t make it clear enough that you need to address this before starting. With this vital piece of information out of the way, let’s move on to our experience setting up for the first time.
Step 1: Displaying the Two Laser Focusing Dots
- First, we connected the laser to the App.
- Once in the App, we navigated to “Red Light Stay” via Mode Settings.
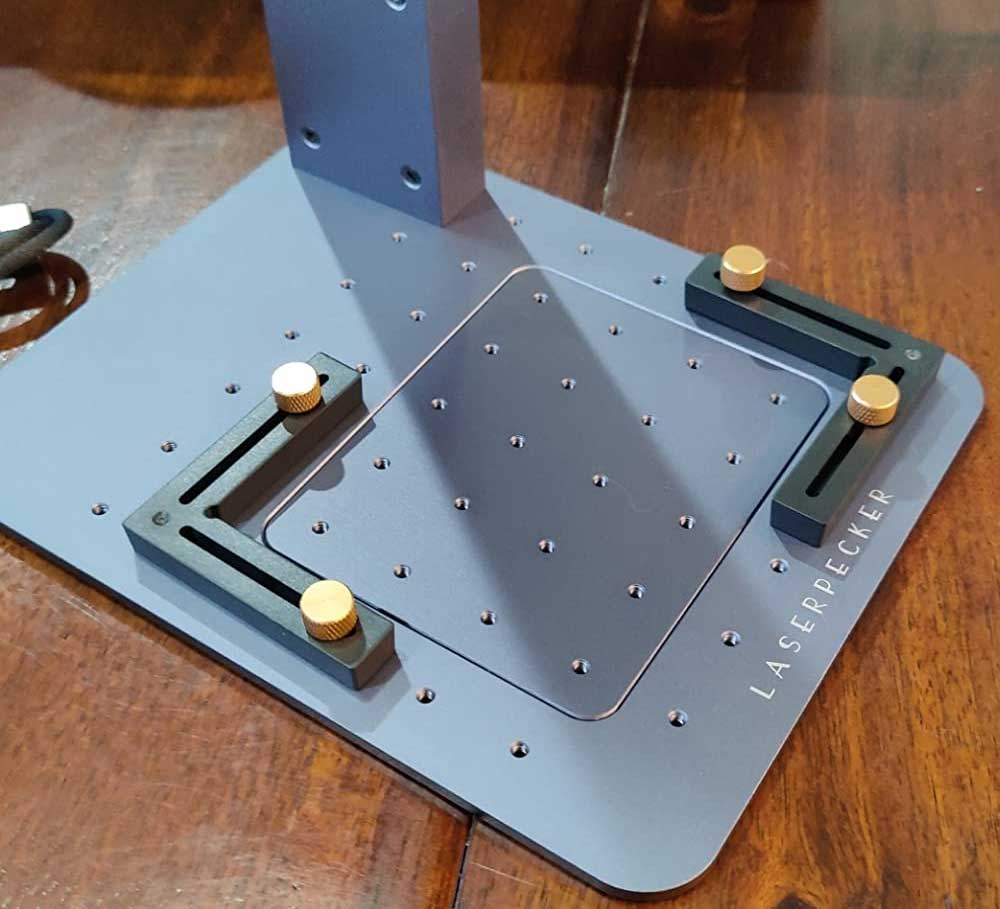
- We placed the material we wished to engrave on the LP3’s base. Note: you can use the black metal sheet that comes with the unit.
- Next, we chose an image to engrave and clicked “Preview.” Two laser-focusing dots appeared in the image preview box.
Step 2: Finding the Correct Focal Length
- We adjusted the height of the laser until the two dots overlapped. You may do this via the App or directly from the stand using the built-in arrow buttons.
- After setting up, you’ll want to stop engraving and check if the two holes under the LP3 head are filled.
- If the holes are not filled, use the included hexagonal wrench to adjust the nuts until the two laser dots overlap. Now, you can focus normally by raising and lowering the unit until the dots overlap.
- If the holes are filled, use a ruler to measure the height, and set the laser head to this height each time you engrave.
You’re now ready to use the laser. Remember, setting up your LP3 correctly will result in better engraving quality, so it’s worth spending some time getting it right. We wanted to highlight these steps to illustrate how involved operation is and to explain why it’s necessary. While many of the functions are user-friendly, this isn’t something you can jump right into without proper configuration. You’ll be happy that you took the time to follow this crucial setup process. Your images will look better, and the laser will be easy to use going forward.
Operation and Functionality
Operation is a straightforward process (after the initial setup, of course), but it doesn’t compromise on advanced features and functionality. As mentioned, you can connect it to your smartphone or computer via Bluetooth. And once connected, you’re treated to a range of options. Through the companion app or desktop software, you can upload your design files. These can be in various formats, including JPG, PNG, G-code, BMP, SVG, or DXF, providing flexibility to cater to different needs and preferences.
The 1064nm Pulsed Infrared Laser has a laser spot of just 0.01 x 0.01mm, promising precision and clarity in the final engraved design. The device’s laser is also designed to function optimally within a working area of 4.5 x 3.1 inches, with a conventional engraving area of 2.5 x 2.5 inches. However, it’s worth noting that with the versatile electric roller, the engraving area can extend up to 4.52 x 78.74 inches on cylindrical surfaces.
Another mighty impressive feature is the engraving speed, which reaches up to 1,889 inches per minute, thanks to its innovative galvanometer technology. Its preview speed is even more impressive, coming in at approximately 11,811 inches per minute. This high-speed operation allows for the completion of engraving tasks more quickly and efficiently. Yet another notable highlight of operation is the availability of multiple resolutions. You can choose between 1K, 2K, and 4K, allowing you to decide the detail level and precision of your engravings based on the project at hand.
Materials Compatibility
The laser engraver is versatile when it comes to material compatibility. Unlike its predecessor, which required pretreatment for metal and plastic engraving, the LP3 can engrave a variety of metal and plastic materials directly. The types of compatible metal materials include aluminum, stainless steel, copper, silver, gold, titanium, and coated metal plates. As for plastic materials, it can work with PVC, acrylic, PET, and more. Additionally, it’s also capable of engraving on artificial leather, lacquered paper or wood, and purple clay.
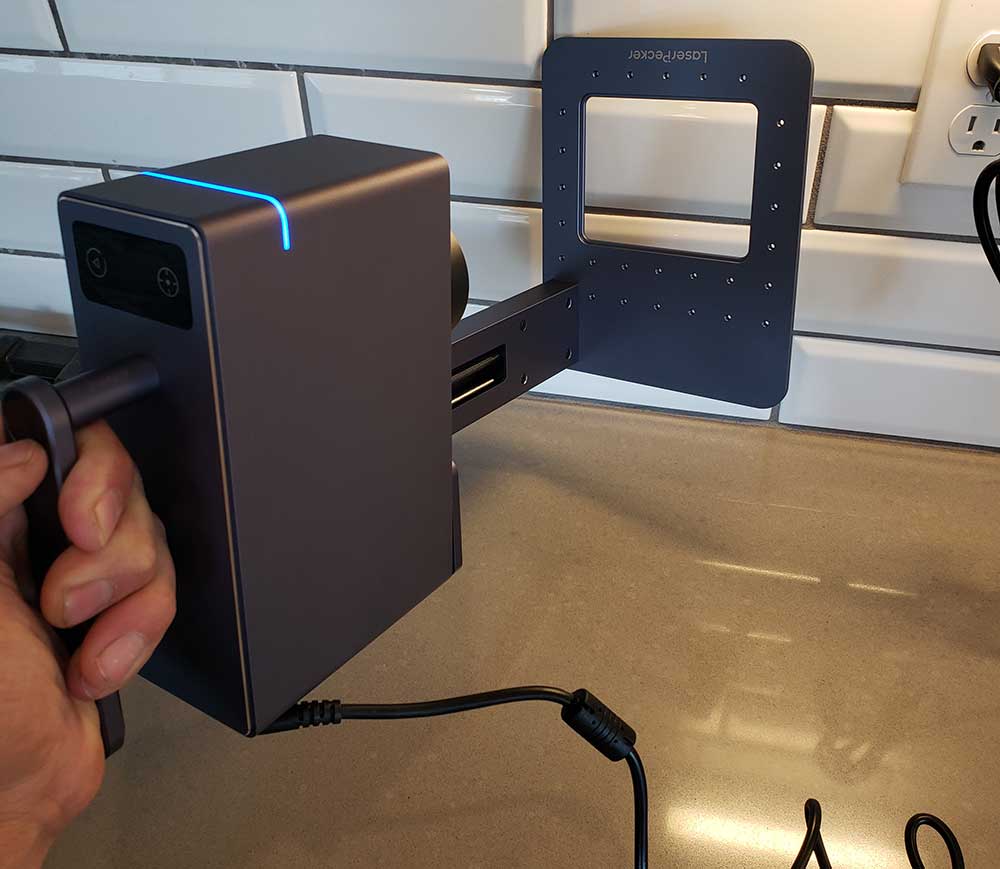
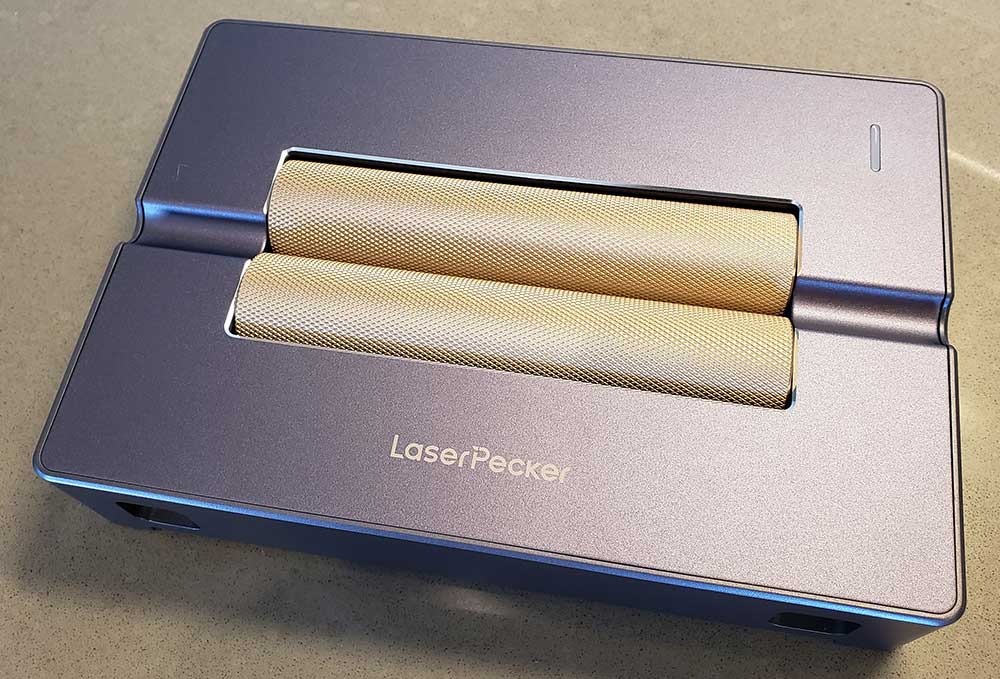
Creating with the Versatile Electric Roller
One of the most striking features is undoubtedly the ability to work on cylindrical surfaces, made possible by the Versatile Electric Roller. This attachment enables 360° rotary engraving, presenting an expansive canvas for unique and personalized creations. The integration of this feature differentiates the LaserPecker 3 from many conventional engravers on the market, as it breaks the bounds of flat, 2D surfaces and ventures into a more dimensional realm.
Now, everyday items can be transformed into individualized artifacts bearing your own distinct mark. Moreover, items like pens and jewelry pieces can also be customized with intricate designs, whether to add a personal touch or enhance their aesthetic appeal. However, despite its versatile engraving capabilities, the LP3 does have its limitations. Notably, it does not support engraving on wood, glass, stone, or leather. If your project involves these materials, LaserPecker recommends turning to the LaserPecker 2, which is specifically tailored to handle these substrates.

The LP3’s potential isn’t solely limited to personal use; it opens up new avenues for commercial applications as well. Businesses can use it to engrave logos, taglines, or other branding elements on promotional merchandise. Furthermore, the precision and speed of this unit make it an ideal tool for creating bespoke commercial products, opening up a new dimension of creativity and uniqueness that can set a business apart.
From hobbyists seeking to add a dash of personality to their items to businesses looking to strengthen their branding, the LP3 is equipped with the tools to make your vision a reality. This innovative device truly embodies the concept of creativity at your fingertips. Don’t be dissuaded by the preliminary setup process. Once you’ve completed initialization, you’ll find it to be a highly capable and user-friendly machine with which you can create whatever you can dream up.
Final Verdict
In the realm of compact laser engravers, the LaserPecker 3 undoubtedly stands out. It boasts an innovative and well-engineered design, and its unique features, such as the versatile electric roller, make it an exciting tool for both hobbyists and businesses. The setup process may require some time and attention, but once completed, it offers an impressive, user-friendly experience.
If your projects primarily involve engraving on metal and plastic materials, and you value precision, speed, and versatility, the LP3 is certainly worth considering. Granted, it does have some limitations in what it can engrave on. But these are few and far between compared to what it’s compatible with. And as such, you can flex your creativity in new and exciting ways.
Meet Ry, “TechGuru,” a 36-year-old technology enthusiast with a deep passion for tech innovations. With extensive experience, he specializes in gaming hardware and software, and has expertise in gadgets, custom PCs, and audio.
Besides writing about tech and reviewing new products, he enjoys traveling, hiking, and photography. Committed to keeping up with the latest industry trends, he aims to guide readers in making informed tech decisions.