
Technology should be designed to make our lives easier. Remember trying to program the clock on your VCR in the 90s? As we’ve improved our gizmos and gadgets, we’ve found ways to make them simple and more functional in our lives. Unfortunately, home security hasn’t followed this trend. Most security providers want to sell you a system that requires an expensive installation procedure and a monthly service fee.
Oco has decided to change this for the better. Their Oco 2 Home Monitoring Camera is, just as the name says, almost too simple. You just plug it in and go. Could it really be that easy? We had to find out for ourselves.
First Look
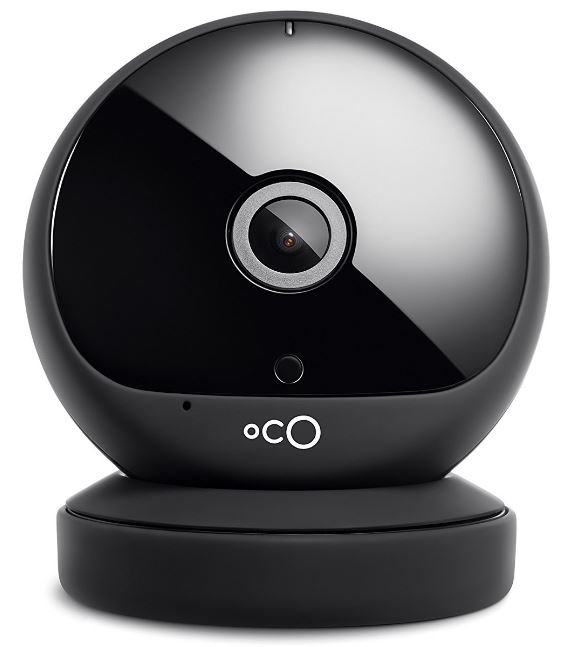
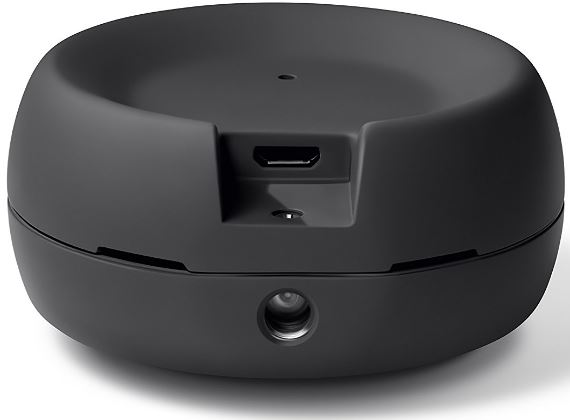
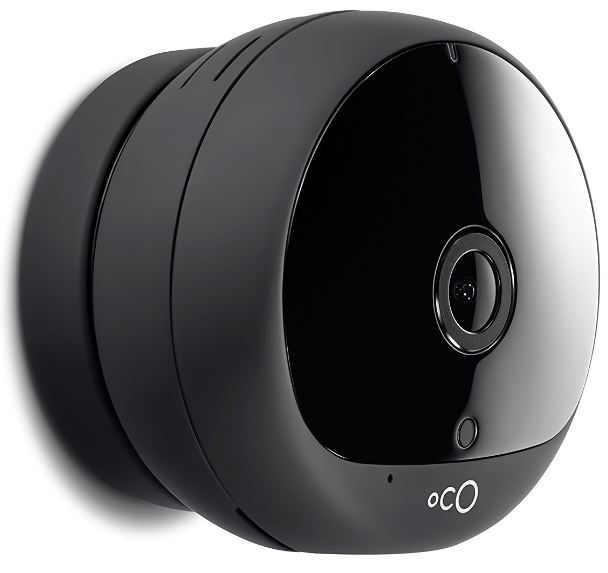
The Oco 2 is made of two different components. There’s the circular base, and the hockey-puck shaped camera. While the lens is quite small, it appears almost as if it covers the entire face of the camera due to the shiny plastic face-plate.
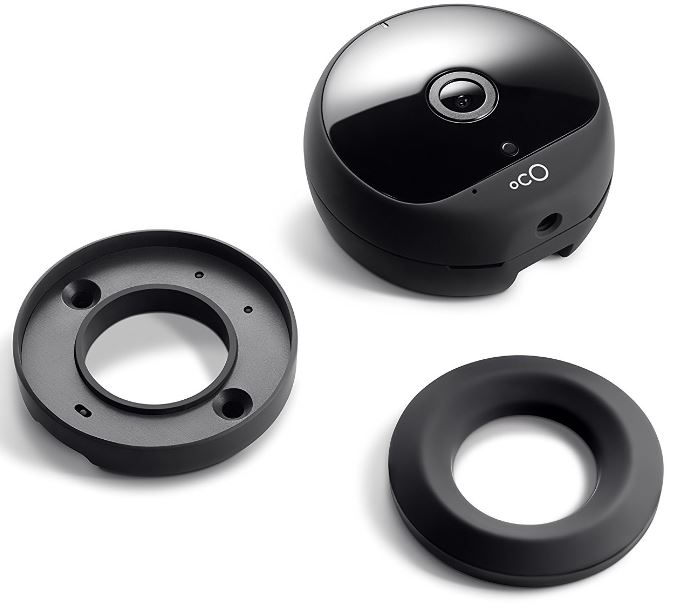
There are a few key items in the box. You get the camera itself, the wall-mount, a power adapter, a flat USB cable, and a guide. They also include all the screws and anchors you’ll need to mount it on drywall, so you can save yourself a trip to the hardware store.
The rest of the camera is coated with a flat-black durable plastic that will fit in with any home décor. It’s not particularly flashy, so it will fit in casually wherever you decide to place it. They say that it’s simply a plug in and go procedure, so let’s try it out.
Setup
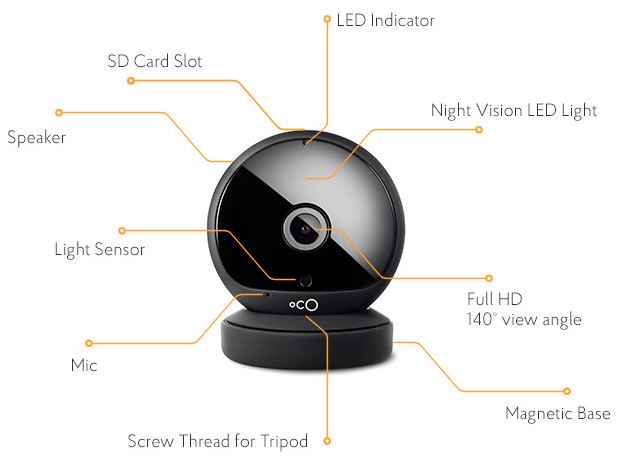
Before you do anything, you’ll have to visit the app store on your iOS or Android smartphone or tablet to get the free Ivideon app. You then need to create an account. Enter your email, password, and state that you agree to the terms. The app will then ask you to plug in your camera. We used the flat USB cable and power adapter to plug it in. After about 40 seconds, the light on the front began to flash amber.
Next, the app will ask you to give your camera a name. You’ll then enter your home Wi-Fi password, and your screen will fill with a large QR code. You simply hold your phone in front of the camera, and the app will give you an audible notification when the connection was successful. It takes another minute for the camera to connect, and then you’ll see a live stream of the video right from your device.
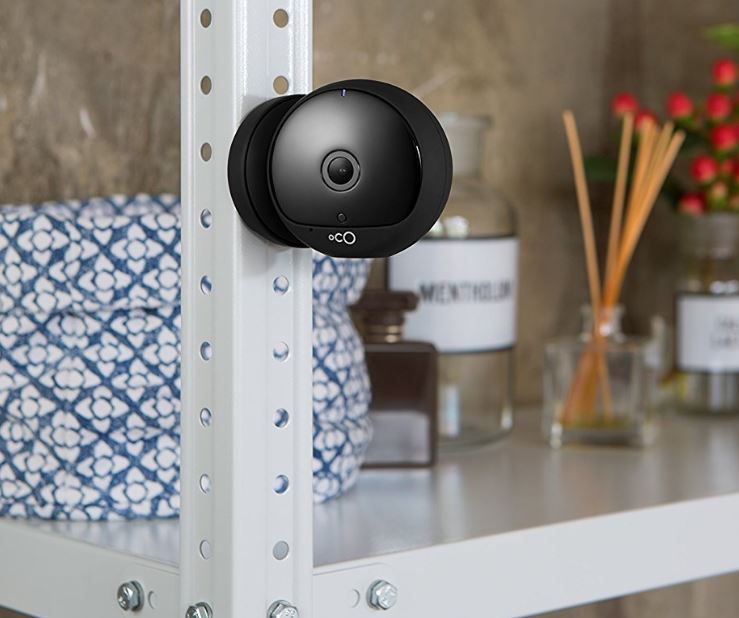
At this point, the camera is ready to go. The setup procedure took about 3 minutes in total, although most of the work was just waiting. If you’re leaving the camera on a table, you won’t have anything else to do. But if you wanted to mount it, you’ll need to use the included screws.
There are two screw holes in the base of the camera. You just put the anchors over top of the screws, and use a screwdriver to drive them into the wall. Additionally, the camera is really light, so you don’t have to worry about finding a stud. Anchoring them to drywall is perfectly fine.

Connectivity
With the camera connected to your homes Wi-Fi, you’ll be given free access to cloud video storage as long as you own the camera. The free service holds your video only for one day. The notification features, which we’ll get into later, means that this should be more than enough for most people. You can always download the videos to your phone, should you find them necessary. If you want to upgrade to 7-day storage or 99-day storage, you’ll be looking at a once-time fee of $99 or $199.
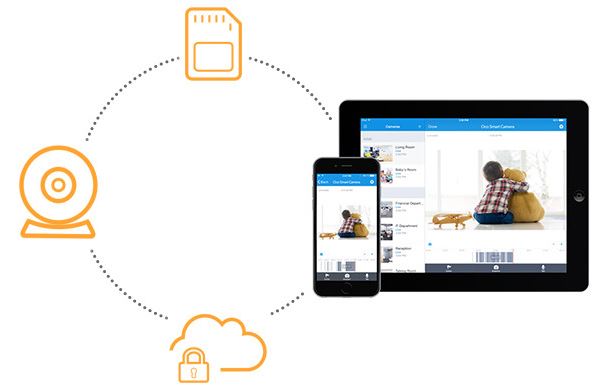
What if you want to store your videos for a long time, but don’t want to pay a fee? The camera will also take an SD card. 16 GB should be plenty for the average house, and the camera will automatically delete old videos to make room for the new ones.
There are two ways that you can access the videos. Using the same smartphone app you used to install the camera, you’ll have near-instant access to all of the recordings. This works whether you’re on the same Wi-Fi hotspot as your camera, or out of the house using mobile data.
If you want to access them from a computer, you can log into the web interface. You’ll use the same username and password you chose during setup, and be given access to a simple interface that lets you play video back at full size.
Video Quality
The Oco 2 has a 1/4″ CMOS image sensor that records 720p video at 25 FPS. It’s got a 140-degree viewing angle, so you can capture video in almost every direction. Reviewing the video we’ve recorded, we found that it was extremely clear and detailed. There was very little noise, and it was easy to see what was going on. The colors are a lot more soft and muted than what you’d get from a photographic camera, and this actually makes it easier to see every little detail.

You can view the camera live, but this isn’t a good indicator of image quality. The live video is heavily compressed to save your data. Once you go back and watch the actual recording, you’ll see that it’s much higher quality.
One of the biggest advantages of the image sensor is that it is very adaptable to changing light conditions. Let’s say, for example, you’ve got it pointed at your main entrance. During the day, the window might be overexposed and appear completely light. If somebody walks up to the door, the exposure will be automatically adjusted to focus on them. This means that you’re not going to miss anything important, even when photographic conditions are tough.
The results are equally impressive at night. The image does switch to black and white, but everything is still just as clear as it was before. This feature is essential for home security cameras, so we’re glad to see that it didn’t disappoint.
Activation
The camera isn’t just going to sit there and record video for 24 hours a day. It has to be activated, either by motion or sound. You can set this feature up from the included app, or you can simply turn it on or off if you only want to use it for live streaming. Once its on, you’ve got a number of settings that can make it more effective.
First, you’ve got the sensitivity. You can set it to low, medium, or high. If you’ve got a window in the frame, you don’t want small movements like leaves blowing in the wind to constantly trigger recording. In our tests, even the lowest setting still detected somebody walking around, but small pets were not detected. If you don’t have pets, medium is probably the sweet spot.
You can also track only a specific area. For example, if you were watching your front door you could set the camera to record only when there is motion in that exact area. People walking around in a different room won’t activate the camera.
The same can be said for sound detection. There might not be any motion in frame, but the sound of a window breaking or voices talking could start the recording.
With sound detection enabled, you also gain access to another great feature. You’ll be notified anytime the camera is activated, and will be able to speak into the microphone and start a conversation. It works just like a hands-free call, making it perfect for reprimanding your dog or warning an intruder.
Should I Get the Oco 2?
If you’re looking for a simple, easy to use home security camera, the Oco 2 Home Monitoring Camera would be a great choice. Sure, there are other cameras that are just as easy to use. But they don’t have the advanced feature set of the Oco 2. With this model, you’re not missing out on anything from the higher end ones. The image is extremely clear, and you can access all of your recordings remotely.
If you want to set up a multi-camera system, you might want to spring for something like the Arlo Pro. This camera is a little more expensive, but you’re able to set up a whole network of wireless cameras that last for months on a single battery.
But if you’re not too concerned about wireless power, the Oco 2 should be plenty. Setting up multiple cameras is just as easy, and you’ll save a lot of money.
Meet Ry, “TechGuru,” a 36-year-old technology enthusiast with a deep passion for tech innovations. With extensive experience, he specializes in gaming hardware and software, and has expertise in gadgets, custom PCs, and audio.
Besides writing about tech and reviewing new products, he enjoys traveling, hiking, and photography. Committed to keeping up with the latest industry trends, he aims to guide readers in making informed tech decisions.