When Nintendo launched the Wii in 2006, it changed how we think about video games. Instead of passively sitting down and pressing buttons, you got up and moved around. Wii Sports was packaged free with the console, and became one of the most popular games of all time. That said, the Wii was already behind its competitors in one major respect: it didn’t have HD graphics. In fact, if you wanted to plug your Wii into an HDMI port, you needed an Wii to HDMI converter. By 2012, this weakness was glaring, and Nintendo released the Wii U as an HD upgrade.
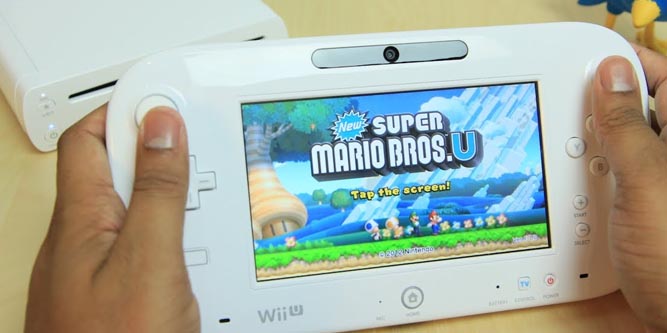
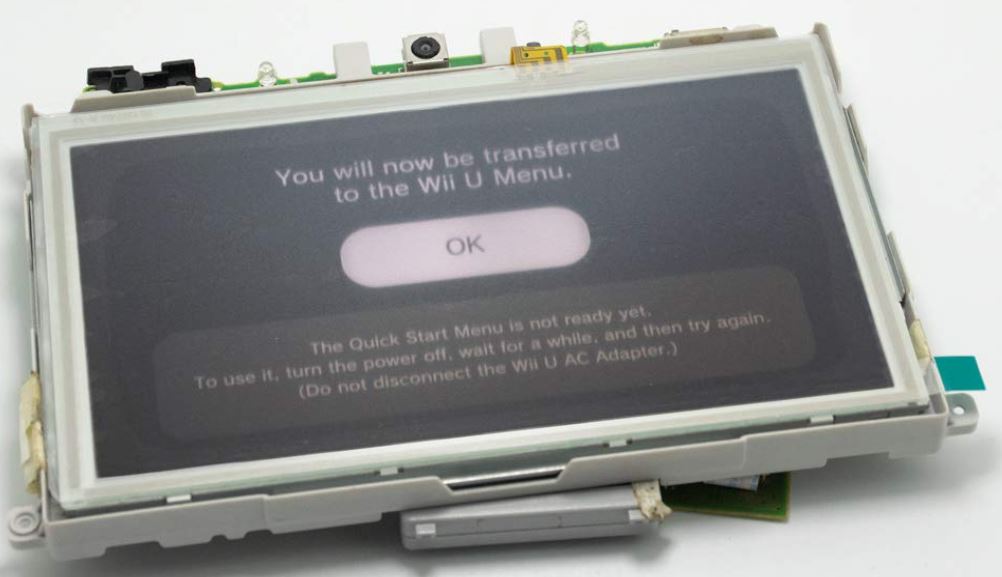
In addition to HD graphics, the Wii U has another major difference from the Wii. Instead of a simple handheld controller, it utilizes the large Wii U GamePad. This controller sports a touchscreen display, along with the triggers, buttons, and thumbsticks. It’s not used for all games; many still use a traditional Wii Remote, the Nunchuk, or the Balance Board. However, the touchscreen adds functionality for a number of games. It can serve as a secondary display or inventory management screen. It can also be used to play some games without a TV. Finally, the display can be used to monitor system settings without bringing up the menu on your TV.
The problem here is straightforward. Game controllers take a lot of abuse, and LCD touchscreens can only be so durable. Eventually, they crack or get damaged in some other way. When that happens, the GamePad is expensive to replace. As an alternative, you can simply install a new screen. We’re about to go through the process of how this is done, from beginning to end. Then we’ll review three replacement screens: the TOMSIN Replacement LCD Display, the YTTL Replacement LCD Screen, and the Forno LCD Display. At the end, we’ll wrap up and make our recommendations. Let’s get started!
How to Replace the Wii U GamePad Screen
Before you run out and buy a replacement screen, it’s important to know what’s involved. Replacing the Wii U GamePad screen is a challenging process, not for the faint of heart. To access the display, you’ll essentially have to disassemble the entire GamePad. You have to be careful, and you’ll need about half an hour to perform the repair.
You’ll also need the correct tools. A #00 Philips driver and a Nintendo Tri-Wing driver are a must. Tweezers are technically optional, but highly recommended. Unless you have very dainty fingers, a lot of the connections can be difficult to remove by hand. That said, here’s how to replace your screen.
Removing the Battery and Opening the Case
The first step is removing the GamePad battery and opening the case. Start by placing the GamePad face down on a table. Remove the two screws securing the battery compartment, and set them aside. It helps if you sort out your screws from the get-go. You’re dealing with different types and lengths, and reassembly is easier if you don’t get them mixed up. Also, take as many pictures as you need to during disassembly. It’s easier to put things back together when you have a picture of what they’re supposed to look like.
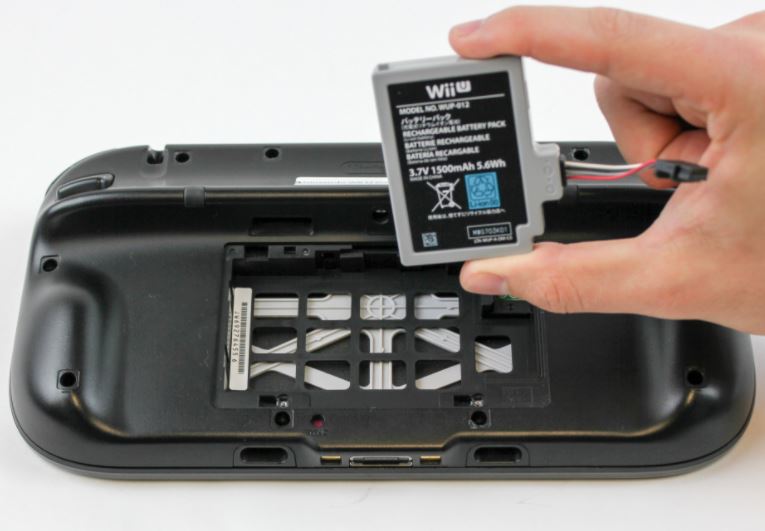
Next, open the battery compartment and remove the battery. You’ll have to unplug the connector to do this. Press down hard and pull at the same time; it can take a bit of elbow grease. Once the plug is disconnected, set the battery aside.
Now that the battery is removed, it’s time to open the case. There are 10 Tri-Wing screws around the perimeter of the case back. Remove these, and set them aside. Now, lift the case back gently. Be careful. The rumble motor will still be connected, so you’ll have to flip the case open like a book. You’ll see the rumble motor connection, a pair of red and black wires that run into a white connector. Pull this connector free of the motherboard, using tweezers if necessary. Now you can set the case back aside.
Removing the Bluetooth Board and Motherboard
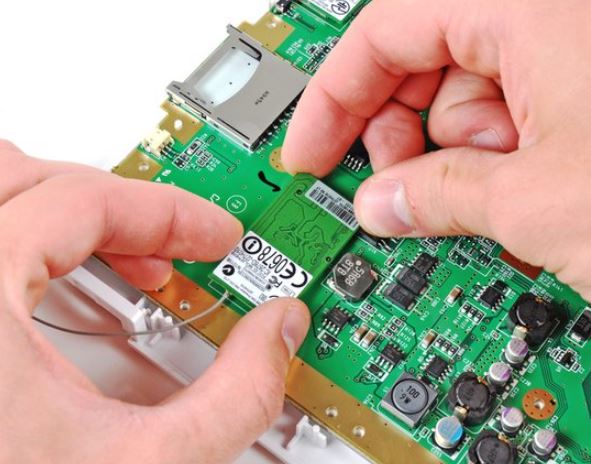
Now, you’ll be looking at the inside of your GamePad. Next to where the rumble motor connected, you’ll see the Bluetooth Board, elevated over the main motherboard. Gently pull this board up, keeping in mind that there are two wires attached to the back. Disconnect both of these wires, and set the Bluetooth board to the side.
The next phase of this process involves disconnecting all the wires and ribbon cables that run to the motherboard. There are several of them, so we’ll just make a list. Using tweezers is strongly advised, especially for the ribbon cable connectors. They’re easy to damage if you’re just using your fingers. Here are all the parts you need to disconnect:
- Start by removing the left and right speaker cables. These tightly-coiled red and black wires are easy to find and trace directly from the speakers. They connect via white plastic clips that can take some wiggling to get free.
- Next, remove the white ribbon cable that connects into the left side of the motherboard. It’s easiest to manage if you just remove both ends of the cable and set it aside.
- Near the white ribbon cable, you’ll find an additional blue ribbon cable, and a second white cable further up. Disconnect both of those cables from the motherboard, but leave the other ends in place.
- In the center of the motherboard, towards the front, you’ll see a wide brown ribbon cable in a black connector. This is the display ribbon. Lift the black clasp that holds it in place.
- There’s an additional grey ribbon next to the brown ribbon. This is the ribbon for the touch digitizer. Undo the clasp just as you did for the display ribbon.
- There are two additional red and black coiled wires with white connectors. Disconnect both of these wires from the motherboard, using the tweezers if necessary.
- There’s a final orange ribbon connected to the right side of the motherboard. Disconnect it.
The NFC communicator will still remain attached to the motherboard. It looks a lot like the Bluetooth board, and you should be similarly careful while removing it. There’s a small wire plugged into a tiny connector on the back. Remove this wire carefully, so as not to damage the connector. Set the NFC communicator aside.
At this point, the only thing attaching the motherboard to the housing will be a set of three Philips screws. With them out of the way, you can carefully remove the motherboard and set it aside.
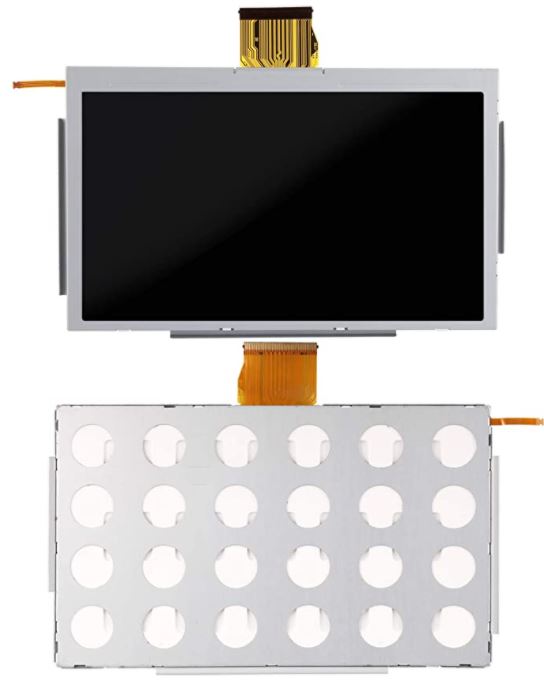
Replacing the LCD Screen and Touch Digitizer
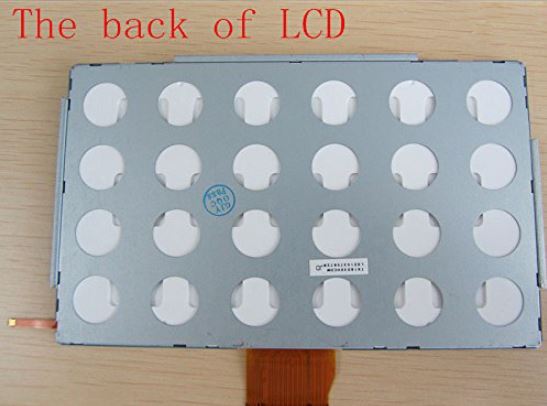
With the motherboard removed, you’ll be looking at the back of the display housing. It’s essentially a big grey bracket, and it needs to be removed to get at the screen. Begin by removing the four screws at the corners of the housing. You know what to do with them. Next, find the white and black cables that run through the display housing to the triggers. Pull these out gently so they’re not in your way.
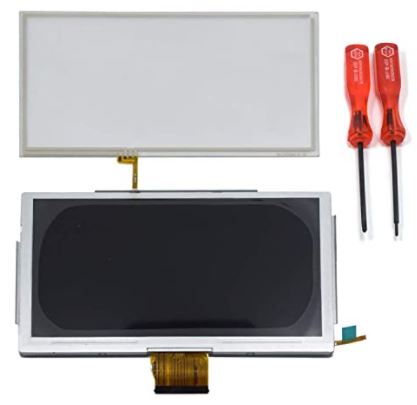
At this point, the display housing can simply be lifted out of the GamePad. This will leave the display bare and disconnected, ready to remove. Even if it’s broken, be careful while you’re taking it out. You don’t want to damage anything else inside the housing. That said, it’s easy enough to remove. You can lift it out with your fingers, much like you removed the display housing.
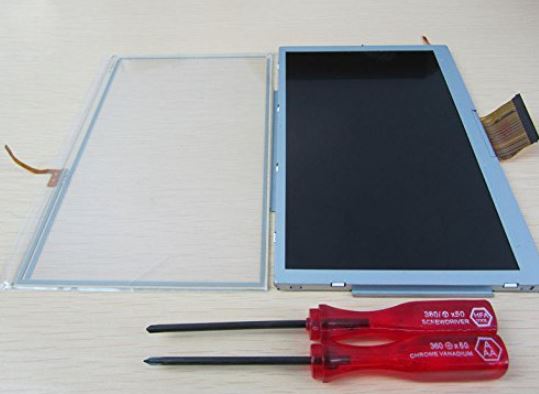
Once the display has been removed, you can install the new one and reverse the process to reassemble. In most cases, the digitizer will self-adhere to the front of the display. When you attach it, make sure to line it up carefully! A misaligned digitizer will result in a twitchy, difficult-to-use display. Also, be careful with the connectors and ribbon cables. They’re just as easy to damage during reassembly as they were during disassembly.
TOMSIN Replacement LCD Display
TOMSIN is a manufacturer that specializes in replacement game console parts. In fact, we’ve reviewed their replacement PS4/Xbox One thumbsticks in the past. We liked what we saw, so we were eager to give their replacement LCD display a shot. This is a drop-in replacement screen for the Nintendo Wii U GamePad. You simply remove the old display and install the new one. There’s no modification or rejiggering required. The kit includes a display screen, along with the touch digitizer. Just peel away the back cover of the digitizer and apply it to the screen during installation. The ribbon cables connect easily, and are sized perfectly for the GamePad.
The display is clean and bright, with great color clarity. It looks like the original GamePad screen, which is exactly what you want. Keep in mind that you may want to wipe the screen down — carefully! — during installation. These displays are tested before they ship, and occasionally one gets sent out with a thumbprint. Not only that, but you run the risk of leaving a thumbprint of your own during installation.
Along with the screen itself, you also get a pair of screwdrivers. One is a Philips #00, and the other is a Nintendo Tri-Wing screwdriver. Between the two of them, you’ve got everything you need for disassembly, except a pair of tweezers. The drivers have proportionally large plastic handles that are easy to grip. They’re obviously cheap, but you’re not paying for screwdrivers; you’re paying for the display. The screwdrivers are good enough to get the repair done, and that’s all you really need.
YTTL Replacement LCD Screen
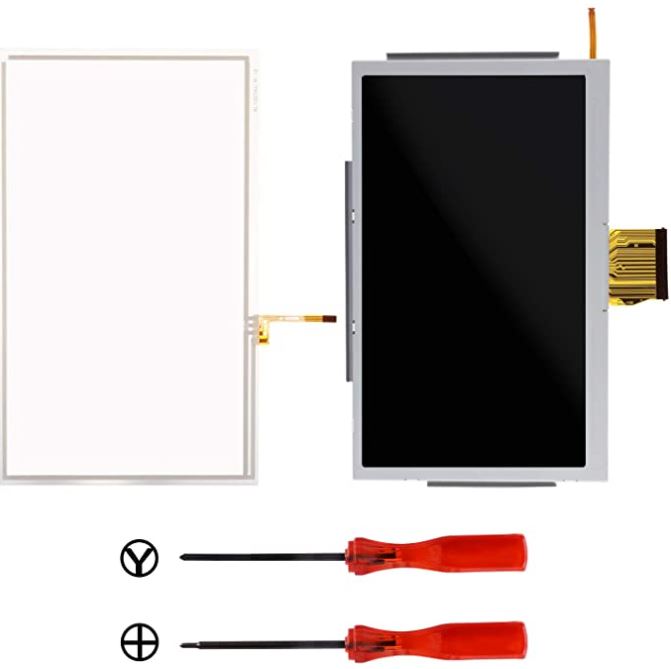
The YTTL Replacement LCD Screen is another drop-in replacement for the Wii U GamePad screen. It includes the digitizer, so you have a complete replacement for any damaged screen. This is a brand new replacement, but keep in mind that there may be fingerprints from testing. The display quality is excellent, with plenty of brightness and clean, crisp colors. The touchscreen is natural and responsive, so it’s easy to operate. Provided you position it correctly, it works just as well as the original.
The kit includes a Philips #00 and Tri-Wing screwdriver for ease of installation. The handles are reasonably fat, so they’re easy to manage. Like the TOMSIN tools, they’re fairly cheap, but they’ll get the job done. Get yourself a good pair of tweezers, and you’re ready to rock.
Forno LCD Display
Third on our list is the Forno LCD Display. Like our first two offerings, this is also an easy-to-use drop-in kit. It consists of both a screen and a digitizer, so you’ve got all the parts you need. Like the other two kits, the Forno kit includes a pair of screwdrivers. They’re a bit chintzy, but they’ll do what you need them to do.
The display quality is on par with the GamePad’s native display, as is the function of the touchscreen. Assuming the installation is done correctly, no-one would ever notice that the screen has been replaced. Even better, Forno provides a one-year satisfaction guarantee. If you’re not satisfied with the display’s performance, you can return it for a full refund.
Final Verdict
As you can see, these three replacement screens are more or less identical. The TOMSIN Replacement LCD Display, the YTTL Replacement LCD Screen, and the Forno LCD Display are all drop-in replacements. Even the screwdrivers are virtually identical. They’re low-quality tools that are made to get you through a single repair. You won’t really be disappointed, no matter which way you go. All other things being equal, the Forno display is a few dollars cheaper and comes with a one-year warranty. But that’s the only thing that really sets it apart.
There’s one additional option we should mention. If your game doesn’t require the screen, you can forego a GamePad altogether and use another controller. For instance, you can use an old GameCube controller with a GameCube controller adapter. Better yet, when you plug in with an adapter, you don’t have to worry about keeping your batteries charged.
Meet Ry, “TechGuru,” a 36-year-old technology enthusiast with a deep passion for tech innovations. With extensive experience, he specializes in gaming hardware and software, and has expertise in gadgets, custom PCs, and audio.
Besides writing about tech and reviewing new products, he enjoys traveling, hiking, and photography. Committed to keeping up with the latest industry trends, he aims to guide readers in making informed tech decisions.