As the number one board game on Apple’s App Store and boasting over 5 million downloads on Google Play, it’s clear that MONOPOLY GO! is a hit. But what if you want to play it on PC? Then you’re right where you need to be because today, we’ll be walking you through the process of downloading and playing MONOPOLY GO! on your PC!
This popular game allows you to enjoy the classic Monopoly experience with a modern twist right from the comfort of your computer. This comprehensive guide comes complete with detailed instructions and helpful tips, so let’s begin!
The Advantages of Playing MONOPOLY GO! on PC
Before we delve into the specifics, let’s take a moment to discuss the benefits of playing MONOPOLY GO! on your PC. Sure, playing on mobile is fun when you’re on the move, but playing the game on your PC is a completely new experience. Here are just a few reasons why you should give it a shot:
Enhanced Visuals: Playing on a bigger screen improves your view of the game board, helping you plan and strategize better. Plus, the game just looks incredible. So it makes sense to enjoy it on the big screen.
Improved Controls: We’ve all gotten used to touchscreens at this point, but there’s no denying that it lacks a lot of intuitiveness. Using a keyboard and mouse offers more precise control than a touchscreen, ensuring a seamless gaming experience.
No Battery Issues: Unlike playing on a mobile device, you won’t have to worry about your battery dying in the middle of an intense game.
Now that you know the perks of playing on a PC, let’s move on to the step-by-step process of getting MONOPOLY GO! up and running on your computer.
Step 1: Download an Android Emulator
First things first – you’ll need an Android emulator to run MONOPOLY GO! on your PC. An emulator is software that imitates the Android operating system, enabling you to use Android apps on your computer.
It’s not as complicated as it may sound. Basically, it’s the same principle as running any other type of software on your computer. Here are three popular emulators you can choose from:
While all three options are reliable, we personally recommend BlueStacks due to its ease of use, stability, and wide compatibility with various games and apps. More than 500 million gamers can’t be wrong, can they? So in the following steps, we’ll be using BlueStacks as the go-to emulator.
To use the program, ensure that your computer meets the following requirements:
- It is running Windows 7 or higher
- It has an AMD or Intel processor
- You have at least 5GB of free space on your hard drive
- You have at least 4GB of RAM available
With that out of the way, let’s move on to downloading and installing BlueStacks on your computer. Soon, you’ll be playing MONOPOLY GO! in a whole new light.
Step 2: Install the Emulator on Your PC
After selecting your preferred emulator, follow these steps to install it:
- Visit the official website of your chosen emulator (in this case, www.bluestacks.com).
- Click the “Download” button to start downloading the installation file.
- Once the download is complete, locate the installation file on your computer and double-click it to begin the installation process (please note that you need to be an Administrator on your PC to run the game).
- Follow the on-screen instructions, and soon, your emulator will be up and running.
It’s really that simple! And you’re one step closer to enjoying MONOPOLY GO! on your PC.
Step 3: Set up the Emulator
Once you’ve installed the emulator, you’ll need to set it up by signing in with a Google account. This allows you to access the Google Play Store and download apps. Here’s a guide on how to do it:
- Launch the emulator (in this case, BlueStacks) by double-clicking its icon on your desktop or in your start menu. If you’re launching it for the first time, the emulator might take a few moments to load, so be patient.
- On the BlueStacks home screen, you’ll find several pre-installed apps and shortcuts. Locate the “Google Play” icon – it should be prominently displayed. Click on it to open the Play Store. If you can’t find it, you can also access the Play Store by clicking on the “System Apps” folder and then clicking the “Google Play” icon.
- The Google Play Store will prompt you to sign in with your Google account. If you already have one, simply enter your email address and password, and click “Next” to continue. If you don’t have a Google account, don’t worry – creating one is free and easy. Click “Create account” and follow the on-screen instructions. You’ll need to provide some basic information, such as your name, birth date, and a valid email address. Once you’ve completed the account creation process, you’ll be able to sign in to the Play Store.
- After signing in, you might be prompted to accept Google Play’s terms of service and set up a backup and restore service. Read through the terms and decide whether you’d like to enable the backup and restore service, then click “Accept” to proceed.
- Your emulator is now set up and connected to the Google Play Store! Take a moment to familiarize yourself with the emulator’s interface and settings. To access the emulator settings, click on the gear icon located at the top-right corner of the screen. There, you can personalize different aspects of the emulator, like display resolution, language, and keyboard settings.
With the emulator set up and connected to the Google Play Store, you’re now ready to download MONOPOLY GO! and dive into the world of virtual property trading.
Step 4: Download and Install MONOPOLY GO!
Now, it’s time to get your hands on the game itself. Follow these detailed steps to download and install MONOPOLY GO!:
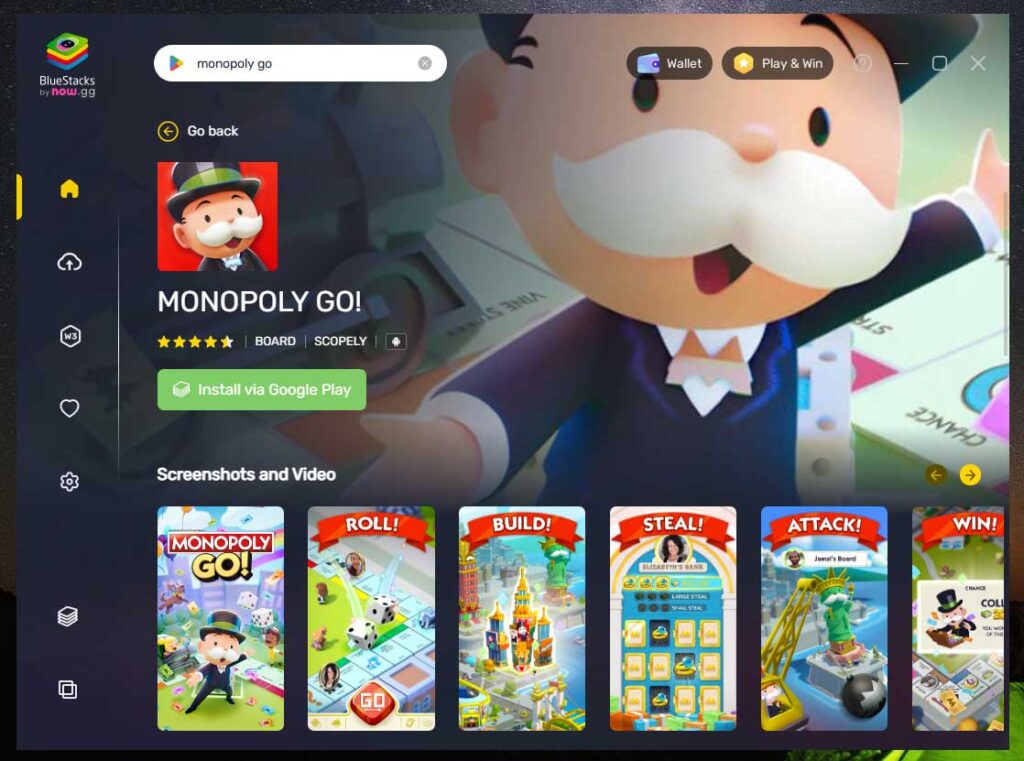
- In the Google Play Store, locate the search bar at the top of the screen. Click on it and type “MONOPOLY GO!” then hit Enter or click the magnifying glass icon. As you type, you may see autocomplete suggestions – feel free to click on the suggestion if it matches the game you’re looking for.
- Browse through the search results to find the official MONOPOLY GO! game. Keep an eye out for the developer’s name and the game’s logo to ensure you’re downloading the correct app. Once you’ve located the game, click on it to open its store page.
- On the MONOPOLY GO! store page, you’ll find a wealth of information about the game, including its description, user reviews, and technical requirements. Take a moment to review this information if you’d like, or simply click the “Install” button to begin the download and installation process. The button may also display the game’s file size – this is useful to know if you have limited storage space on your computer.
- The download and installation process may take a few minutes, depending on your internet connection and computer’s performance. You can monitor the progress by checking the status bar on the game’s store page or in the “My apps” section of the emulator. Feel free to explore the Play Store or adjust emulator settings while you wait.
- Once the download and installation process is complete, you’ll receive a notification, and the “Install” button will change to an “Open” button. Additionally, a MONOPOLY GO! icon will appear in your emulator’s home screen or app drawer.
And voilà! MONOPOLY GO! is now installed on your emulator, and you’re all set to start playing. In the next section, we’ll discuss configuring the game settings and diving into the world of virtual property trading.
Step 5: Configure Game Settings (Optional)
If you want to have the best experience playing MONOPOLY GO!, consider adjusting some settings beforehand. Within the emulator, you have the option to customize the resolution, graphics quality, and key mappings to better fit your preferences. Here’s a quick overview of how to do it:
- Launch MONOPOLY GO! within your emulator.
- Click the gear icon (settings) in the top-right corner of the game’s main menu.
- Explore the different settings categories, such as Display, Controls, and Audio, and adjust them to your liking.
Take as much time as you need to adjust the settings and find the ideal balance for your gaming experience. Once you’re satisfied, it’s time to dive into the world of MONOPOLY GO!
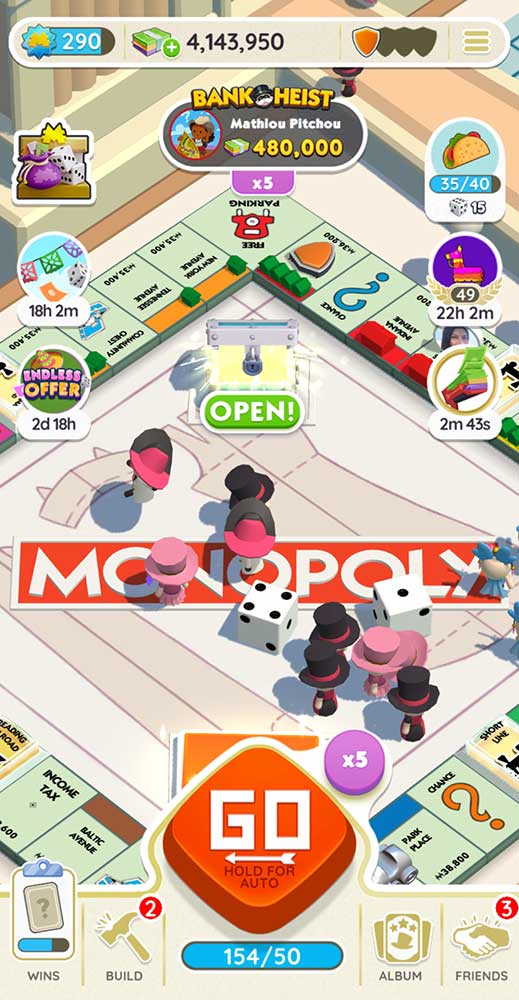
Step 6: Play and Enjoy MONOPOLY GO! on Your PC
With MONOPOLY GO! installed and configured to your liking, you’re finally ready to start playing. To launch the game, simply click on the MONOPOLY GO! icon within your emulator’s home screen or app drawer. The game will open, and you can begin playing just as you would on a mobile device.
While playing MONOPOLY GO! on your PC, you can take advantage of the emulator’s features, such as customizable key bindings and the ability to create macros for repetitive actions. These features can enhance your gameplay and make it even more enjoyable.

Final Thoughts
We hope you found this guide helpful and are now well-equipped to enjoy MONOPOLY GO! on your PC. After you become comfortable using an Android emulator, you can check out other games that are accessible on the platform. There are countless titles just waiting to be played on PC.
If you’re interested in more ways to improve your gameplay, look at our other articles that detail how to get free dice rolls on Monopoly GO! Or, checkout our guide to trading stickers and adding friends.
Meet Ry, “TechGuru,” a 36-year-old technology enthusiast with a deep passion for tech innovations. With extensive experience, he specializes in gaming hardware and software, and has expertise in gadgets, custom PCs, and audio.
Besides writing about tech and reviewing new products, he enjoys traveling, hiking, and photography. Committed to keeping up with the latest industry trends, he aims to guide readers in making informed tech decisions.