When you’re doing any printing job, it’s essential to have the right tool for the job. For example, if you’re printing photos, you want a high-quality photo printer. For office printing, you want a LaserJet printer or something similar. And for labels and receipts, you want a thermal printer. Thermal printers have a number of advantages, the main one being that they don’t require ink. Instead, they use special treated paper that turns black when exposed to heat. With a heated print head, they can create text and simple black-and-white graphics without the need for ink. As a result, you don’t have to worry about replacing cartridges, cleaning up spills, or priming the printer.
Of course, thermal printers aren’t perfect. For one thing, they’re incapable of printing in color, or even in a subtle greyscale. For another thing, they can’t achieve the very high pixel densities of other types of printer. This isn’t an issue for printing barcodes and labels, since they don’t need a ton of precision. That said, it’s not ideal if you need to print a lot of very fine details. But if all you need is to print a bunch of labels as quickly as possible, a thermal printer is going to be your best bet.
At the same time, you want to make sure you’re buying from a reliable manufacturer. iDPRT is one of the best and most established. We’ve reviewed several of their printers in the past, such as their SP410 shipping label printer.
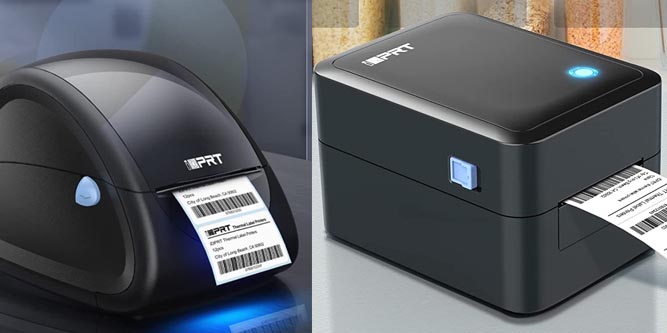
Today, we’ll be reviewing two of their smaller offerings: the SP310 and SP320. The iDPRT SP310 Thermal Label Printer is the base model, with a correspondingly modest form factor. It accepts a variety of label sizes, and sports an internal paper reel. The iDPRT SP320 Thermal Label Printer is a beefier, upgraded variant. It’s bigger, faster, and offers Bluetooth connectivity in addition to USB. But which one is the right choice for you? We’re about to compare these two printers, and see how they stack up.
iDPRT SP310 Thermal Label Printer
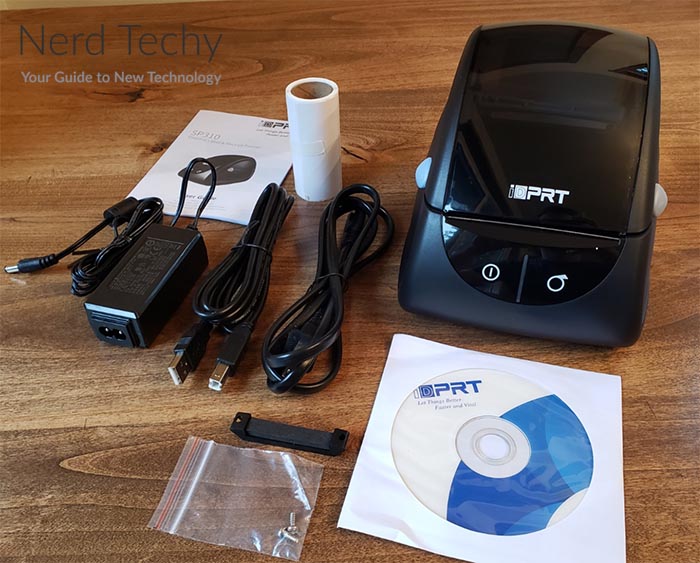
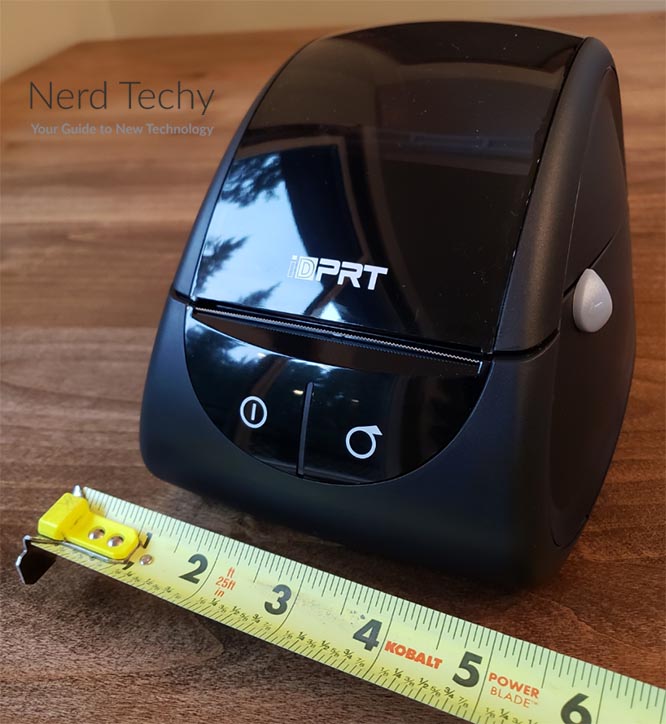
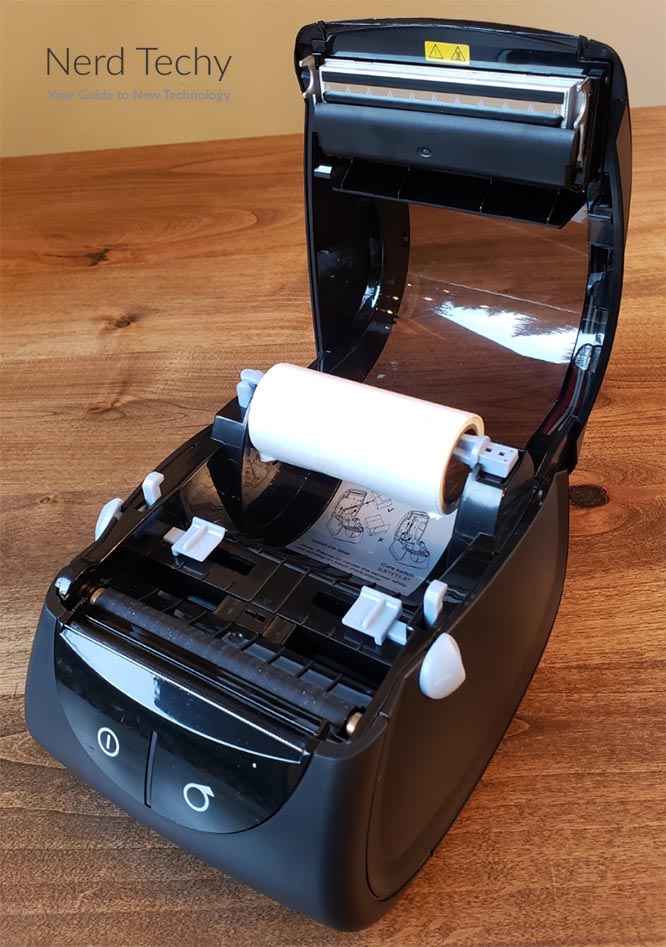
The iDPRT SP310 Thermal Label Printer is a compact label printer with a small footprint. This makes it easy to position, even if you’re short on desk space. The housing is largely constructed from a black ABS plastic, with an easy-to-clean matte finish. The overall shape is roughly trapezoidal, but the front, top, and back are all curved. As a result, the housing has an attractive design, with a wide, stable base. On the front of this base, there’s a glossy panel, with simple controls. There’s a power button on the left, for turning the printer on and off. To the right, there’s a feed button for aligning a new label roll. Between them, there’s a vertical LED light bar, which illuminates when the printer is powered on.
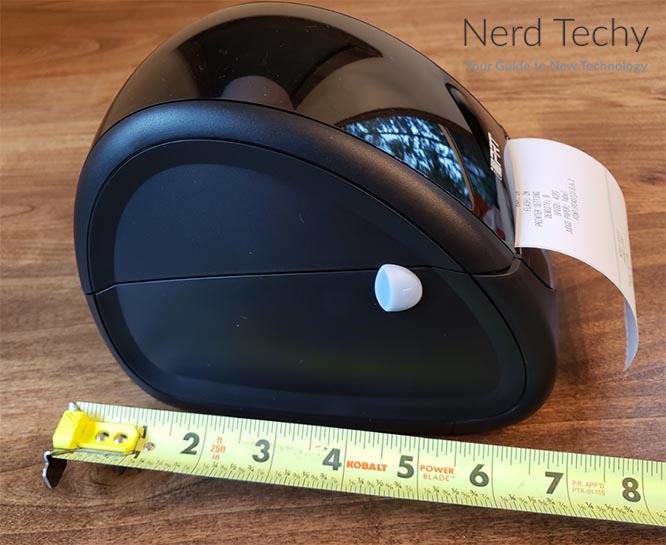
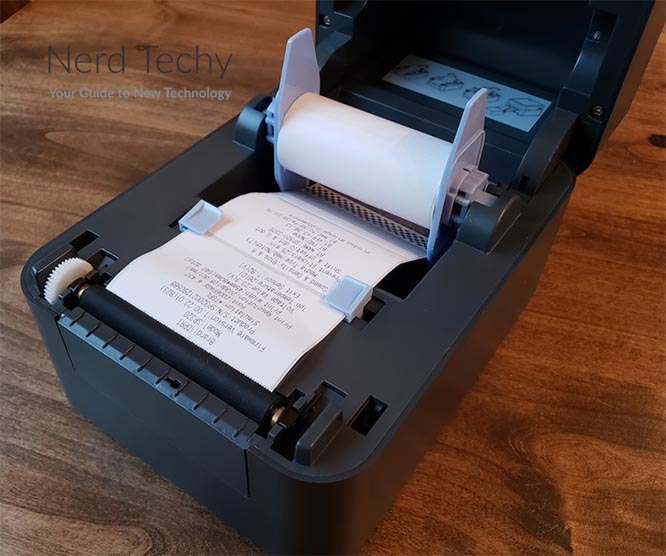
The top third or so of the housing is hinged at the back, and opens easily so you can insert paper. This lid is semi-transparent, which allows you to see what’s going on inside. It’s easy to tell at a glance how much paper you have left. The lid is secured with a pair of clips at either side. To open it, you need to press the blue release buttons on the sides simultaneously. When you do that, the lid will pop open easily.
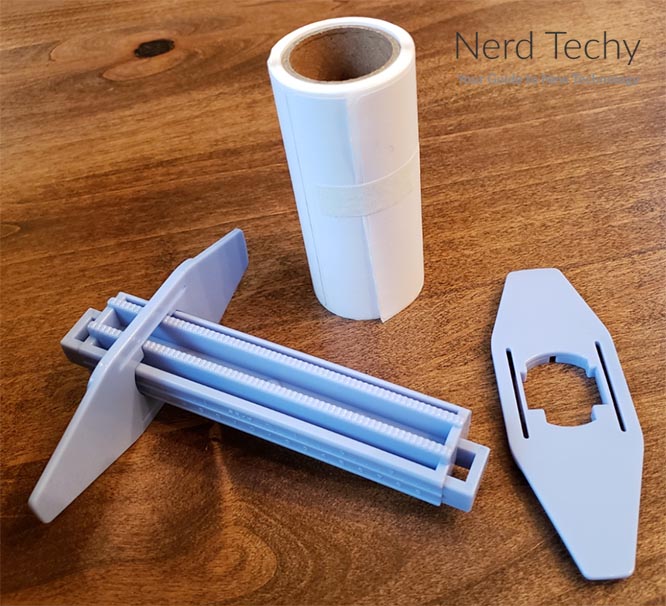
The paper itself fits inside on a blue cross bar, which holds your reel up vertically. Keep in mind that this means you’ll need to use rolled labels, not fanfold labels. The inside is quite accommodating, but it’s possible you might prefer to use an oversized reel. For example, you may be printing large quantities of labels, and not want to constantly replace reels. In that case, you can order the optional external reel holder. This attaches directly to the back of the printer, and supports a reel high and to the back. The paper then feeds into the back of the printer, and through the printing mechanism as normal.
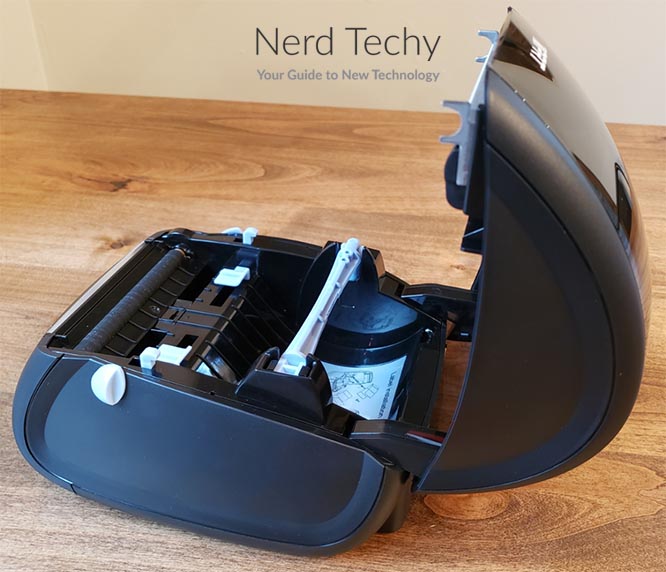
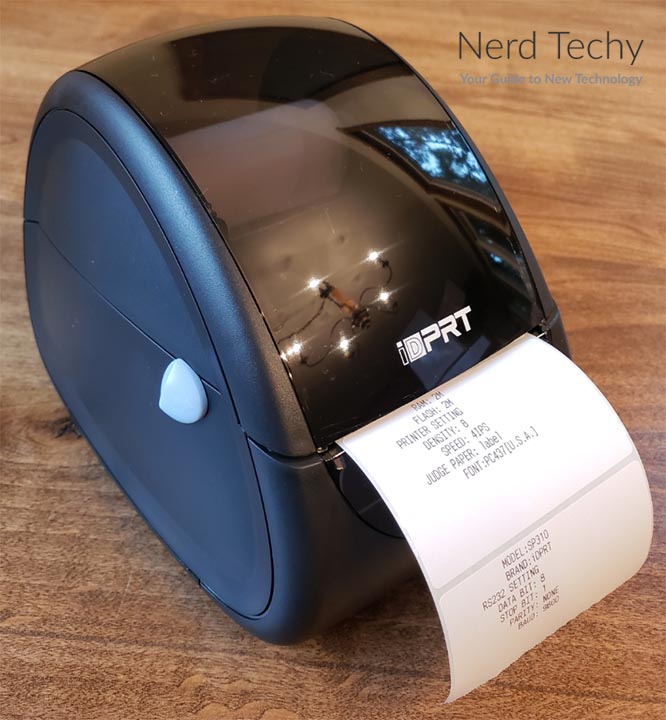
Regardless of whether you’re using the internal or external paper feed, finished labels will feed out the front. They come through a narrow gap, with serrated teeth at the bottom for cutting the labels. The design is very safe, and it’s difficult to cut your fingers. Still, be careful if you have the lid open and you’re realigning the labels. When the lid is open, it’s possible to cut your fingers in this area.
One other thing to note about this printer is that it’s water-resistant. Now, it’s not submersion-proof or anything ridiculous like that. But if you spill your coffee over the top, it’s not going to fail on you. This makes it suitable for use in food service applications, where spills are inevitable at one time or another.
Connectivity & Performance
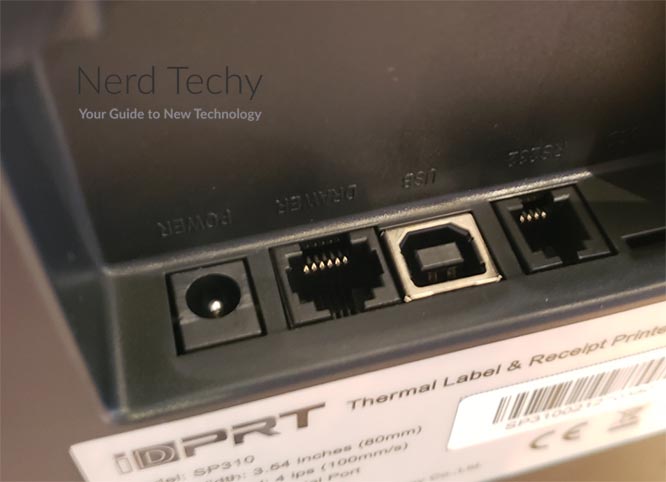
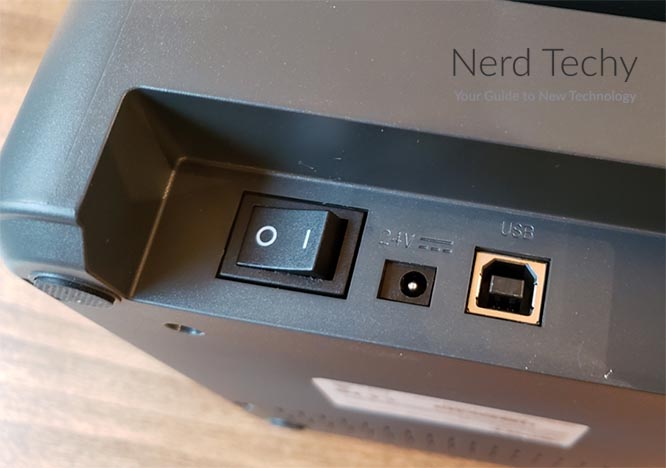
There are two ways to connect the iDPRT SP310 to your computer. First, you can use the USB Type-B to Type-A cable that’s included in the kit. For most people, this will be the method of choice, since any modern computer has USB ports. That said, there’s also an RS232C serial port on the back. This is the slightly trapezoidal, multi-pin connection found on a lot of old-school register systems. If you’re using an older POS system in a store or restaurant, you won’t have any trouble connecting.
That said, connecting to a PC provides additional benefits. The printer includes a copy of BarTender, software that’s designed for creating your own custom barcodes. This is great for small businesses, since you can actually create your own custom scannable price tags.
Alternatively, you can use third-party software to create custom labels, receipts, or anything else you need. Not only that, but iDPRT provides drivers for Mac and Linux, as well. So no matter what type of computer you’re using, you’ll be able to print your labels.
In total, the SP310 can support labels from 1 to 3.35 inches in width. This allows you to print receipts, barcodes, and other small-format labels. You can even print labels for jars and other containers. A 3.35-inch label, turned on its side, allows for a single row of very large text. Then again, you can still get good quality when printing smaller text. The print head prints at 203 DPI, which would be on the very low end for a traditional printer. But it’s reasonably sharp for a thermal printer. You won’t have any issues with small letters, barcodes, or even QR codes. The print speed is so-so, at around four inches per second. This is fine for printing a few labels. But if you’re constantly printing large batches, you might get frustrated with the pace. The paper reel itself can have an inside diameter of 0.5, 1, or 1 inch.
One of the few things you can’t do with the SP310 is print large shipping labels. In that case, consider the iDPRT SP420 instead. It’s a full-sized label printer that can print up to 4” x 6” labels. That said, it’s tough to do custom labels or print receipts. It really depends what you’re trying to do.
iDPRT SP320 Thermal Label Printer
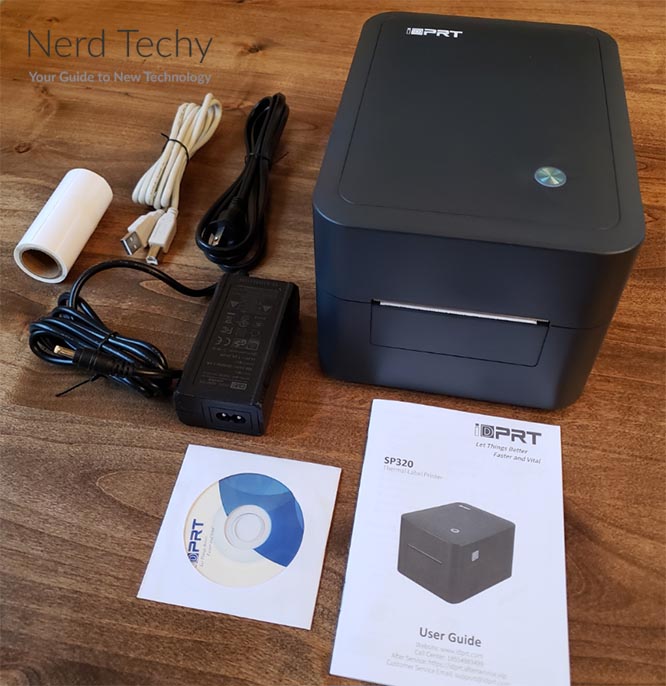
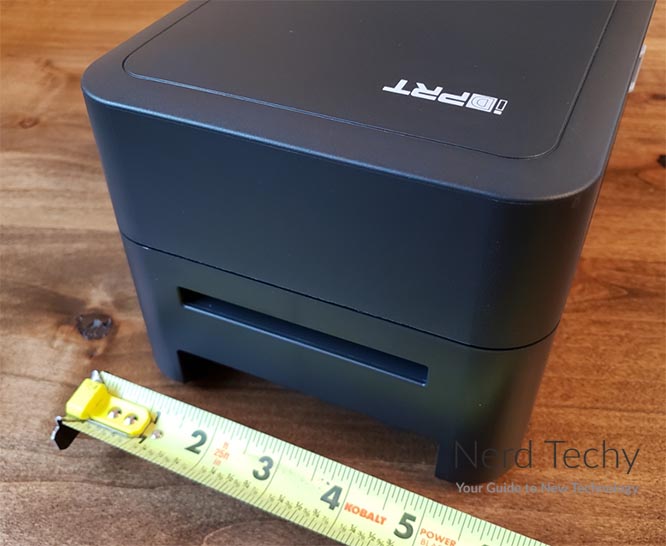
The iDPRT SP320 Thermal Label Printer is bigger than the SP310, and it’s completely square in shape. This allows for a larger motor and bigger gears, which help to keep up with the faster printing speeds. The lid is also solid rather than transparent, so you can’t see inside. This was an odd design choice, but it does provide for a unified overall look. The entire housing is a matte black plastic, virtually identical to the material used for the SP310. There’s a feed button located on top, with an LED light ring around it. This ring changes color between blue, green, and red, depending on the printer’s status.
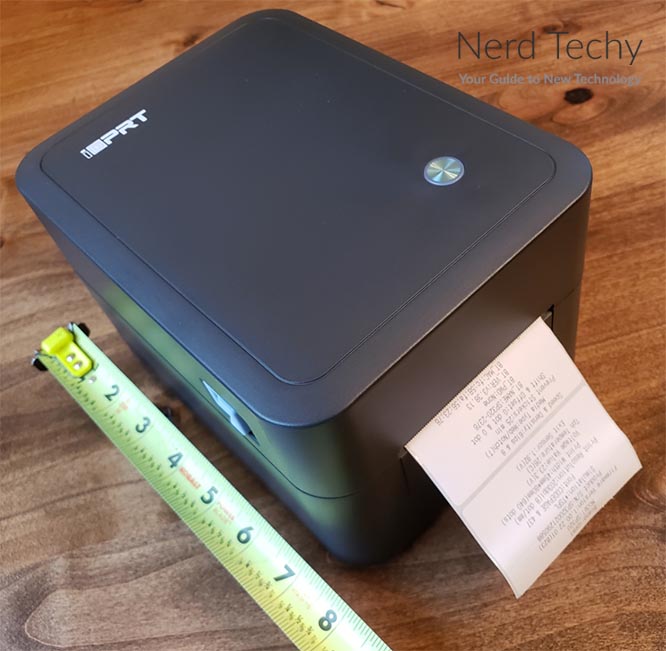
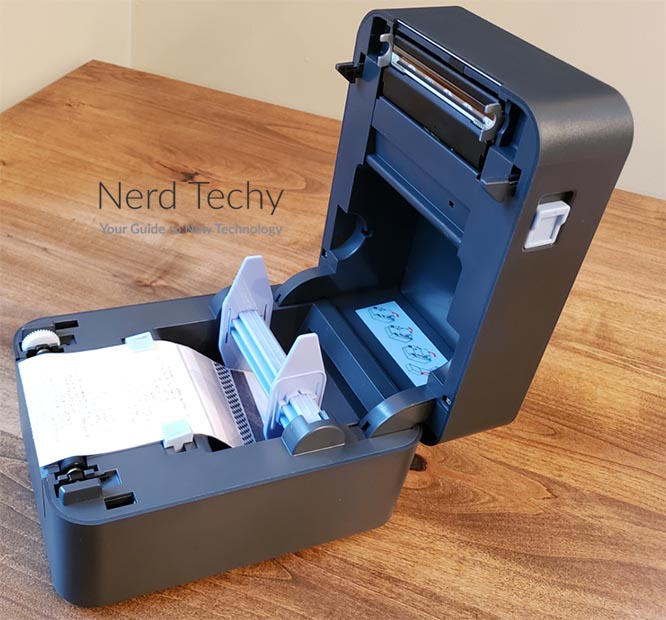
The lid release mechanism consists of a pair of blue slide tabs, located on either side. Push them towards the back, and the top third of the housing will pop right open. Inside, you’ll find a paper mount for installing your label rolls. As with the SP310, the finished labels will feed out the front. Similarly, there’s a serrated blade, which you’ll want to be careful of. That said, the SP320 isn’t compatible with iDPRT’s external paper reel mount. This makes it impossible to use large, oversized rolls.
Connectivity & Performance
Like the SP310, the SP320 connects via USB by default. There’s a USB Type-B to Type-A cable included in the package, and you can plug into any PC. However, the SP320 also has a Bluetooth chip. Via Bluetooth, you can connect with your iOS or Android smartphone. You also get the same PC software, as well as a smartphone app to help with mobile printing. On the downside, there’s no serial port for older POS systems.
In terms of paper compatibility, you’re slightly more limited. The SP320 can print labels from 0.984 to 3.15 inches in width, which is a bit smaller than the SP310. In addition, it won’t support rolls with a half-inch inner diameter. You can only use 1 and 1.5-inch diameter rolls. On the plus side, the print speed has been increased to 7 inches per second. That’s almost twice as fast as the SP310. At the same time, you get a density of 203 DPI. You can print high-quality barcodes, small text, and QR codes, without any trouble.
If you want a fast printer for larger labels, check out the Rongta RP420. It’s almost as fast as the SP320, with a print speed of 6 inches per second, and it supports up to 4-inch labels. On the downside, there’s no spool mount or hopper.
Final Verdict
As you can see, there aren’t many differences between these two thermal label printers, but those differences are substantial. The iDPRT SP310 is more compact, and accepts a wider variety of labels. The ability to hook up an external reel mount is also a definite plus. On the other hand, the iDPRT SP320 is almost twice as fast, ideal for larger jobs. It’s also Bluetooth compatible, and you can print from a smartphone. If that’s what you need, the SP30 will be the better choice.
Meet Ry, “TechGuru,” a 36-year-old technology enthusiast with a deep passion for tech innovations. With extensive experience, he specializes in gaming hardware and software, and has expertise in gadgets, custom PCs, and audio.
Besides writing about tech and reviewing new products, he enjoys traveling, hiking, and photography. Committed to keeping up with the latest industry trends, he aims to guide readers in making informed tech decisions.

