
Stick drift is the uninvited guest at every gamer’s party. Controllers that wander aimlessly across the screen are enough to make even the most seasoned gamer grit their teeth. Whether it’s a PS5, Switch, or Xbox controller, no platform seems immune. Our handy guide will show you the way to victory over this digital adversary.
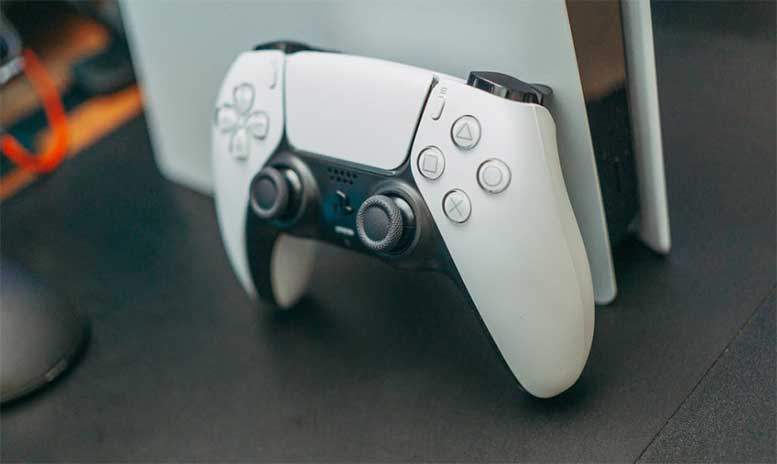
PS5 Controller: Stick Drift Solutions
We’ve all been there: immersed in a riveting game, only to be rudely interrupted by a drifting joystick. The PS5 DualSense might be a technological marvel, but it has one Achilles’ heel – the drift. The good news is that we’ve got some fixes to restore your gaming harmony.

【Compatible model】-- Replacement analog joystick compatible with PS5 Controller Only (NOT FIT for PS4 Xbox One Xbox One S/X Controller).

【Differences from other products】-- Compared with other products, we have added a high-grade metal double-ended crowbar, which can be used in conjunction with nylon double-ended crowbar to meet your various needs; we also added 4 handle rocker caps and 4 handle screws are easy to replace; we have improved the arc-shaped tweezers to make it easier for you to grasp small PS4 and PS5 accessories.

Compatibility -- 2K3 Ohm Potentiometer Compatible with PS5 Controller Only (NOT FIT for PS4 Xbox One Xbox One S/X Controller).
Resetting the Controller
Remember the old “turn it off and on again” trick that works for so many electronic gadgets? Well, this is similar but a bit more sophisticated. By resetting your DualSense controller, you’re practically giving it a fresh start. Here’s the plan:
- First, power off the console and shut down any PS5 Bluetooth Adapter.
- Grab a paperclip or SIM card removal tool. You likely have one that came with your smartphone lying around.
- On the back of the controller is a small hole with button inside it. You can find this hole to the immediate right of the Sony logo. Push in the paperclip or tool until you hear a click and continue to hold down for 5 seconds.
- Reconnect the controller with a cable after restarting the console.
Now, fire up a game and give your controller a thorough testing to determine whether this fix worked. If you’re still getting drift, proceed to the next fix.
Adjusting the Deadzone Threshold
A tad complex but highly effective, this fix has resolved the dreaded stick drift for many gamers. Adjusting the deadzone essentially means telling your controller to ignore those subtle, drift-inducing movements.
- Find the game settings that allow deadzone adjustment.
- Modify the input threshold to avoid drift ranges.
- Experiment to find the perfect setting.
You may need to play around with this setting to get it to work for you. It’s also worth noting that settings for one gamer might not work for you.
Update the DualSense Controller Software
Sometimes, the controller just needs an update to perform its best. This is an easy remedy that may prove useful for your controller.
- Connect it to the PS5 via USB cable.
- Press the PlayStation button.
- Navigate to the update section in the Accessories menu.
All you need to do now is let the console do its thing. Load up a game when it’s finished to test out how your joysticks perform after the update.
The Cleaning Process
Other times, dirt and grime are the culprits, requiring a good cleaning to overcome performance issues.
- Use compressed air to blow out the dust.
- Employ isopropyl alcohol and a cotton swab for deeper cleaning.
- A small amount of rubbing alcohol might also work.
- Wiggle and rotate the sticks to break down the dirt.
- Blow-dry with compressed air, and you’re good to go!
It’s a good idea to get into the habit of regularly cleaning your hardware. Doing so can help keep pesky problems like stick drift at bay.
Replace the Joystick Module
For the adventurous ones, replacing the joystick module might be the path to glory. But be warned, this will be no easy feat for the average gamer. If you have either the experience or the confidence that you can pull off this fix, follow the steps below.
- Purchase replacement sticks online (they’re the ones the DualShock 4 uses).
- Follow a reliable guide online.
- Exercise caution; this path is laden with challenges but brings immense satisfaction if you’re successful.
Thankfully, there are many reputable resources that will walk you through this process in incredible detail. So if you have the patience, you may be able to replace this module all on your own.
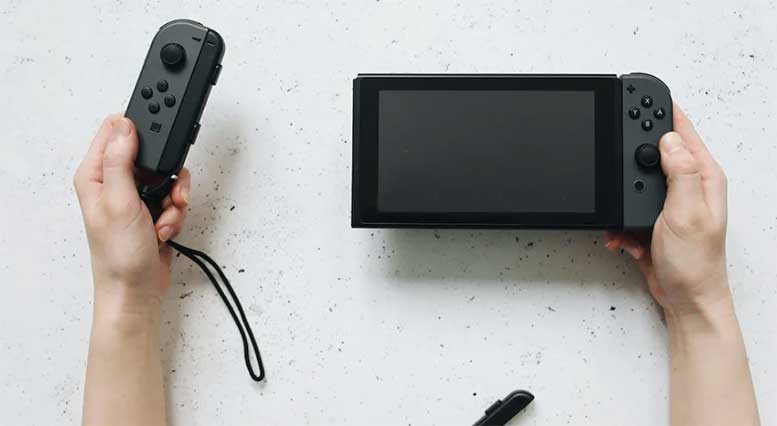
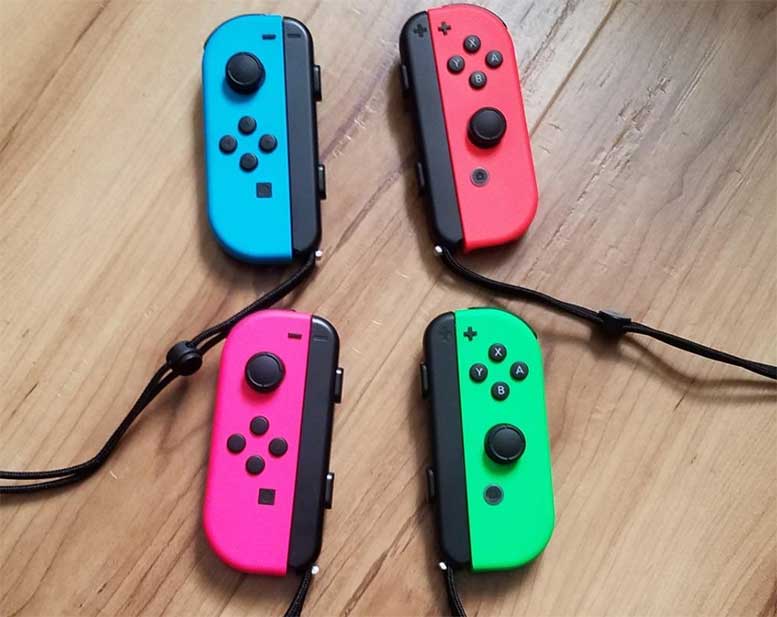
Nintendo Switch: Joy-Con Solutions
A paradox in your palms, the Nintendo Switch’s Joy-Cons bring joy to gaming and sometimes pain with that infamous drift. As with our DualSense fixes, we’ve also got some helpful solutions that could turn your gaming frustrations around.
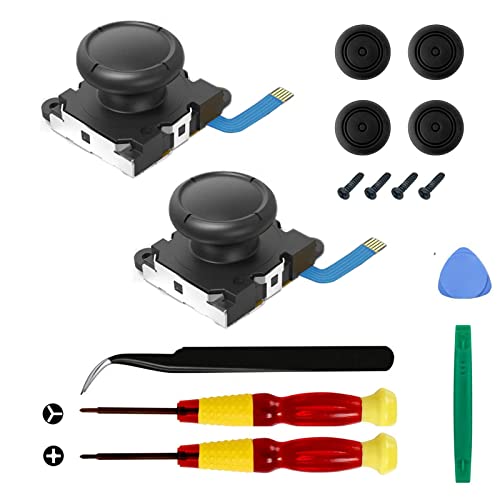
The Joycon Replacement Joystick works for the Joycon controller of Nintendo Switch (2017 Release), Nintendo Switch lite (2019 Release) and Ninetndo Switch OLED Model (2021 Release)

【New Version 3D Joysticks】: New upgrade joycon joystick compatible for Nintendo Switch and Nintendo Switch Lite. Replaces your broken, worn-out or drifting joysticks, bring your controller back to life.

Upgraded Anti-Drift TMR Joystick Technology – Evolved from GuliKit's patented Hall Effect joystick, the more advanced TMR (Tunnel Magnetoresistance) thumb stick same works with contact-less magnetic field sensing mechanism to eliminate stick drift cause,while offers ultra-low power consumption, enhanced stability, drift-free long lasting durability, high-precision and silk-like smoothness.
Calibrating Your Controller
Dealing with drift? There’s a chance your Joy-Con simply has an identity crisis and needs to be calibrated. Let’s get things back on track.
- Go to System Settings.
- Select Controllers and Sensors.
- Choose Calibrate Control Sticks.
- Follow the on-screen instructions.
Thanks to this quick and easy fix, your Joy-Con may just have found its groove again.
Cleaning Your Joystick
Sometimes, a joystick just needs a gentle touch (and some rubbing alcohol).
- Gently lift the rubber flap around the joystick.
- Use a cotton swab soaked in rubbing alcohol.
- Carefully clean around the base of the joystick.
- Allow it to dry and give it a test run.
Keeping your ‘Cons clean and calibrated can prove to be the remedy you needed for reliable performance. The best part about this fix is that you don’t need advanced technical skills to get your joysticks working again.
Sending It to Nintendo
There’s no shame in calling in the pros. If your Joy-Con’s still on the fritz, maybe it’s time to ship it off to the big brains at Nintendo. Thankfully, this is a painless process.
- Go to Nintendo’s support website.
- Select “Repair” and follow the instructions.
- Pack your Joy-Con safely and send it on its way to the Big N.
All that’s left now is to wait for its return. Please note that in some cases, Nintendo will foot the bill for the repair and fix your Joy-Con drift free of charge. But it really depends on the reason behind the faulty performance. If you spilled Mountain Dew all over your controller, for example, you can expect to pay for repairs.
Replace Joystick Modules
If you’re a brave-hearted gamer who is confident if your technical mastery, this resolution might be for you. Replacing joystick modules isn’t a walk in the park, but it is a tried-and-true fix for stick drift.
- We’ve talked about Hall Effect joysticks before, but if you’re not familiar with them, they are infinitely superior to analog sticks (Nintendo uses the latter). You can use either, but investing in Hall Effect sticks almost guarantees that you’ll never experience stick drift again.
- Follow a step-by-step guide from a reputable source like YouTube.
- Equip yourself with a good set of tools; you’ll need them.
- Proceed with caution, patience, and determination.
If you followed the walkthrough correctly, you should have a fully-functioning Joy-Con.
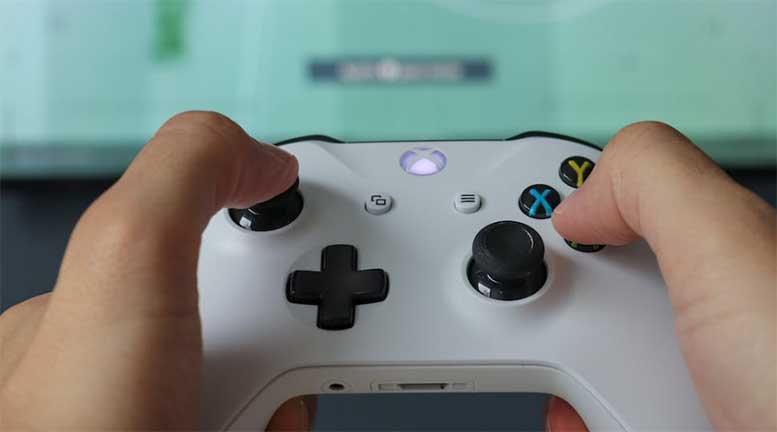
Xbox Controller: Drift No More
That dreaded drift in the Xbox controller has led to many a range quit among gamers. But it doesn’t have to be this way. The solutions to your trouble are at hand, and many are easier than you might think.
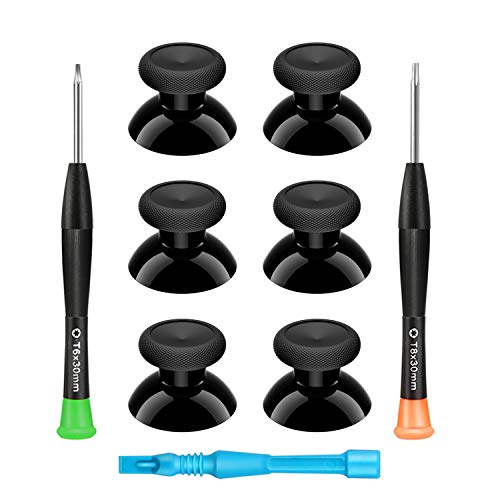
🎮 BEST XBOX THUMBSTICKS IN THE MARKET - Don't continue playing with those ratty old Xbox One thumbsticks! Game longer, better and more comfortably with original Xbox thumbsticks. Our inexpensive analog sticks are designed to be direct replacement of the original One/One S/One X Controller joystick, makes your controller stand out from the crowd with a new, fresh look and unique styling unlike any other.

🌟NOTE:Please test whether the new potentiometer patch has a resistance value before replacing it. If there is no resistance, the white part needs to be removed and installed upside down, and then the resistance needs to be tested. Refer to Figure 2 on the left and install the white parts in two directions. Then test the resistance. If there is no resistance after testing in both directions, it indicates that the potentiometer is damaged. Please contact us.

🌟NEEDS MODERATE SOLDERING.PROFESSINAL INSTALLATION IS HIGHLY RECOMMENDED,INSTRUCTION OR TOOL IS NOT INCLUDED.
Clean the Joystick
Let’s begin with one of the simplest and most straightforward remedies. After all, there’s no need for extensive repairs if all your Xbox pad needs is a little TLC.
- Turn off your Xbox and unplug the controller (be sure to remove its batteries, too).
- Wipe down the joystick using a Q-Tip and rubbing alcohol. Be sure to focus on the base of the affected stick.
- Rotate the joystick gently in all directions as you clean.
- Leave it to dry and then test the controller.
- Repeat if needed.
Any success? If you tested a game and there was no drift detected, you’re all set. But if the problem persists, follow us to the next solution.
Adjusting the Deadzone
If you’re sporting an Elite controller, a simple tweak might do the trick.
- Connect the controller to your Xbox or PC.
- Open the Xbox Accessories app.
- Select the controller and click ‘Configure.’
- Adjust the deadzone settings to your preference.
This adjustment should provide newfound precision in your joystick.
Warranty Your Xbox Controller
If your controller’s still within warranty, getting it replaced may be the most sensible route. Thankfully, Microsoft makes this process incredibly easy to complete.
- Via Xbox Support online, search for “Request an Xbox controller replacement” to check if your controller is still under the one-year warranty.
- You’ll need to enter in the 14-digit serial number located on the back of your gamepad. This will commence the warranty process.
- Send it off to Microsoft to be fixed or replaced.
Finally, you just have to wait for your new controller to arrive. Be sure to test it our straight away. If there’s an issue with your replacement, you want to bring it to Microsoft’s attention immediately.
Replace the Joystick Module
Roll up your sleeves, DIY warriors; it’s tinkering time. If you’ve read over our fixes for Sony and Nintendo controller, it’s no different here.
- Purchase a compatible joystick module online.
- Follow a reputable guide for step-by-step instructions.
- Take your time, and remember: patience is key to success.
Test your handiwork and take pride in your accomplishment. Replacing joystick modules isn’t exactly easy. You deserve to revel in what you’ve achieved.
Final Thoughts
The road to a drift-free gaming experience is within reach. Follow this guide, and you’ll be back to your winning ways without your controller pulling you off course. With patience, a little know-how, and perhaps a call to the professionals, you can reclaim control over your gaming destiny.

Applicable model: Only PS5 BDM-010 Game Console, not for PS5 BDM-020 etc.

Only compatible with PS5 Controller BDM-050 BDM-060 models. Check how to recognize your BDM model on YouTube by searching "extremerate check bdm for ps5 controller" or "fiE4BWSlBRI" before purchase. NOT fit for BDM-010, BDM-020, BDM-030 models and other controllers. NOT fit for the official "Chroma Teal" color controller for different inner designs of the L1L2 R1R2 triggers. The micro switches L2R2 shoulder buttons and tactile switches L1R1 face buttons mouse click kit works by pressing at 1.2N/1.4N, with a long lifespan of more than 3 million times

2 Ergonomic replacement back buttons is specifically designed for eXtremerate RISE Remap Kit for PS5 Controller
Meet Ry, “TechGuru,” a 36-year-old technology enthusiast with a deep passion for tech innovations. With extensive experience, he specializes in gaming hardware and software, and has expertise in gadgets, custom PCs, and audio.
Besides writing about tech and reviewing new products, he enjoys traveling, hiking, and photography. Committed to keeping up with the latest industry trends, he aims to guide readers in making informed tech decisions.