For many people, a simple smartphone camera just doesn’t offer all the features you need. Sure, even cheap smartphone cameras look pretty sharp these days. But what they don’t offer is a ton of editing options. Sure, you can trim clips and sometimes even splice them together, but that’s about it. You can forget about effects, fun transitions, and any sort of complex editing. This creates a sharp divide between professional-looking content and average social media content. But what if you want your social media videos to be the best of the best? What if you want to gain enough followers to actually start monetizing your content?
In that case, you’re going to need something a little more robust than a simple smartphone editing app. You’ll want powerful editing software that can make your videos look as professional as possible. Now, we’re about to review the TunesKit AceMovi Video Editor. We’ll take a look at all of its features, and see what kind of quality it delivers. We’ll look at how the software functions, as well as the various effects you can use. Along the way, we’ll talk about video formats, and even the screen recording function. At that point, we’ll know everything we need to know to render our verdict. Let’s take a closer look, and see what we learn!
AceMovi Basics
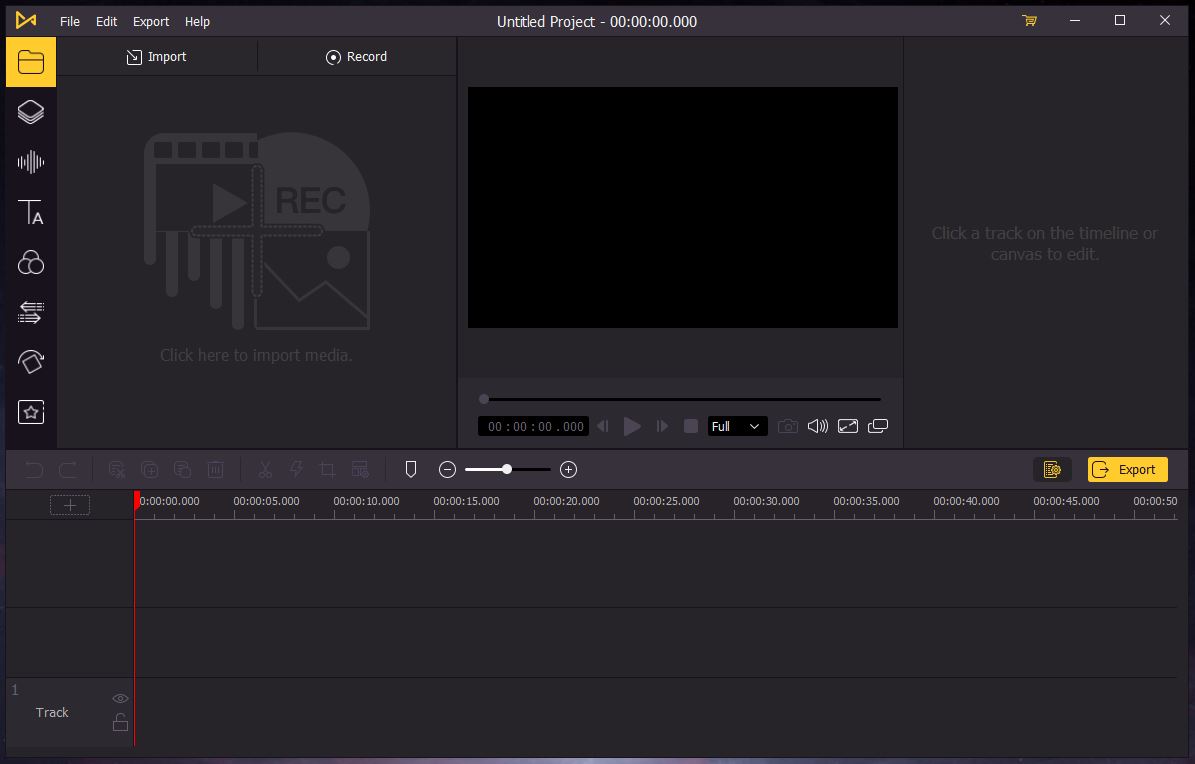
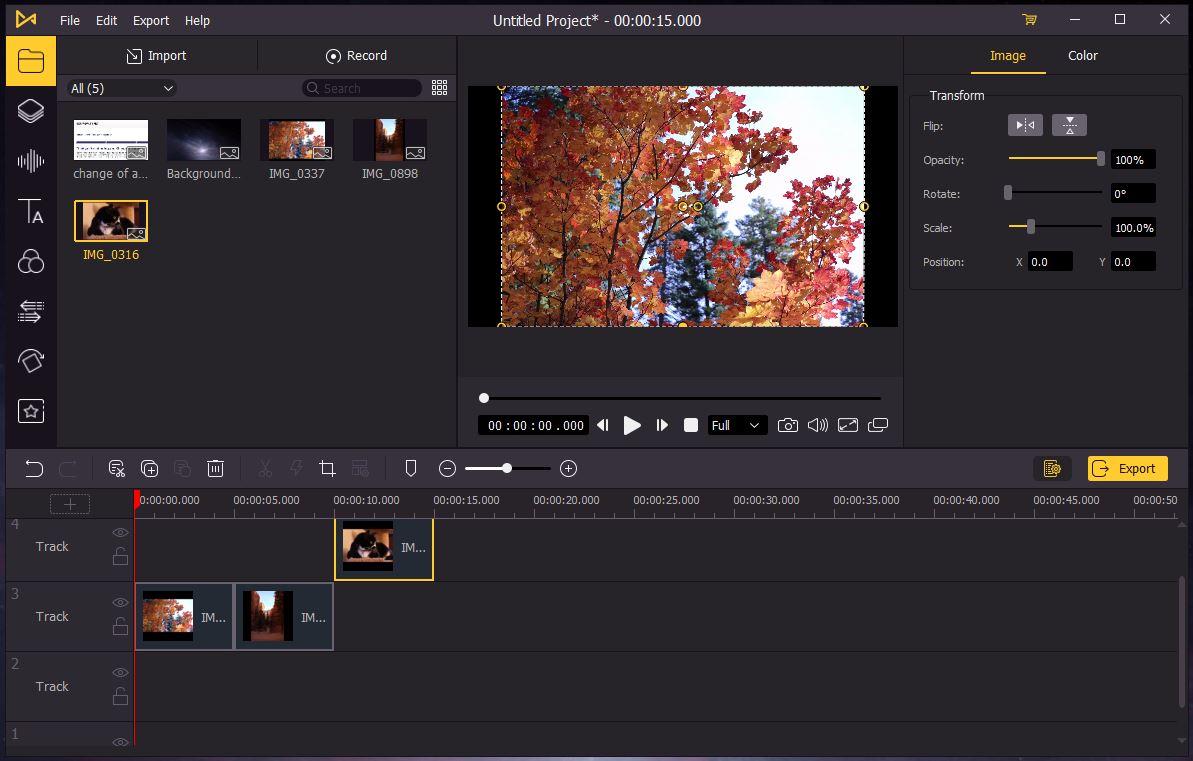
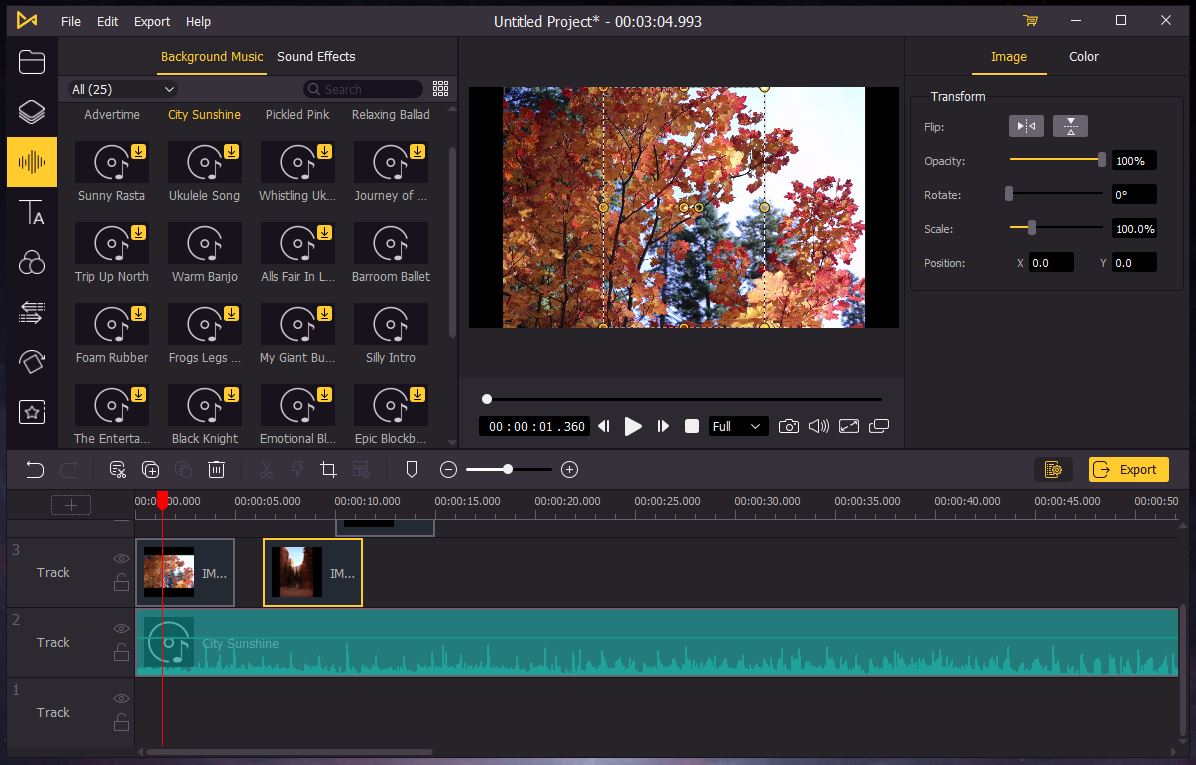
The AceMovi Video Editor is a combination of an editing program and a screen recorder. You either record video from your screen or import it, then manipulate it as desired. The main view consists of a timeline near the bottom, with a preview window towards the top. This is more or less par for the course for video editing software, and will be familiar to most users. You move clips around on the timeline, and preview them in the window. Along the timeline, you can apply transitions, add audio to tracks, and make other edits we’ll discuss in more detail.
This system is very easy to use, and has a shallow learning curve. Even if you’ve never done any editing in your life, you should be able to catch on quickly. Controls are simple, requiring only a keyboard and mouse. That said, as with any editing software, if you want to be as efficient as possible, you’ll need to use shortcut keys. If you’d rather not remember all your shortcuts, you can use a secondary controller like the TourBox. This is an ergonomic control box with programmable inputs, so you can map all your most commonly-used functions.
AceMovi works on Windows and Mac, although you’ll need to make sure to install the correct version for your system. You don’t need a beast of a computer, either. The software will run on all versions of Windows from XP forward, and on MacOS 10.8 and later. You only need a 1GHz processor, and you only need 512MB of RAM, or 256MB on a Mac. The minimum monitor resolution is 1024 x 768, or just over 720p. In other words, even a 15-year-old computer can run it without crashing. Keep in mind, though, that a faster computer will still offer better performance.
The AceMovi Video Editor can be licensed for a month or a year, or purchased outright. We should point out that the licensing fee for one month is half the yearly rate and a third of the purchase price. Unless you only need to edit a handful of videos, it makes more sense to buy, or at least to buy a one-year license. There’s also a free version available. This will do everything the paid version will do, but it will apply a watermark over the top. This is a great way to take the software for a test drive before spending any of your money.
If you want a more portable solution, check out the Gnarbox. It’s a small, durable editing box with a handful of functions that go beyond simple smartphone software. It’s not as robust as computer software, but it’s ideal for making and uploading videos on the go.
AceMovi Editing Capabilities
Once you’ve installed the AceMovi software, you’ll be ready to import your video. You can do this directly from the top menu bar by clicking the “import” button. Alternatively, you can hit the record button to start capturing your monitor activity. Either way, everything you record or import will appear to the left, in the Media Library. Think of this as a clipboard or palette. It’s where all your clips go, and you can drag them onto the timeline as needed. You can even save a project and return to it later. If you’ve got a long video, there’s no need to do the entire thing in one go.
Between the media library and the timeline, there’s a small toolbar. This is where you’ll find basic controls like the split, crop, and zoom tools. You can also use a tool to mark time stamps, or to trim the beginning or end of your video. More options are found in the Edit window, which you bring up by clicking the Settings icon. The edit window allows you to change the video position, adjust the volume, and fine-tune the color balance. From here, you can bring out more blues or reds, soften the image, or perform similar effects.
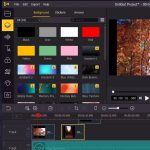
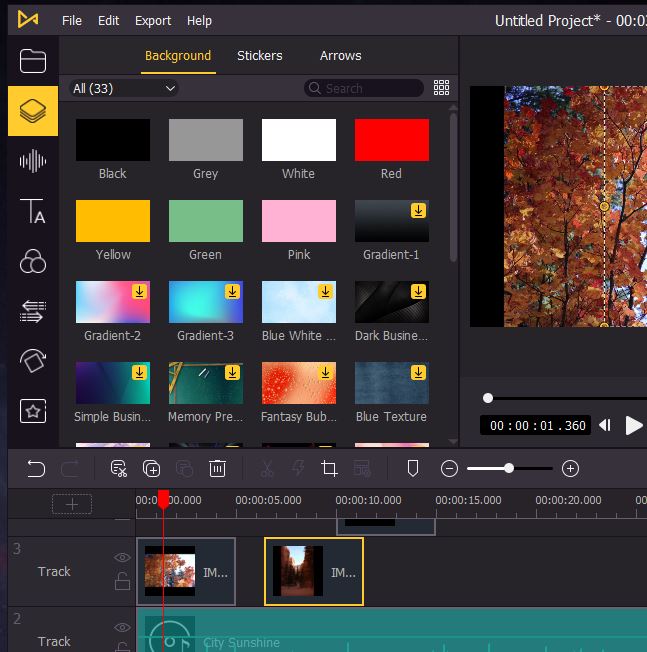
The real magic happens when you start clicking on the other icons, though. For instance, you can click the “Audio” icon, and instantly start searching sound effects. You can add a text overlay, or apply one of dozens of filters that are similar to Instagram filters. The “Element” menu is more of a catch-all, containing a variety of stickers, arrows, and background images.
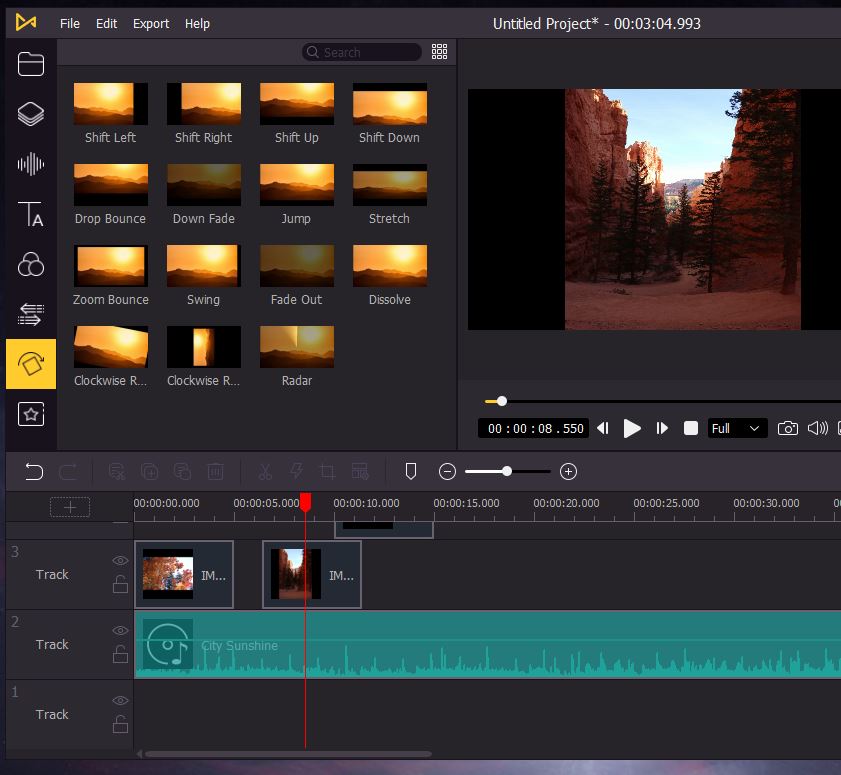
You can also apply transitions and animations. Transitions create a more seamless transition between two clips. Animations, on the other hand, can be applied to the entire video, a single clip, or just a few seconds. Finally, the “Regional” controls allow for more wild effects like mosaics, while the split screen function is self-explanatory.
When you’re finished, make sure to preview your video before you export it or upload it. This can be done directly from the preview pane. Sometimes, you think everything is done, but one of the transitions isn’t quite right. Maybe the audio on one part is slightly out of sync, or you get two clips mixed up. The point being, taking a minute to preview your work can save you a lot of headache in the long run.
AceMovi Conversion and Formats
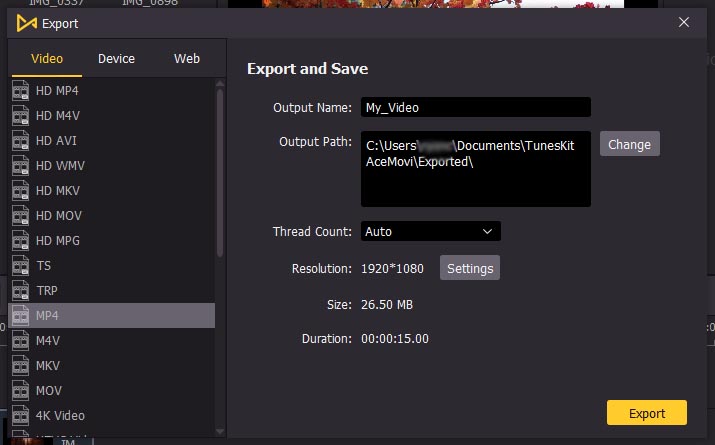
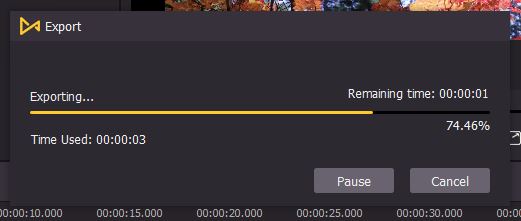
Once you’re satisfied with your creation, the last step is to create the final file. You can export files directly to your computer and store them in a dedicated folder. Among other options, you can output in MP4, MKV, MPG, and MOV formats. You can also use popular mobile formats like 3GP, 3GP-2, and OVG. Options are available for individual devices like the iPad and Xbox. These videos will be optimized for a particular system. Finally, you can output directly to services like Facebook and YouTube. In this case, your video will also be optimized for that particular service. This makes uploading easy, and takes the guesswork out of formatting your videos for social media.
That said, you might want even more options. After all, there are dozens of formats and even more codecs. What if you want to encode practically any kind of video imaginable? If that’s what you need, the VideoProc Editing Software is a solid bet. It doesn’t have as many transitions and other features as the AceMovi software. But it can output in over 420 combinations of formats and codecs. You won’t find software that versatile without paying thousands for something like Adobe Creative Suite.
Screen Recording and Other Extras
As we’ve mentioned, the AceMovi Video Editor can also function as a screen recorder. This makes it possible to record Zoom calls, presentations, or even navigate the web. Note that this is not an ideal method for converting old videos or capturing them from the web. If you play a video on your screen and record the screen, you’re going to lose a ton of quality. It’s better just to use a normal video converter. Screen recording is ideal for many other purposes, though. For instance, suppose you want to have a guest on your YouTube channel. You can easily record both sides of the conversation, and upload it as a single video.
Finally, you get a library of stock videos and audio to augment your own content. This material is of varying quality, and you may or may not use any of it. But the collection of content and templates is constantly growing. If nothing else, it’s a nice added value to an already very well-designed software suite.
Final Verdict
The TunesKit AceMovi Video Editor is one of the better video editing suites available on today’s market. For one thing, it supports every major video format and most of the minor ones. This means you can use a variety of sources and outputs without being limited by your software. In addition, you get a full gamut of video effects. You can apply transitions, animations, text overlays, and more, to give your videos a truly polished appearance. You can splice videos together, do a split-screen presentation, or overdub new audio. And with a massive library of stock material, you’ll have plenty of extra video to work with.
We did have some minor quibbles. The monthly pricing is a bit steep, to the point where it doesn’t make sense to buy less than a year. We also would have liked to be able to export audio-only content. To be fair, that’s not what the software is for, but it can already encode audio as part of video. But that’s a minor complaint compared to all the things the software gets right. Finally, the interface is as intuitive as they come. This makes the AceMovi Video Editor as easy to use as it is versatile and effective.
Meet Ry, “TechGuru,” a 36-year-old technology enthusiast with a deep passion for tech innovations. With extensive experience, he specializes in gaming hardware and software, and has expertise in gadgets, custom PCs, and audio.
Besides writing about tech and reviewing new products, he enjoys traveling, hiking, and photography. Committed to keeping up with the latest industry trends, he aims to guide readers in making informed tech decisions.


