MINI SUN-2
Pros
- Full spectrum with very high light intensity.
- Completely silent operation.
- Built-in timer, dimmer and ports to daisy chain multiple fixtures.
- Comprised of heavy duty materials with brand-name diodes.
- Provides excellent growing performance.
Cons
- May run a bit warm in very tight spaces.
- Heavy for its size.
Have you been searching for a capable LED grow light that performs as well as high-end models but is more economical? The Medic Grow MINI SUN-2 could be precisely what you’re looking for. I had the chance to try it out and see its performance in person. I’m excited to share my findings with you.
It’s understood that indoor growers need a high-quality LED grow light to get the best indoor growing results. The MINI SUN-2 is a budget-friendly option that offers a ton of favorable features.
From built-in dimming control and timer knob to the adjustable power output and excellent heat dissipation, there’s a lot to like here. Therefore, let’s dive in and see how capable it really is.
Layout and Design
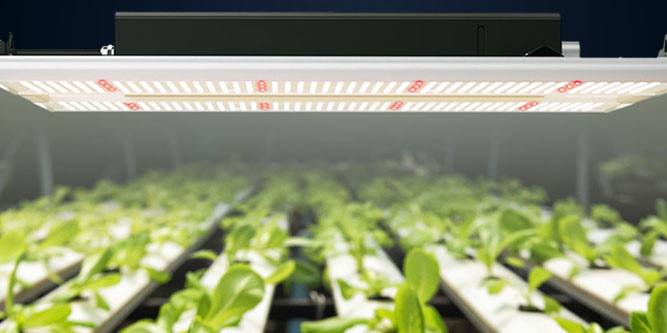
The MINI SUN-2 LED grow light is an amazing little fixture, perfect for small-scale growing. With a combination of white and red LEDs, it produces a full V1 light spectrum that’s effective for all growth stages.
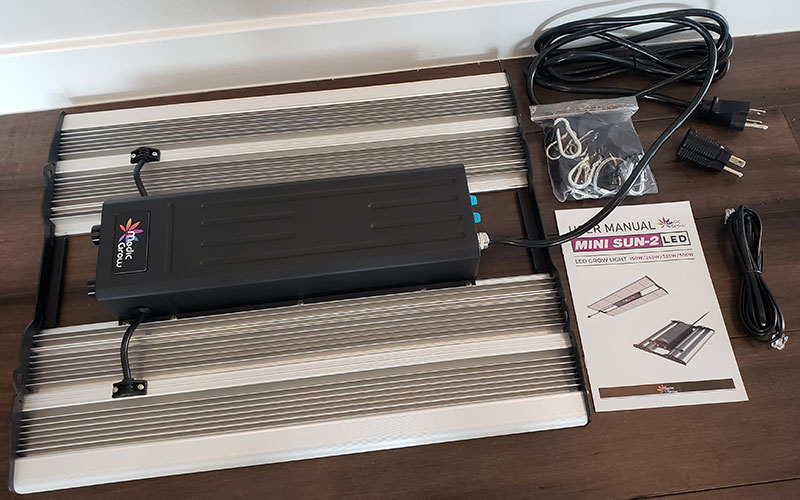
It comes ready to go, right from the box. Inside, you get a power cord, plug adapter, an RJ11 cord, a set of steel cables and adjustable ratchet hangers. Of course, you also get the light fixture itself along with a user manual.
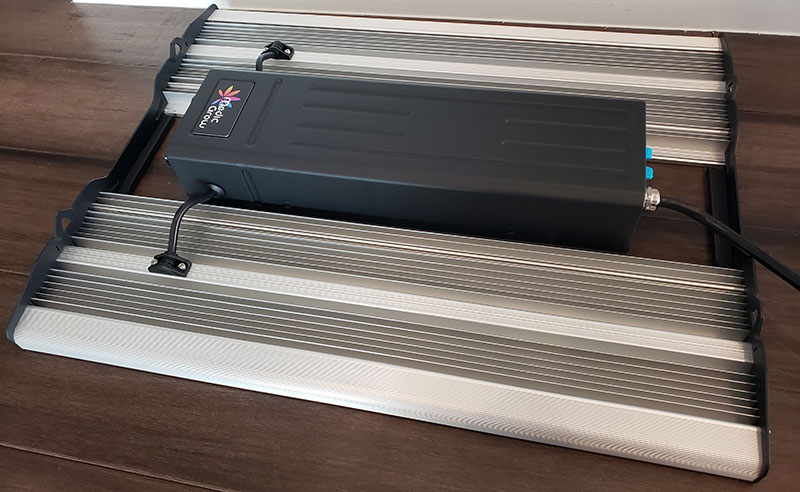
Comprised of high-grade aluminum, the quality is apparent right from unboxing. Measuring 19.8″ x 15.9″ and 2.6″ in height, it’s incredibly slim, ideal for those working in a small growing area like a closet or 2′ x 2′ or 3′ x 3′ grow tent.
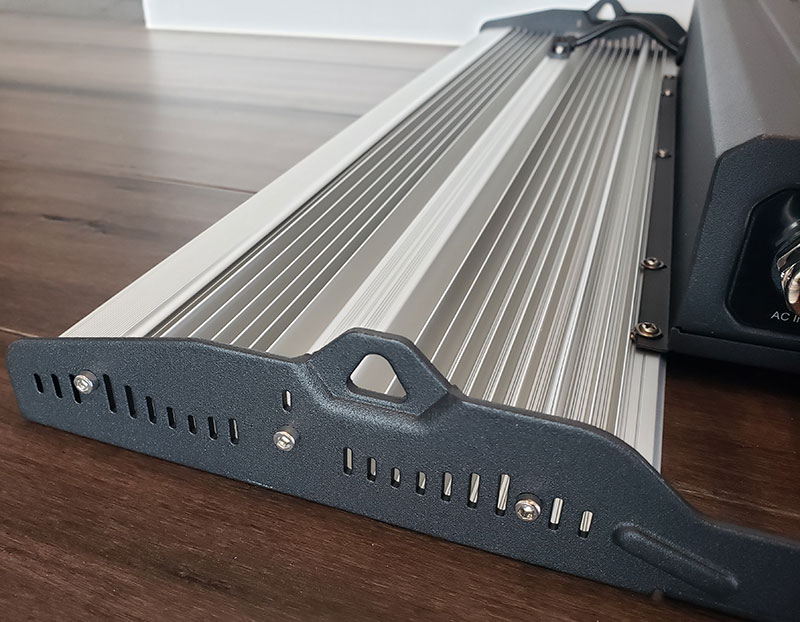
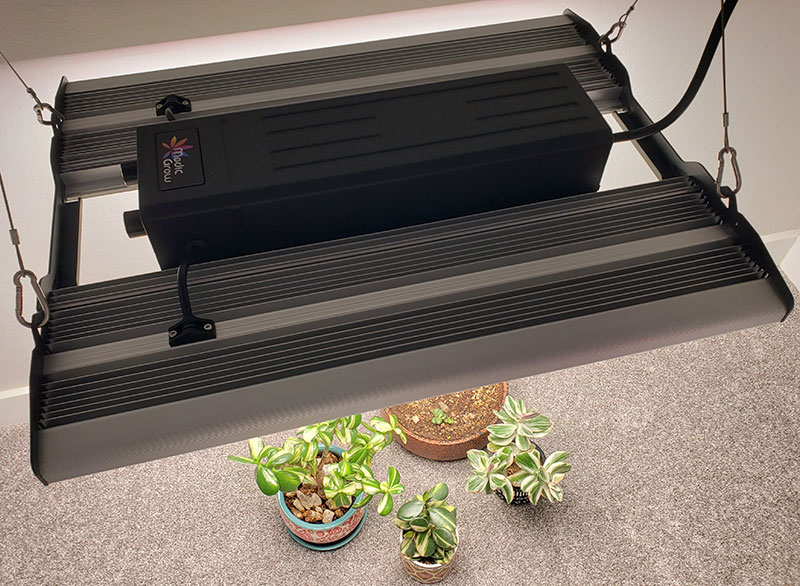
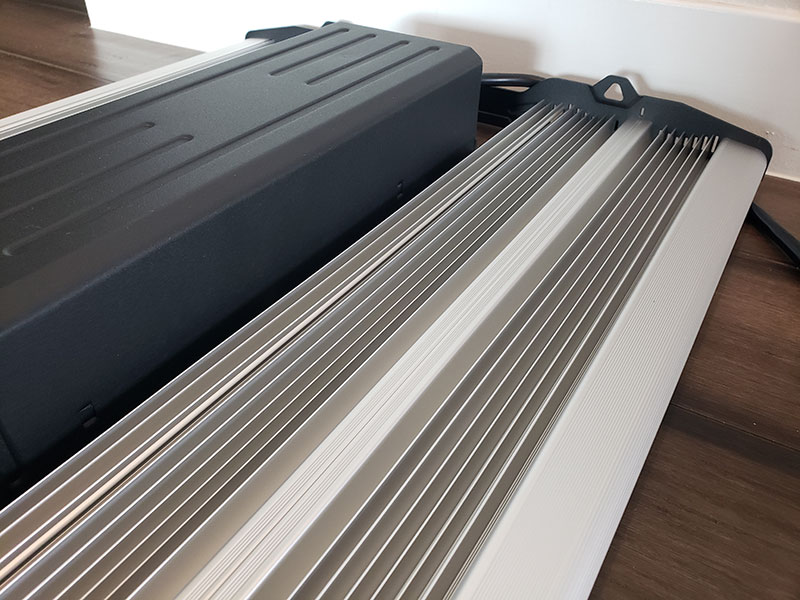
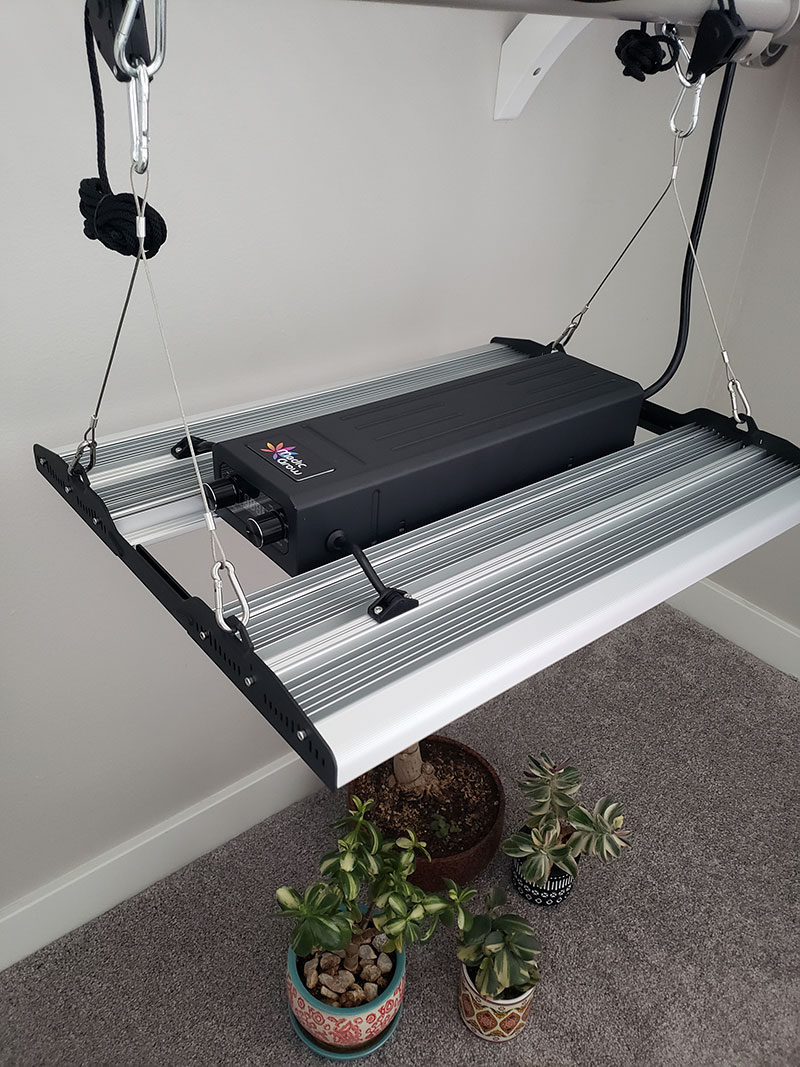
The MINI SUN-2 utilizes no fans. Rather, Medic Grow equipped it with two large aluminum heatsinks and a driver/power supply centered in the middle. This keeps your growing area extremely stealthy. Without fans, it operates in complete silence. Each end is framed with a thick piece of black aluminum, each one with two eyelets for hanging the fixtures with the supplied cables and ratchet hangers.
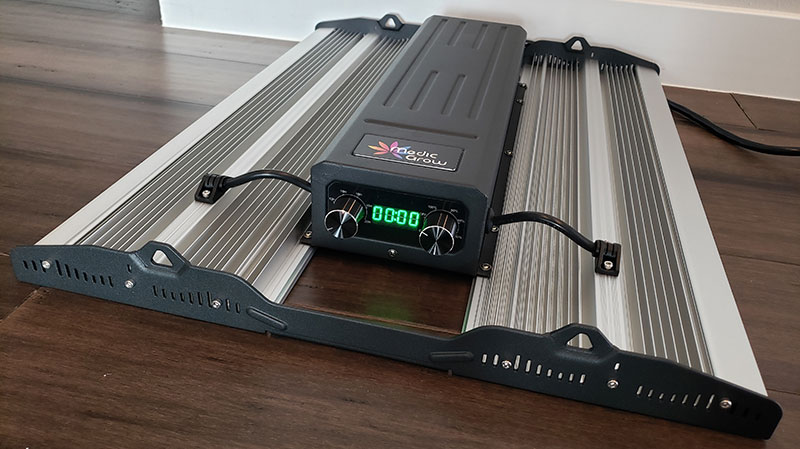
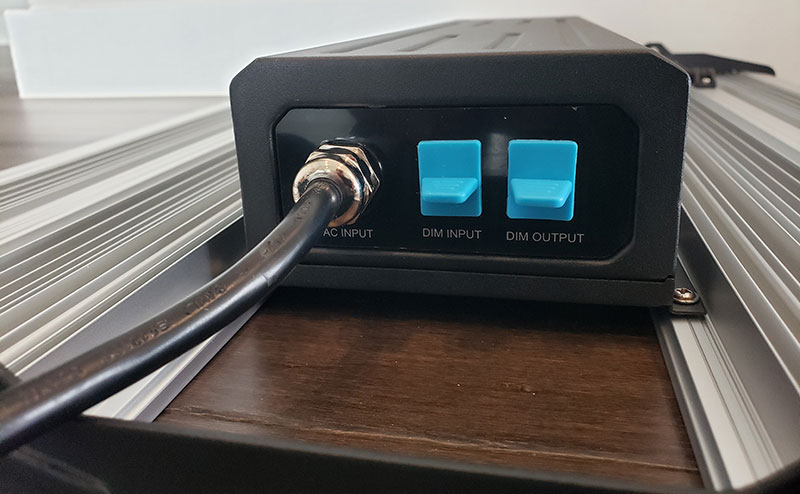
On one end of the driver/power supply there are two knobs centered around an LCD. One of them adjust the built-in timer while the other offers variable light intensity. On the other end, where the power cord is attached, there are two RJ11 ports. These are used for daisy-chaining multiple light fixtures together to simultaneously control them all.
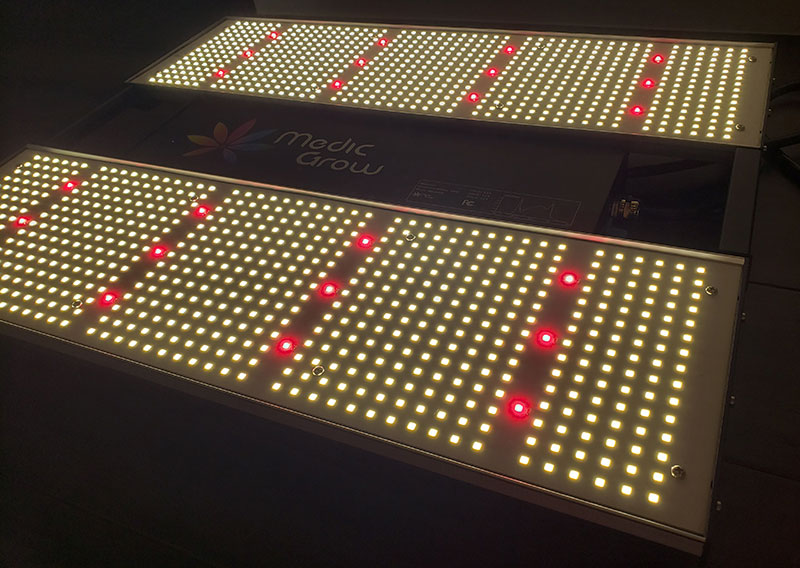
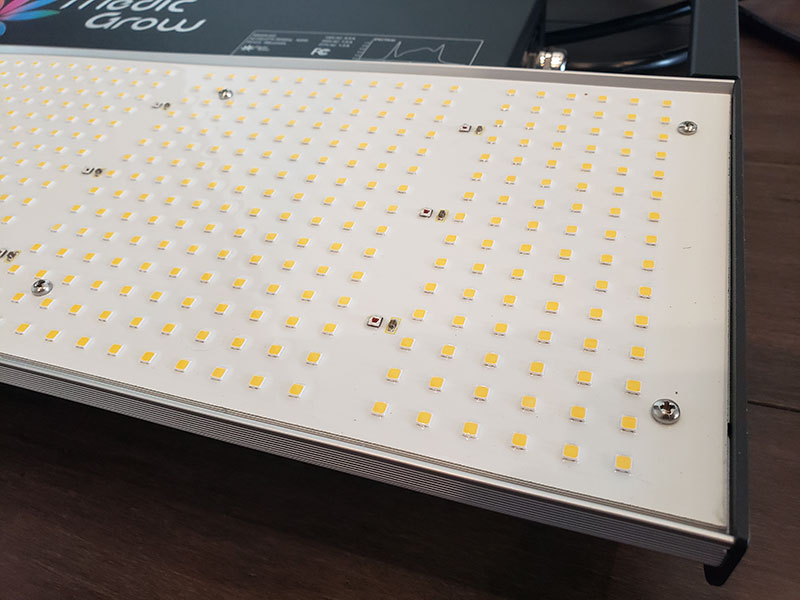
Flip it over and you’ll see all of the individual diodes; 1350 of them are 4000K white Sanan chips while 24 of them are 660nm red Osram chips . They’re assorted in a relatively even pattern that provides a full spectrum for all stages of growth – from seedling to bloom.
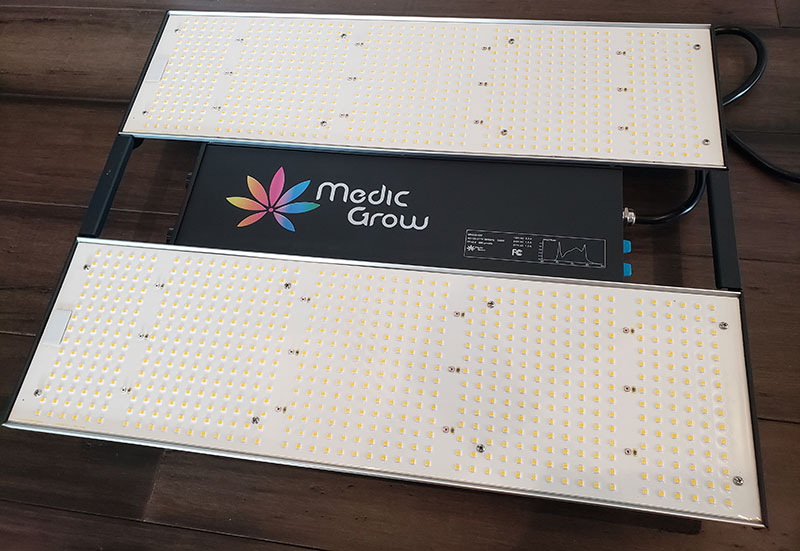
Being that the MINI SUN-2 pulls 320W at its maximum output, this is around 4.3 diodes per watt, which is a fantastic balance. This keeps each diode running lightly compared to each diode’s maximum ability, thus contributing to promoting longevity of the fixture.

My Experience with the MINI SUN-2
Setting up the MINI SUN-2 for the first time is very simple. Simply unbox it, attach the steel cables and clip the ratchet hangers. I set it up in a closet for testing purposes. The growing area I had was a bit over 2′ x 2′.
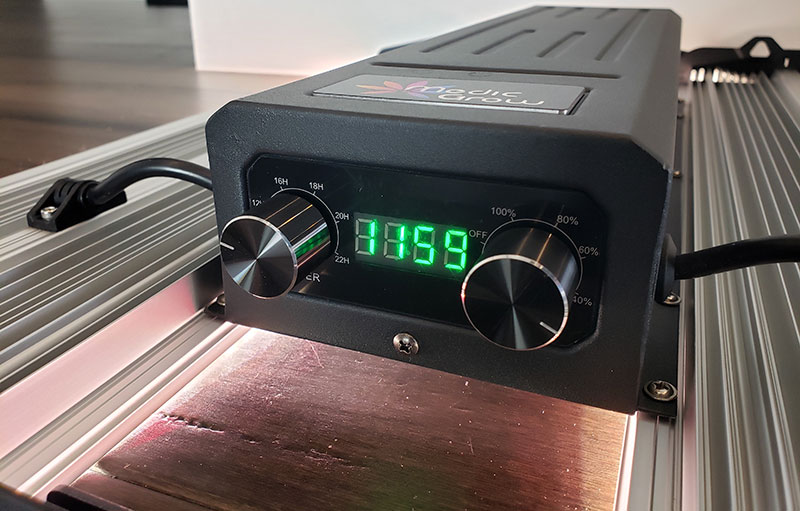
Turning the right knob that adjusts the lighting intensity powers the fixture on. It starts at the most intense output and dims down as you turn it clockwise. The left knob allows you to set a lighting schedule by choosing the time you want it to be on. The LCD will then count down and repeat the cycle until you manually adjust the timer to a different setting.
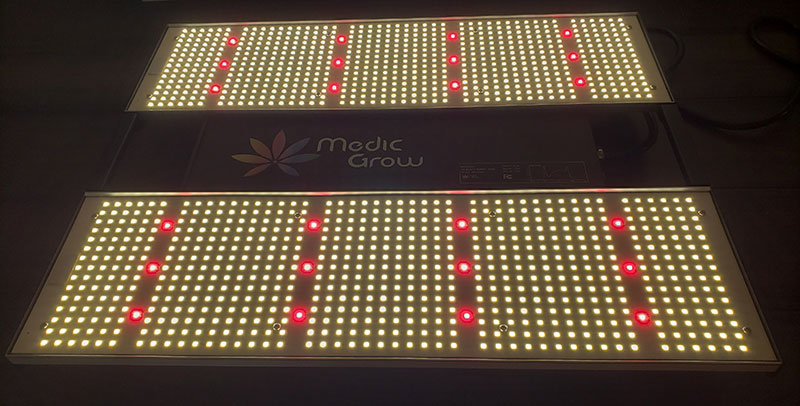
When turned on for the first time, I was amazed at how much light output it was capable of. Simply put, it’s incredibly bright. It goes without saying, DO NOT look directly into the diodes unless you want to be temporarily blinded. With the light intensity adjusted to its maximum, it’s apparent that the MINI SUN-2 is capable of providing even coverage and all the intensity you could ever want, especially for flowering plants.
In my test scenario, I hung it in a closet 10′ x 9′ x 3′ closet from about 20 inches above the garden canopy. Being that I had several jade plants growing indoors that weren’t used to direct sunlight, I adjusted the intensity to 60% for the first week at a 16 hour light-on schedule.
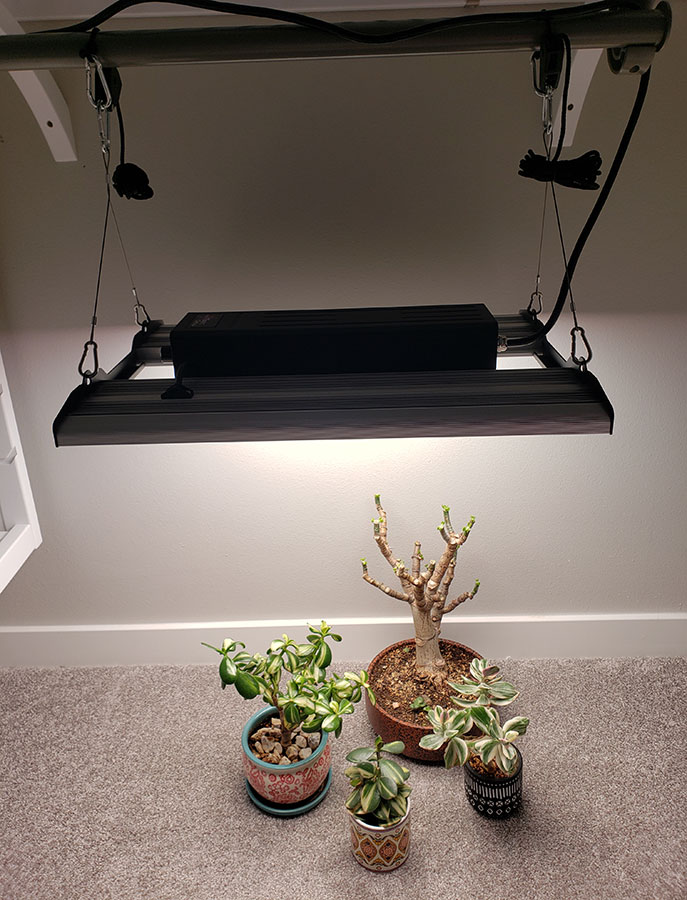
It proved to be an ideal blend of lighting and intensity since growth of these plants took off after just a few days of use. The jade plants began to show favorable color, indicating that they were slightly stressed (in a good way). They typically do this in summer time with direct sunlight but it’s always hard to find good sunlight in the fall, winter and sometimes spring months. It’s a characteristic of these plants that makes them perfect for those wanting a unique but low-maintenance houseplant.
Regardless, after just a week of use, growth on these plants was phenomenal. I recently cut-back one of the older jade plants; the MINI SUN-2 made new growth sprout twice as fast as expected. All of the new leaves were firm, stiff and beautifully green. The smaller, variegated varieties noticeably liked it to, but these plants are notorious for their slow growth due to the lack of chlorophyl in the white parts of the leaves.
None of the plants showed any signs of sickness or ill-effects from the MINI SUN-2. Although the soil did seem to dry out a bit faster than normal. This is to be expected, however, since more growth is going on and on top of this, the constant light slightly raised the ambient temperature in the closet. Not to any problematic level, but only by about 5 degrees Fahrenheit. Keep in mind – for this first week, I kept it at 60% light intensity.
In the second week of using the MINI SUN-2, I ramped up the intensity to 100% but kept the light schedule the same; 16 hours on, 8 hours off. Thankfully, by this time, my jade plants were used to the lighting more than the first week. As a result, plant growth continued perfectly with no ill-effects. Although cranking up the intensity to 100% ramped up the ambient temperature in the closet by an additional 5 degrees, but not to any problematic level.
Clearly, this shows that my small jade houseplants loved the full V1 spectrum it provides. While admittedly, I didn’t try it on any blooming plants or small seedlings, we feel it’s perfectly capable for all growth stages and plant types. Just keep in mind that the 100% intensity may not be ideal, especially at first.
While Medic Grow’s MINI SUN-2 doesn’t have any fans, it seems to cool quite effectively. The lack of fans keeps for a quiet growing environment and let’s the user decide whether or not they need to add an external clip fan and/or a full exhaust system.
After 16 hours of being turned on, the actual surface temperature on top of the heatsinks was just under 135 degrees Fahrenheit while the driver/power supply read 138 degrees. This is a bit on the warm end, but not entirely “hot” that it’ll burn you if you touch it.
I only had one fixture to test out, but if I had two or more, it would have been nice to take advantage of the two RJ11 ports on the opposite end of the LCD. This is something you don’t see in standard LED grow lights. Daisy chaining multiple units together makes for easy control; two knobs on the main fixture would control your entire growing area.
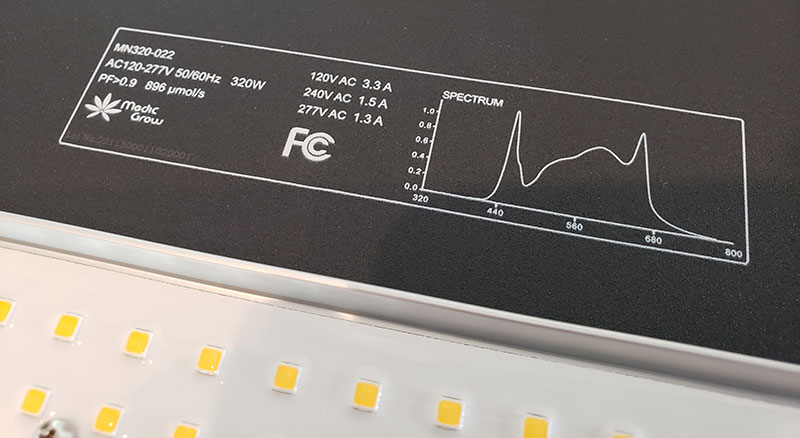
In terms of power usage, the MINI SUN-2 draws only a hair under 320 watts when cranked up to its maximum intensity. It’s nice to see an accurate wattage, as most grow light companies flub these wattages to make their lights seem stronger than they really are.
The real value that matters is the PPFD value, which is clearly documented and visible on Medic Grow’s website. The MINI SUN-2 provides up to 3200µmol/m2/s at its highest intensity and closest distance to the plant canopy and goes down as you either lower the intensity or move it further away. Regardless, I tested this using a PAR meter and found the readings to be strikingly accurate.
Final Thoughts
In my experience testing out and using the Medic Grow MINI SUN-2 for two weeks, it’s clear that it’s a real winner. Everything from the design and layout to the way it actually works is phenomenal. It provides an easy to use, quiet and effective solution for giving indoor plants the light they need for optimal growth.
While we only had several small jade plants to test it out with, the results were wonderful. The plants were clearly happy, using more water than normal and producing a higher growth rate with no ill-effects.
The built-in dimmer/timer with a visibly clear LCD provides simple operation that anyone can easily figure out. There’s no need for an external timer or extra gadgets to go along with it. Medic Grow even provides ratchet straps along with a steel cable kit so you’re good to go right from unboxing. And with two RJ11 ports, setting up a complex arrangement of multiple fixtures is easy to do if you’d like to expand your indoor growing area.
While we only tested out the 320W version, it’s also available in 150W, 240W and 500W versions. One can only expect the other options to be just as effective, but more ideal for a wide variety of garden sizes.
Best of all, Medic Grow covers their fixtures with an impressive 5 year warranty period. They’re a company that’s been in the industry for several years and they’re known for standing behind their products with fantastic support.
Overall, with accurate advertising and real-world effectiveness, their LED grow lights are just as good in reality as they claim to be on paper. Highly recommended if you’re in the market for an effective, feature-rich grow light that won’t break your budget.
Meet Ry, “TechGuru,” a 36-year-old technology enthusiast with a deep passion for tech innovations. With extensive experience, he specializes in gaming hardware and software, and has expertise in gadgets, custom PCs, and audio.
Besides writing about tech and reviewing new products, he enjoys traveling, hiking, and photography. Committed to keeping up with the latest industry trends, he aims to guide readers in making informed tech decisions.

